Creating an amigurumi sun fridge magnet is a delightful way to bring a splash of sunshine into your kitchen all year round! ☀️ If you’re like me and love crafting with a touch of whimsy, this project is a perfect fit. The appeal of amigurumi lies in its adorable, miniature representations of everyday objects, and what better way to capture that charm than with a smiling sun to greet you every time you open the fridge? Not only is it a cheerful addition to any home, but it also makes for a thoughtful and handmade gift that’s sure to brighten someone’s day.
Now, let’s dive into the process! Crafting an amigurumi sun magnet is easier than you might think, even if you’re new to crochet. The key is to start with selecting vibrant yarn colors that capture the essence of a sunny day. You’ll begin by crocheting a simple circular base, which forms the sun’s face, and from there, it’s all about adding those playful rays. Assembling the magnet involves a bit of strategic stitching, ensuring every component is securely attached. Don’t forget to add a cute smiling face; it’s those little details that bring each piece to life! 🌼 Once you’ve secured the magnet backing, voila, your sunny creation is ready to shine on your fridge!
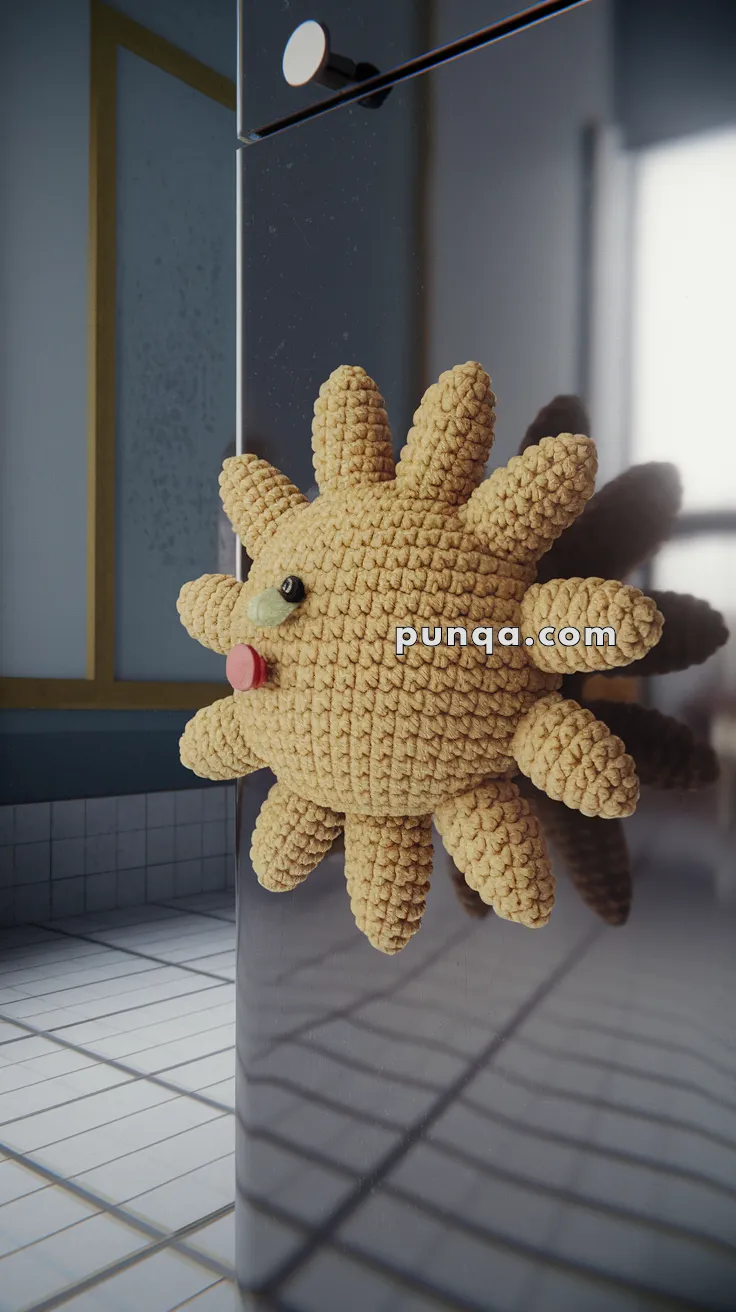
☀️ Amigurumi Sun Fridge Magnet – Free Crochet Pattern
This cheerful sun amigurumi will brighten up any kitchen! With its adorable rays and simple magnet back, it’s a fun project for beginners and a cute gift idea for anyone needing a little sunshine.
✨ Skill Level
Beginner – Simple shaping and repetition.
📏 Finished Size
Approx. 5 inches (13 cm) across including rays, using plush chenille or worsted yarn and a 3.5–4 mm hook.
🧶 Materials
-
Yarn (Chenille or Worsted weight):
-
Yellow (sun body and rays)
-
Light green (nose)
-
Pink (cheek or tongue)
-
-
3.5–4 mm crochet hook
-
Fiberfill stuffing
-
6–8 mm black safety eyes
-
Small round fridge magnet (flat, strong type)
-
Yarn needle
-
Stitch marker
-
Hot glue or fabric glue (optional)
🧵 Abbreviations (US Terms)
MR – Magic Ring
sc – Single Crochet
inc – Increase (2 sc in same stitch)
dec – Decrease (sc 2 together)
sl st – Slip Stitch
FO – Fasten Off
🌞 Sun Body (Make 2 – front and back)
With yellow yarn:
-
MR, 6 sc
-
inc x6 (12)
-
(1 sc, inc) x6 (18)
-
(2 sc, inc) x6 (24)
-
(3 sc, inc) x6 (30)
-
(4 sc, inc) x6 (36)
-
sc around (36)
FO the first circle. Do not FO the second.
Place both pieces wrong sides facing, stuff lightly, and sc through both edges to close.
🔆 Sun Rays (Make 12)
With yellow yarn:
-
MR, 6 sc
-
(1 sc, inc) x3 (9)
3–6. sc around (9)
Stuff lightly, FO and leave long tail for sewing
Sew rays evenly spaced around the edge of the sun body
😃 Facial Features
Eyes
-
Insert safety eyes between Rnds 4–5 on front panel, approx. 6–7 stitches apart
Nose
With green yarn:
-
MR, 5 sc, sl st to close
FO and sew between eyes
Cheek or Tongue (Optional)
With pink yarn:
-
MR, 5 sc
FO and sew to side of smile or below nose for a cute tongue
Smile
-
Embroider a simple curved smile with black thread or yarn
🧲 Magnet Backing
-
Cut a small felt or crochet circle slightly smaller than the back of the sun
-
Attach a strong round magnet using hot glue
-
Sew or glue this magnet piece to the back center of the sun
🧩 Assembly Tips
-
Stitch all facial pieces before closing the front and back circles
-
Position rays first with pins or markers before sewing down evenly
-
Optional: Add blush with fabric paint or a tiny bit of pink yarn for extra personality
💡 Customization Ideas
-
Make a set with different facial expressions
-
Add sunglasses for a summer vibe
-
Use glow-in-the-dark yarn for nighttime fun!
Your sunny new friend is ready to stick to the fridge and bring brightness to your day—every day! 🌞🧲