Dive into ocean-inspired crochet fun with the Amigurumi Marlin Fish, a project that’s as striking as it is playful! 🐟🧶 With its long tapered bill, tall dorsal fin, flowing body curve, and strong tail base, this design beautifully captures the elegance of the marlin. Its sleek silhouette and bold details make it a standout piece for sea-life lovers and amigurumi collectors alike.
Perfect as a decorative accent, a gift for fishing enthusiasts, or a whimsical addition to your handmade menagerie, this marlin brings a splash of adventure to any space. Fun to stitch and delightful to display, the Amigurumi Marlin Fish is a joyful way to crochet character, ocean charm, and a sprinkle of handmade magic—one loop at a time! 🌊✨🧵
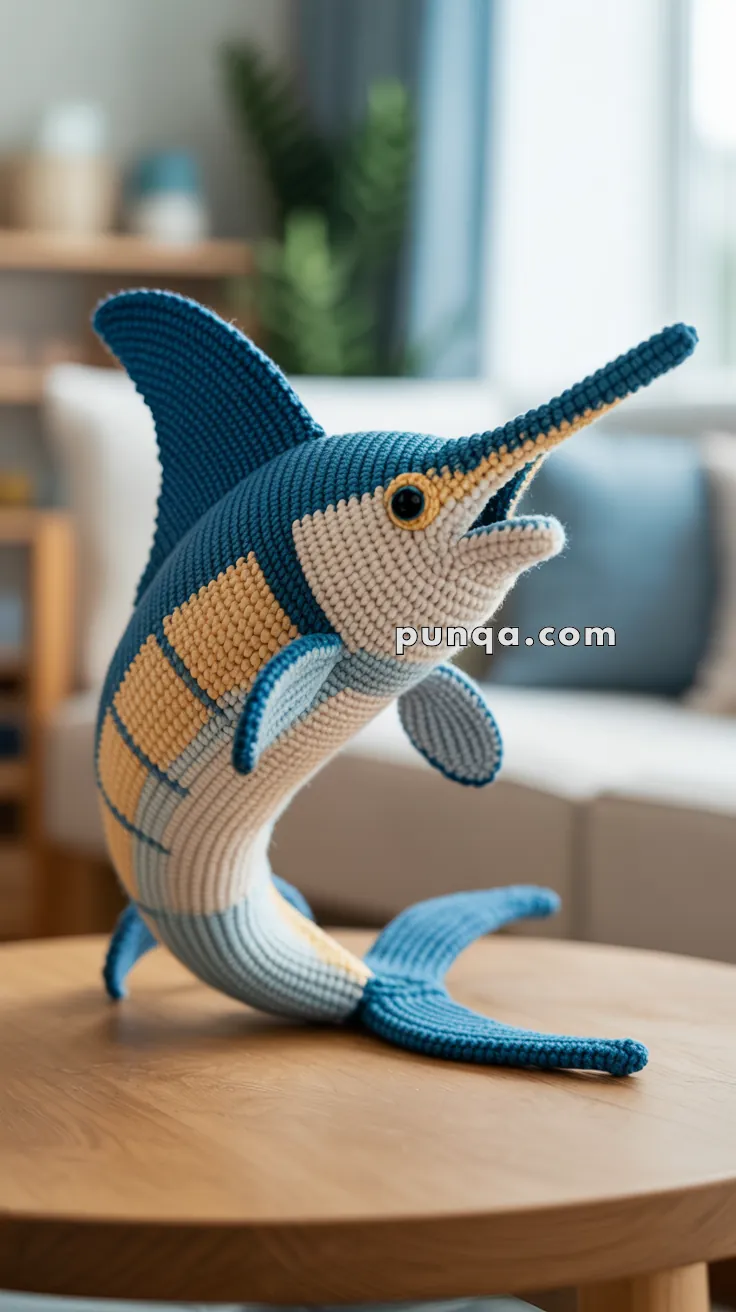
🐟 Standing Marlin (Swordfish) Amigurumi Crochet Pattern
This elegant standing marlin amigurumi captures the graceful curve, sharp bill, and bold color blocking seen in the reference photo. Built using modular construction, sewn panels, and internal shaping support, this design is meant to be displayed upright, just like a small sculpture.
Perfect for ocean-themed décor, gifts, or advanced amigurumi collectors who enjoy realistic shaping.
✨ Skill Level
Advanced / Confident Intermediate – This pattern includes modular assembly, appliqué panels, precise color placement, and optional internal support for posing.
📏 Finished Size
Approx. 30–35 cm (12–14 in) tall when standing, using DK or light worsted yarn and a 2.75–3.0 mm hook.
🧶 Materials
Yarn (DK or light worsted):
- Deep Blue – dorsal head, back shell, dorsal fin, tail
- Cream / Ivory – belly, lower jaw, main body
- Mustard / Gold – bill edge stripe, side panels
- Light Blue – lower body accent bands, pectoral fins
- Black – eye embroidery (if not using safety eye)
Notions & Tools:
- 2.75–3.0 mm crochet hook
- 8–10 mm safety eye (1) or black yarn
- Polyester stuffing
- Yarn needle, stitch markers
- Internal support: 2 pipe cleaners or 18–20 gauge craft wire (recommended)
🧵 Abbreviations (US Terms)
MR – magic ring
sc – single crochet
inc – increase (2 sc in same stitch)
dec – decrease (sc2tog)
ch – chain
sl st – slip stitch
FO – fasten off
BLO / FLO – back/front loop only
🧠 Construction Overview (Important)
This marlin is not worked in one piece. It is built from distinct parts:
- Head & bill (one unit)
- Main body tube
- Blue back shell (appliqué)
- Gold side panels (appliqué, 3 per side)
- Dual-lobed tail
- Dorsal fin
- Pectoral fins
- Internal support for standing
This approach is essential for achieving the crisp color blocking and sculptural curve seen in the photo.
🐟 Head & Bill (Cream, Blue, Gold)
Head Base (Cream)
R1: MR 6 (6)
R2: inc x6 (12)
R3: (sc, inc) x6 (18)
R4: (2 sc, inc) x6 (24)
R5: (3 sc, inc) x6 (30)
R6: (4 sc, inc) x6 (36)
R7–R10: sc around (36)
Insert safety eye between R8–9, slightly forward.
Bill Extension (Blue with Integrated Gold Stripe)
Continue from head.
R11–R18: sc around (36) in Blue
From R11–R21, work the top 2 stitches of each round in Gold, switching back to Blue immediately after—this creates a crisp built-in stripe.
R19: (4 sc, dec) x6 (30)
R20: (3 sc, dec) x6 (24)
R21: (2 sc, dec) x6 (18)
R22: (1 sc, dec) x6 (12)
R23: dec x6 (6)
FO, lightly stuff.
🐟 Main Body Tube (Cream + Light Blue Bands)
R1: MR 6 (6)
R2: inc x6 (12)
R3: (sc, inc) x6 (18)
R4: (2 sc, inc) x6 (24)
R5: (3 sc, inc) x6 (30)
R6: (4 sc, inc) x6 (36)
R7–R16: sc around (36)
Accent Bands (Required):
R17–18: Light Blue, sc around
R19–20: Cream, sc around
R21–22: Light Blue, sc around
R23–26: Cream, sc around
Begin stuffing firmly.
R27: (4 sc, dec) x6 (30)
R28–29: sc around (30)
FO, leave opening for tail attachment.
🟦 Blue Back Shell (Appliqué)
Ch 26
Row 1: sc in 2nd ch, sc across (25)
Rows 2–14: ch 1, turn, sc across
Row 15: dec, sc 21, dec (23)
FO.
Sew centered along the spine, overlapping slightly down each side.
🟨 Gold Side Panels (Appliqué – Make 6)
Front Panels (Make 2):
MR 6 → inc x6 (12) → (sc, inc) x6 (18) → sc around → FO
Middle Panels (Make 2):
MR 6 → inc x6 (12) → sc around → FO
Rear Panels (Make 2):
MR 6 → (sc, inc) x3 (9) → sc around → FO
Sew three panels per side in a staggered line.
Using Blue yarn, surface stitch a tight outline around each panel for clean edges.
🐟 Dual-Lobed Tail (Blue)
Make 2 Lobes:
MR 6 → inc x6 (12) → sc around x4 rounds → (2 sc, dec) x3 (9) → sc around → FO lightly stuff.
Hold flat sides together and sc through both edges to join, forming a true dual-lobed tail.
🐟 Dorsal Fin (Blue)
Ch 18
Row 1: sc in 2nd ch, sc across (17)
Rows 2–6: ch 1, turn, sc across
FO. Curve slightly before sewing.
🐟 Pectoral Fins (Make 2 – Light Blue)
MR 6 → inc x6 (12) → sc around → (2 sc, dec) x3 (9) → FO, flatten.
🧩 Internal Support & Standing Shape
Insert wire or pipe cleaners from the bill, through the head and body, and into one tail lobe. Shape into a gentle S-curve:
- Head angled slightly upward
- Belly curves forward
- Tail curves downward and back
This allows the marlin to stand naturally, with the tail acting as a subtle balance point.
🪡 Final Assembly
- Sew head to body at a slight upward angle
- Attach tail at approx. 45° downward from body axis
- Sew dorsal fin along the spine
- Attach pectoral fins just behind head, angled downward
- Adjust wire for final pose and stability
🌊 Final Notes
This standing marlin amigurumi is designed as a display piece rather than a toy, highlighting clean lines, bold color blocks, and an elegant marine silhouette. Take your time with assembly and shaping—the final pose is what truly brings this piece to life.
Once complete, your marlin will stand proudly on its own, capturing the motion and grace of the ocean in yarn form. 🧶✨


Awesome !!