Add a touch of elegance to your crochet collection with this Amigurumi Jewelry Box pattern! Inspired by the charm of classic jewelry storage, this delightful design captures the beauty of a tiny treasure box with its sturdy shape, intricate details, and cozy lid. Whether you’re crafting for jewelry lovers, creating a stylish decor piece, or simply enjoy making functional amigurumi designs, this pattern lets you stitch up a miniature jewelry box bursting with charm! Perfect for holding rings, earrings, or small keepsakes, this crochet jewelry box is both adorable and practical. 💍✨
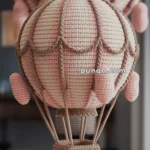
Designed for customization, this pattern allows you to experiment with different colors, embroidered embellishments, or even tiny accessories like a miniature lock or decorative trim for extra flair. Craft a classic jewelry box with soft pastels, create a whimsical version with bold hues, or even stitch up a full set of storage-inspired amigurumi for a charming display! Whether gifted as a thoughtful keepsake, displayed as a stylish accent, or made simply for the joy of crafting, this Amigurumi Jewelry Box is a fun and creative project—perfect for bringing a touch of handmade elegance to every stitch! 🧶💖
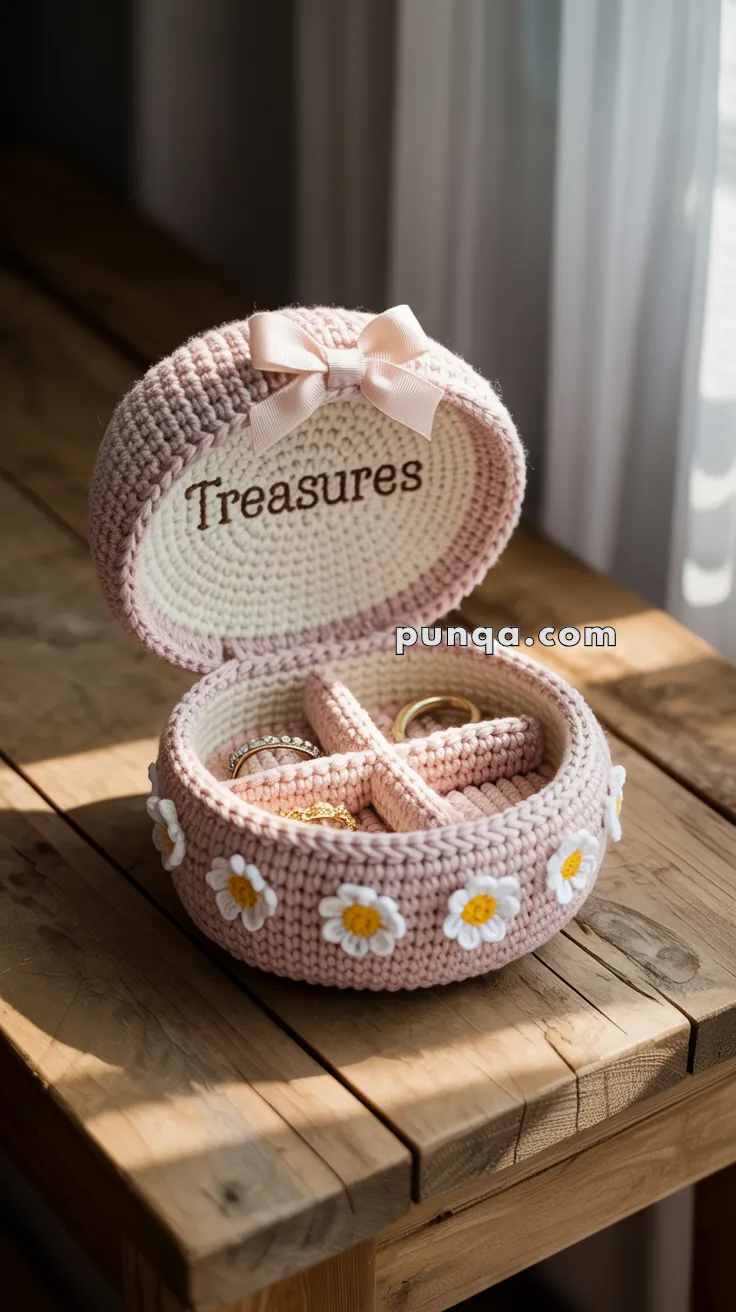
💍 Amigurumi Jewelry Box Crochet Pattern
Add a delicate, handmade touch to your jewelry collection with this beautiful crocheted amigurumi jewelry box. The round box features an embroidered lid labeled “Treasures,” removable padded ring rolls, compartments, daisy appliqués, and a decorative bow. This elegant yet practical project is perfect for gifts, craft markets, or keeping your own treasures safe and tidy.
✨ Skill Level
Intermediate – Requires shaping, light embroidery, joining parts, and making structured interior pieces.
📏 Finished Size
Approx. 5.5″ (14 cm) diameter and 3″ (7.5 cm) tall when using worsted weight yarn and a 3.5 mm hook.
🧶 Materials
- Yarn (Worsted weight or DK):
- Color A: Blush pink (box exterior)
- Color B: Cream or white (box interior and lid text background)
- Color C: Yellow (daisy centers)
- Color D: White (daisy petals)
- Hook: 3.5 mm
- Tapestry needle
- Polyfill stuffing
- Cardboard or plastic circle (optional, for lid support)
- Embroidery floss (brown for “Treasures” text)
- Sew-on satin bow
- Scissors
- Stitch marker
🧵 Abbreviations (US Terms)
MR – Magic Ring
sc – Single Crochet
inc – Increase (2 sc in one stitch)
dec – Decrease (sc two together)
sl st – Slip Stitch
ch – Chain
FO – Fasten Off
🧺 Base of Box (Work in spiral)
With Color A (blush pink):
- MR, 6 sc
- inc x6 (12)
- (1 sc, inc) x6 (18)
- (2 sc, inc) x6 (24)
- (3 sc, inc) x6 (30)
- (4 sc, inc) x6 (36)
- (5 sc, inc) x6 (42)
- (6 sc, inc) x6 (48)
- (7 sc, inc) x6 (54)
- (8 sc, inc) x6 (60)
- BLO sc in each st around (60) — creates bottom edge
12–18. sc around (60)
FO and weave in ends.
🧁 Side Wall Lining (Interior of box)
With Color B (cream):
Repeat Rounds 1–10 of the base.
Then:
11. BLO sc in each st (60)
12–17. sc in both loops (60)
FO and sew or glue inside the box wall (acts as lining).
🎀 Lid (Make 2 flat circles – Top + Inner Panel)
Outer Lid (Color A):
- MR, 6 sc
- inc x6 (12)
- (1 sc, inc) x6 (18)
- (2 sc, inc) x6 (24)
- (3 sc, inc) x6 (30)
- (4 sc, inc) x6 (36)
- (5 sc, inc) x6 (42)
- (6 sc, inc) x6 (48)
- (7 sc, inc) x6 (54)
- (8 sc, inc) x6 (60)
FO, weave in ends
Inner Lid (Color B):
Repeat as above
Before attaching: Embroider “Treasures” with brown floss using backstitch. Centered across Rounds 6–8.
🧷 Lid Assembly and Shaping
- Place a flat cardboard or plastic circle (cut ~5″ diameter) between the two crochet panels.
- Sew or crochet together both circles with sc or whipstitch.
- For a hinged lid, crochet a small bridge tab (e.g., ch 6, sc 5 back, FO) and sew one end to the box, one to lid.
Attach ribbon bow to top edge with fabric glue or by stitching.
🧊 Inner Cross Divider
With Color B:
Make 2 rectangles:
Lengthwise Bar:
Ch 24
Rows 1–5: sc across (23), ch 1, turn
FO and stuff lightly
Widthwise Bar:
Ch 16
Rows 1–5: sc across (15), ch 1, turn
FO and stuff lightly
Sew both bars together in a cross shape (at midpoint). Place inside the base, sew down the ends to the box interior lining.
💍 Ring Rolls (Make 3–4)
With Color B:
Ch 22
Rows 1–5: sc across (21), ch 1, turn
FO and roll into a tight tube
Stuff lightly and sew ends closed
Sew or glue each into one section of the cross divider
🌼 Daisy Appliqués (Make 8–10)
Centers (Color C):
MR, 6 sc, sl st to join, FO
Petals (Color D):
Attach white yarn to center
(ch 3, sl st in same st) around the center 6 times
FO, sew evenly spaced around outer box side
✂️ Finishing Touches
- Shape lid gently by blocking (if needed)
- Make sure divider sits snug and is attached at the base
- Add optional magnetic clasp or button tab closure
- Use fabric glue if additional reinforcement is needed
💡 Customization Ideas
- Use lavender yarn and embroider “Rings” or “Keepsakes”
- Add felt mirror or fabric padding to lid interior
- Replace daisies with hearts or other motifs
This elegant handmade jewelry box is a perfect blend of charm and utility. Whether used for gifting or keeping your own rings and earrings safe, it’s a pretty piece to treasure itself! 🌼💍🎀