Bring home a loyal handmade companion with this Amigurumi German Shepherd crochet pattern! With its alert ears, noble stance, and signature black-and-tan coat, this pup captures the proud and protective spirit of the beloved breed in the most huggable way. Whether you’re crafting a tribute to your furry best friend, making a gift for a dog lover, or simply adding to your amigurumi kennel, this pattern lets you stitch up a faithful friend full of charm and character. 🐾🧶🐕
Designed for detail and personality, this pattern invites you to play with rich yarn tones, expressive features, and fun extras like a tiny collar, name tag, or even a mini bone. Customize the markings to match a real-life pup or add a playful twist with accessories like a police vest or service dog badge. Whether perched on a shelf, gifted with love, or guarding your craft corner, this German Shepherd Amigurumi is a heartwarming and satisfying project—perfect for bringing a touch of handmade devotion to every stitch! 💖✨🐶
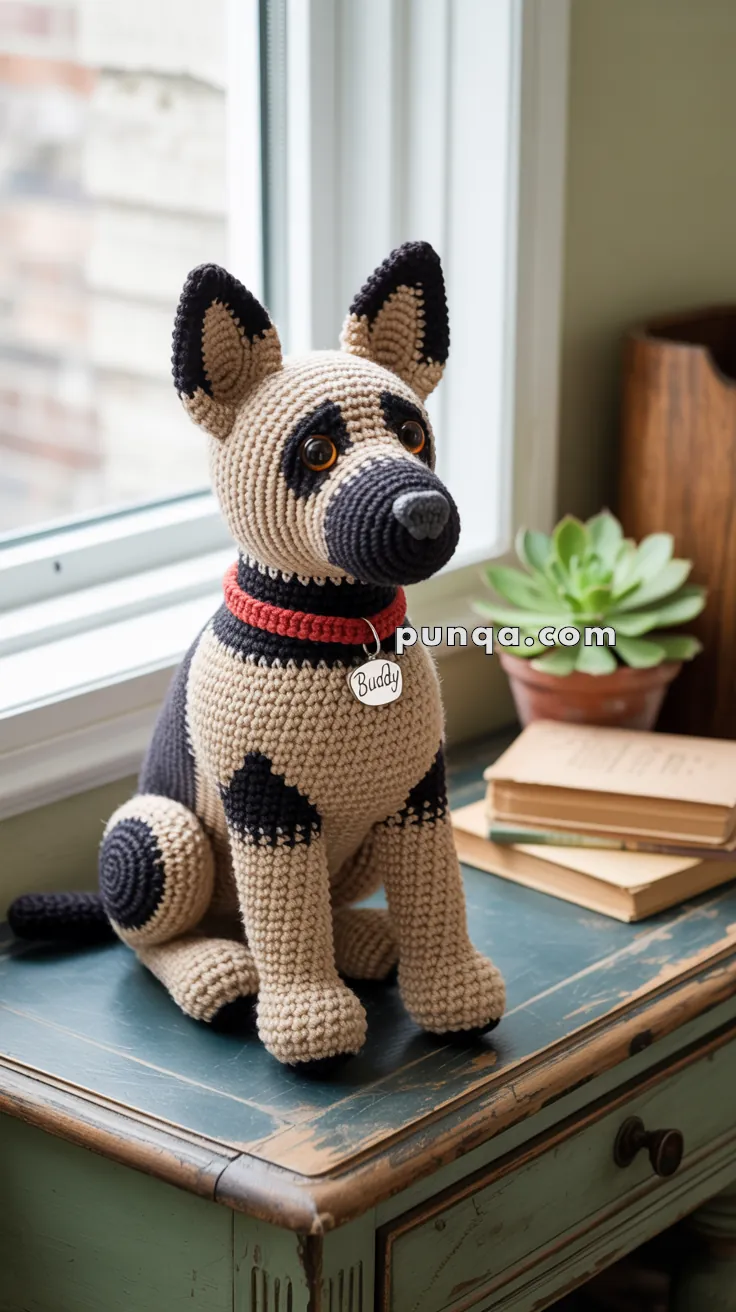
🐾 Amigurumi German Shepherd “Buddy” Crochet Pattern
Bring home a loyal handmade companion with this adorable Amigurumi German Shepherd! With its signature black muzzle, upright ears, and proud sitting posture, Buddy is the perfect project for dog lovers. Add a bright red collar and name tag for a personalized touch – this sweet shepherd is sure to guard your heart! ❤️🐕
✨ Skill Level
Intermediate – Includes shaping, color changes, and assembly.
📏 Finished Size
Approx. 28–30 cm (11–12 in) tall when made with worsted weight yarn and a 3.0–3.5 mm hook.
🧶 Materials
- Worsted weight yarn in:
- Beige/Tan (Main body)
- Black (Muzzle, inner ears, patches, tail tip, paw pads)
- Red (Collar)
- Gray (Nose embroidery)
- White (Optional tag embroidery)
- Crochet hook: 3.0–3.5 mm
- 12 mm safety eyes
- Polyester fiberfill stuffing
- Stitch markers & tapestry needle
- Scissors
- Optional: white felt or embroidery floss for name tag
🧵 Abbreviations (US Terms)
- MR – Magic Ring
- sc – Single Crochet
- inc – Increase (2 sc in same st)
- dec – Decrease (sc 2 together)
- sl st – Slip Stitch
- ch – Chain
- BLO – Back Loops Only
- FO – Fasten Off
🐶 Head (Beige)
- MR, 6 sc (6)
- inc x6 (12)
- (sc, inc) x6 (18)
- (2 sc, inc) x6 (24)
- (3 sc, inc) x6 (30)
- (4 sc, inc) x6 (36)
7–12. sc around (36) - (5 sc, inc) x6 (42)
14–18. sc around (42) - (5 sc, dec) x6 (36)
- (4 sc, dec) x6 (30)
- (3 sc, dec) x6 (24)
- (2 sc, dec) x6 (18)
- (sc, dec) x6 (12)
- dec x6 (6), FO.
👉 Insert safety eyes between Rnds 13–14, spaced 6–7 stitches apart. Stitch black eyebrows/patches above the eyes for realism.
🐾 Muzzle (Black)
- MR, 6 sc (6)
- inc x6 (12)
- (sc, inc) x6 (18)
4–6. sc around (18)
FO, lightly stuff, and sew under eyes. Embroider nose tip in gray.
👂 Ears (Make 2)
Inner Ear (Black):
- MR, 6 sc (6)
- (sc, inc) x3 (9)
- (2 sc, inc) x3 (12)
- sc around (12), FO.
Outer Ear (Beige):
Repeat inner ear steps with beige yarn. Place the black inner ear over beige, crochet around both layers with black for edging. Leave tail for sewing.
🦴 Body (Beige with Black Patch)
- MR, 6 sc (6)
- inc x6 (12)
- (sc, inc) x6 (18)
- (2 sc, inc) x6 (24)
- (3 sc, inc) x6 (30)
6–12. sc around (30) - Switch to black, sc around (30)
- Switch back to beige, sc around (30)
- (3 sc, dec) x6 (24)
- sc around (24)
- (2 sc, dec) x6 (18)
- sc around (18)
- (sc, dec) x6 (12)
- dec x6 (6), FO.
Stuff firmly.
🐾 Legs (Make 4)
(Beige with Black paws & patches)
- MR, 6 sc (6)
- inc x6 (12)
- (sc, inc) x6 (18)
4–6. sc around (18) - Switch to black, sc around (18)
8–9. sc around (18) - dec x9 (9), FO.
👉 Embroider small black triangular patches above front paws to match shepherd markings.
🐕 Tail (Beige with Black Tip)
- MR, 6 sc (6)
- (sc, inc) x3 (9)
3–8. sc around (9) - Switch to black, sc around (9)
10–12. sc around (9), FO.
Sew to back of body.
🐾 Collar & Tag
- With red yarn: crochet 2 rounds of sc around the neck for a snug collar.
- For the tag: use white felt or crochet a small circle, embroider “Buddy,” and attach under the collar with thread or a jump ring.
🪡 Assembly
- Sew head to body firmly.
- Attach ears on top of the head, angled slightly outward.
- Sew muzzle to face, just under eyes.
- Attach legs (front straight, back tucked) for a seated posture.
- Sew tail to back.
- Add collar & tag.
- Finish shaping by adjusting stuffing, especially around the muzzle for a slightly longer snout.
🎀 Finishing Touches
- Embroider oval eye patches around the safety eyes.
- Add black paw pads underneath each foot.
- Brush ears gently with a soft brush for extra fluff.
- Optional: stitch whisker spots or extra detailing for realism.
🐾 Final Thoughts
Your handmade German Shepherd Buddy is now complete! With his bright red collar, upright ears, and loyal gaze, he’s a true tribute to one of the most beloved dog breeds. Whether as a gift, display piece, or memorial for a real pup, Buddy will sit proudly in any collection. 🐶❤️