Welcome to the caring and professional world of amigurumi! 🩺✨ Today, I’m excited to share my free crochet pattern for an Amigurumi Doctor Doll—a heartfelt and detailed creation perfect for healthcare professionals, medical students, or anyone who enjoys crafting expressive and meaningful plush designs! 🧶 Whether you love stitching up inspiring figures, experimenting with tiny accessories, or simply want to add a dedicated doctor to your handmade lineup, this pattern will guide you through crafting a beautifully sculpted plush with a classic white coat, a tiny stethoscope, and a touch of compassionate charm! 💙
This design embraces crisp whites, soothing blues, and intricate shaping to bring a professional and uplifting presence to your crochet projects! 🧶✨ I’ve carefully outlined each step to ensure your Amigurumi Doctor Doll turns out just right—ready to brighten up your collection or become a treasured handmade gift! 🎁 So grab your hooks, pick out medical hues, and let’s stitch up a wonderful doctor doll! 🩺
🩺 Amigurumi Doctor Doll Crochet Pattern
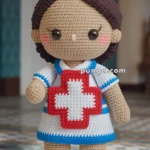
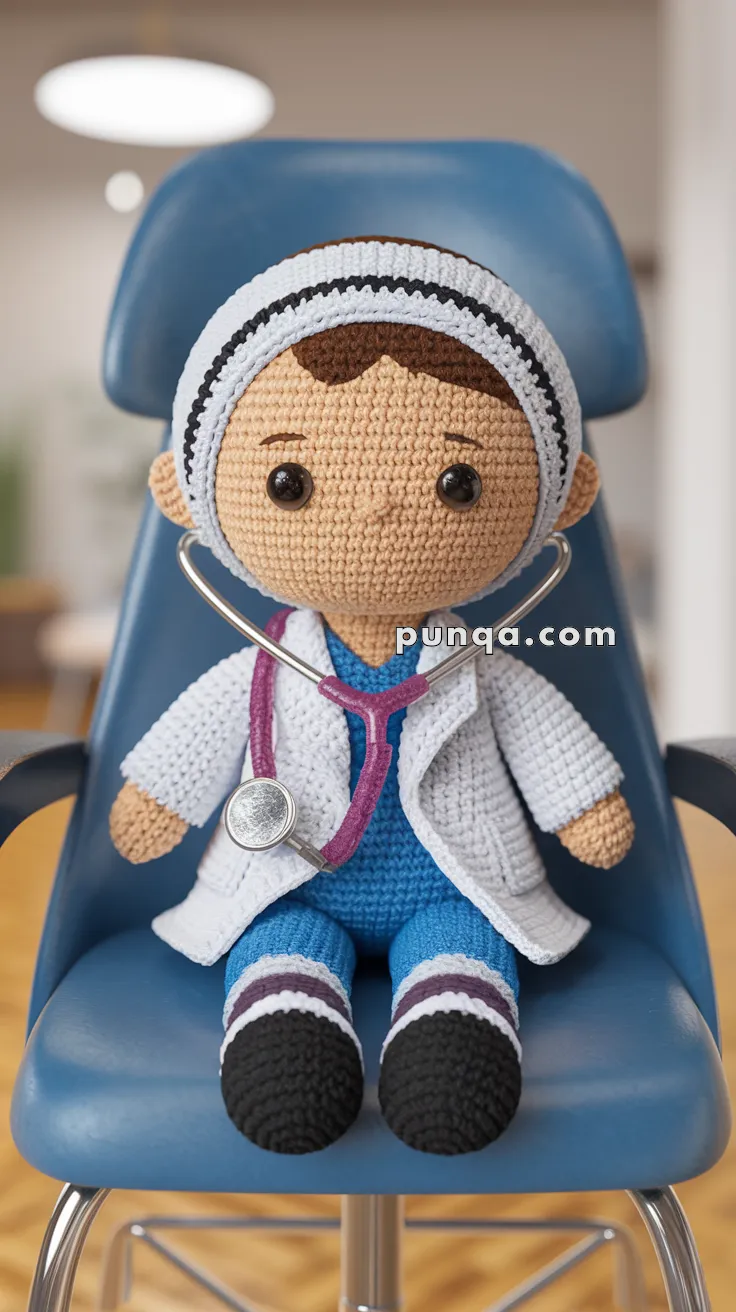
Celebrate our healthcare heroes with this adorable amigurumi doctor doll! 👩⚕️💉👨⚕️ Dressed in scrubs, black shoes, and a crisp white coat, this doll even has a headband and stethoscope to complete the look. A heartfelt handmade gift for doctors, nurses, or aspiring healthcare professionals.
✨ Skill Level
Intermediate – involves clothing construction, basic shaping, and accessory making.
📏 Finished Size
Approx. 10–12 inches (25–30 cm) tall with worsted yarn and 2.5–3.5 mm hook.
🧶 Materials
-
Worsted weight yarn:
-
Skin tone – Color A
-
Brown – Hair (Color B)
-
Blue – Scrubs (Color C)
-
White – Lab coat + Headband (Color D)
-
Black – Shoes (Color E)
-
Burgundy/Plum – Sock stripe (Color F)
-
-
2.5–3 mm crochet hook
-
Safety eyes (10–12 mm)
-
Tapestry needle
-
Polyfill stuffing
-
Embroidery thread for eyebrows
-
(Optional) Toy stethoscope or crochet your own
🧵 Abbreviations (US Terms)
-
MR = Magic Ring
-
sc = Single Crochet
-
inc = Increase (2 sc in one st)
-
dec = Decrease (sc2tog)
-
ch = Chain
-
sl st = Slip Stitch
-
hdc = Half Double Crochet
-
FO = Fasten Off
👩⚕️ Head
(As in your original pattern – keep as is, works fine)
-
Make head with Color A, stuff firmly, attach safety eyes, embroider eyebrows.
-
Add hair cap with Color B.
-
Sew on headband: crochet in Color D with a black surface line in the middle.
🩳 Body & Scrubs
-
Work in Color C (blue).
-
Crochet body cylinder as written.
V-Neck Scrub Detail (new):
Before finishing the last 2 rows, skip the front-center stitch and sl st on either side to create a tiny “dip” → this gives the neckline a V-shape like in the photo.
🦵 Legs (with Shoes)
Legs (x2):
-
Start with Color E (Black shoes):
-
MR, 6 sc
-
inc x6 (12)
-
(sc, inc) x6 (18)
-
(2 sc, inc) x6 (24) → this extra round widens the shoe toe.
-
R5–7: sc around (24)
-
R8: (2 sc, dec) x6 (18)
-
R9: (sc, dec) x6 (12) → lightly stuff to shape shoe roundness.
-
-
Change to Color F (sock stripe): sc around (12).
-
Change to Color C (blue scrubs): continue up to thigh length (about 14–16 rows).
-
FO, stuff, and sew to body.
💪 Arms (x2)
-
Begin with Color A (skin).
-
Switch to Color D (white coat sleeve).
-
Lightly stuff. Flatten ends before sewing to shoulders.
👟 Shoes – Finishing Touch
With black yarn, embroider a small curved line across the top of each shoe (like a crease). This makes the rounded toe look more realistic.
🧥 Lab Coat (Photo-Accurate Version)
Body Panel:
-
With Color D, ch 32.
-
R1: sc across (31).
-
R2–15: sc in rows (this forms the coat body).
Sleeves:
-
At Row 16, ch 6, skip 6 sts in the middle, continue sc to end. (Armholes formed.)
-
Work 6 more rows evenly.
Collar/Lapels:
-
With new yarn, crochet along the front edges of the coat.
-
Work: sc, hdc, dc, dc, hdc, sc to shape each lapel.
-
This creates the folded collar seen in the photo.
Assembly:
-
Fold and seam back of coat.
-
Add sleeves: pick up 18 sts around each armhole and sc 8 rounds.
-
Slip coat on doll.
🩺 Stethoscope (Optional Crochet Version)
Tube (Gray):
-
Ch 30, sc back.
Y-Split (Purple):
-
Ch 12, attach to tube end.
-
Add small circle: MR, 6 sc → sew as chest piece.
Or, use a toy stethoscope as in the photo.
✂️ Assembly
-
Sew head to body.
-
Attach arms and legs.
-
Dress doll in lab coat.
-
Place headband and stethoscope.
-
Add final shaping to coat lapels.
This amigurumi doctor is ready for rounds! Whether you gift it to a nurse, pediatrician, or healthcare student, this doll is a heartfelt way to say “Thank you” with every stitch. 🧶❤️