Drift into cozy comfort with this Amigurumi Cloud Pillow crochet pattern! Inspired by the soft, fluffy beauty of clouds, this charming design captures their dreamy shape and gentle presence in every stitch. With its plush texture and soothing aesthetic, this crochet cloud pillow is perfect for adding a whimsical touch to your handmade collection. Whether you’re crafting for a nursery, decorating a cozy space, or simply enjoy making relaxing amigurumi designs, this pattern lets you stitch up a cuddly cloud bursting with charm! ☁️✨
Designed for customization, this pattern allows you to experiment with different shades of white, gray, or even pastel hues for a unique twist. Add embroidered details, tiny accessories like a sleepy face or raindrops, or even stitch up a full set of cloud-inspired amigurumi for a dreamy display! Whether gifted as a cherished keepsake, displayed as a calming accent, or made simply for the joy of crafting, this Amigurumi Cloud Pillow is a fun and creative project—perfect for bringing a touch of handmade serenity to every stitch! 🧶💖
☁️ Amigurumi Cloud Pillow Crochet Pattern
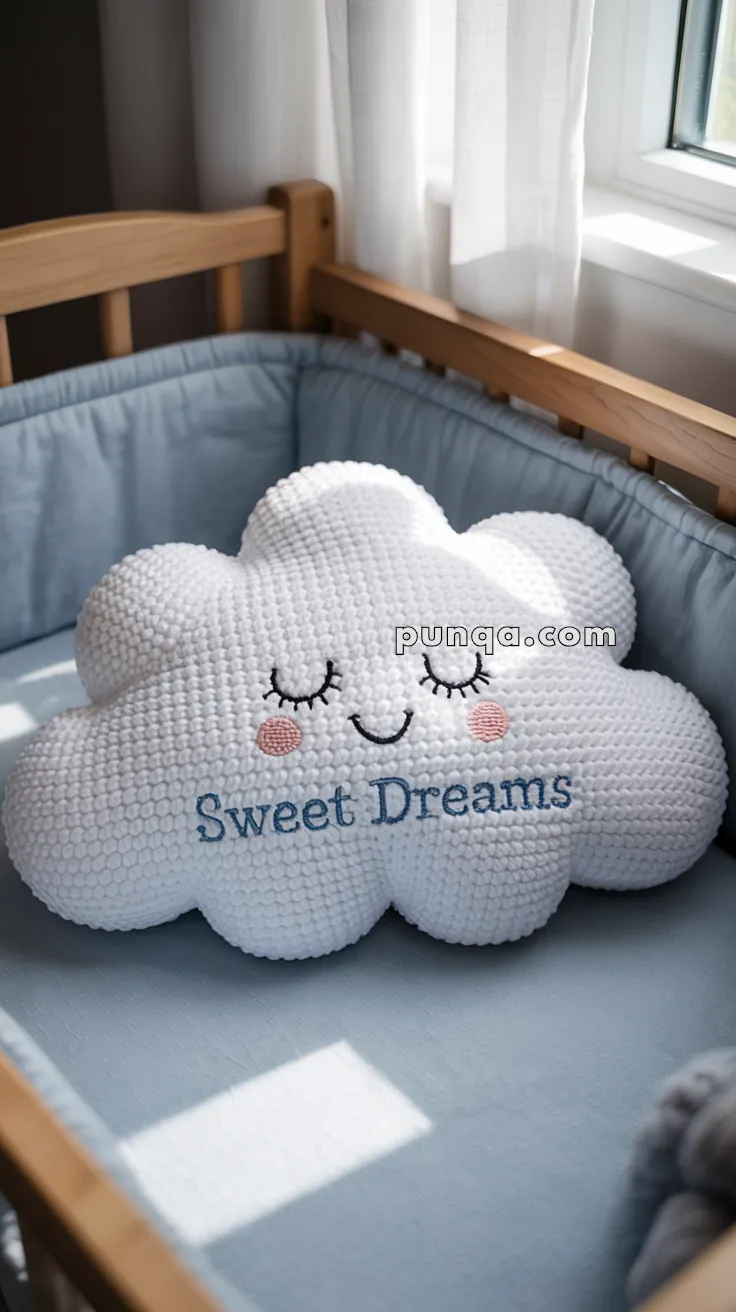
Snuggle into the softest handmade dreams with this fluffy cloud pillow! With sleepy eyes, rosy cheeks, and a friendly smile, it makes the perfect cozy companion for nurseries, toddler beds, or storytime corners.
✨ Skill Level
Beginner to Intermediate – Basic shaping and simple embroidery.
📏 Finished Size
Approx. 18–20 in (45–50 cm) wide x 12 in (30 cm) tall when made with bulky yarn and a 6.0–7.0 mm hook.
🧶 Materials
- Bulky or super bulky plush yarn in:
- White (main cloud)
- Pink (cheeks)
- Black (face embroidery)
- Blue (lettering)
- Crochet hook: 6.0–7.0 mm
- Polyfill stuffing (generous amount)
- Yarn needle for sewing
- Stitch marker
- Optional: water-soluble marker or stencil for lettering
☁️ Cloud Body
This cloud is made in two identical panels, then stitched together and stuffed.
Make 2 Panels:
With white yarn:
Center Base
- MR, 6 sc
- inc x6 (12)
- (1 sc, inc) x6 (18)
- (2 sc, inc) x6 (24)
- (3 sc, inc) x6 (30)
- (4 sc, inc) x6 (36)
- (5 sc, inc) x6 (42)
You should now have a flat circular base. This will form one of the cloud “bump” shapes. To get the full cloud silhouette, you’ll make 5–6 of these curved edges in one continuous row by modifying the stitch count and arranging lobes side-by-side.
Cloud Shape (Round Edges)
- First bump:
(6 sc, inc) x6 (48)
sc around for 2–3 rounds - Second bump:
Start a new bump at the edge (you can continue in same piece or join after row ends):
MR, inc to 18, then 24
Continue adding side-by-side bumps until cloud shape resembles a wide semi-oval with 5–6 “lobes”.
Note: If preferred, you can shape the cloud using increases and decreases instead of multiple circles:
- sc 20, (inc) x6, sc 10, (inc) x6, sc 20
- Adjust by adding decreases between bumps in following rows
FO and weave in ends.
🧷 Assembly
- Place the two cloud panels together (right sides facing out)
- Using white yarn and whip stitch or sc, sew around the outer edge
- Stuff generously with polyfill before closing
- Finish sewing and shape cloud with your hands
😴 Embroidered Face
Eyes (Closed lashes)
With black yarn or embroidery thread:
- Use a backstitch or surface slip stitch to make 2 curved lines with 3 small lashes each
- Position roughly 3 inches apart, slightly above center line
Smile
- Use black yarn to embroider a simple curved smile centered under the eyes
Cheeks
With pink yarn or felt circles:
- Create two circles using:
- MR, 6 sc
- sl st to first st, FO
- Sew on cheeks or hot-glue felt patches
✍️ Embroidered Lettering (“Sweet Dreams”)
Option 1: Surface Embroidery (Recommended)
- Lightly draw or stencil “Sweet Dreams” in cursive or print with a washable marker
- Use a split stitch or backstitch and blue yarn to trace the letters directly onto the cloud
- Knot yarn at back to secure
Option 2: Crochet Appliqué Letters
- Create small block letters or chain-stitched letters and sew them on
- Use glue for added hold
🧼 Care Instructions
- Spot clean with mild soap
- Lay flat to dry
- Avoid machine wash if using safety features (eyes, felt)
💡 Customization Ideas
- Add a rattle insert or squeaker for baby version
- Use pastel rainbow colors for bumps
- Embroider baby’s name instead of “Sweet Dreams”
This dreamy cloud is perfect for hugging, resting, and decorating. Whimsical, soft, and irresistibly cute — it’s handmade love in pillow form! ☁️💤