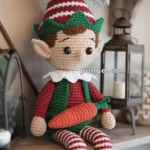
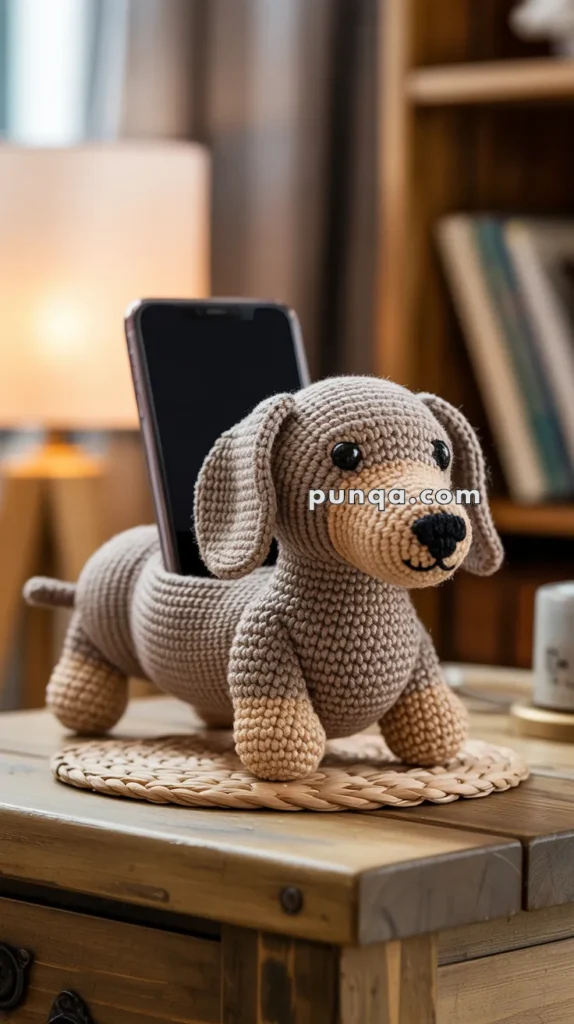
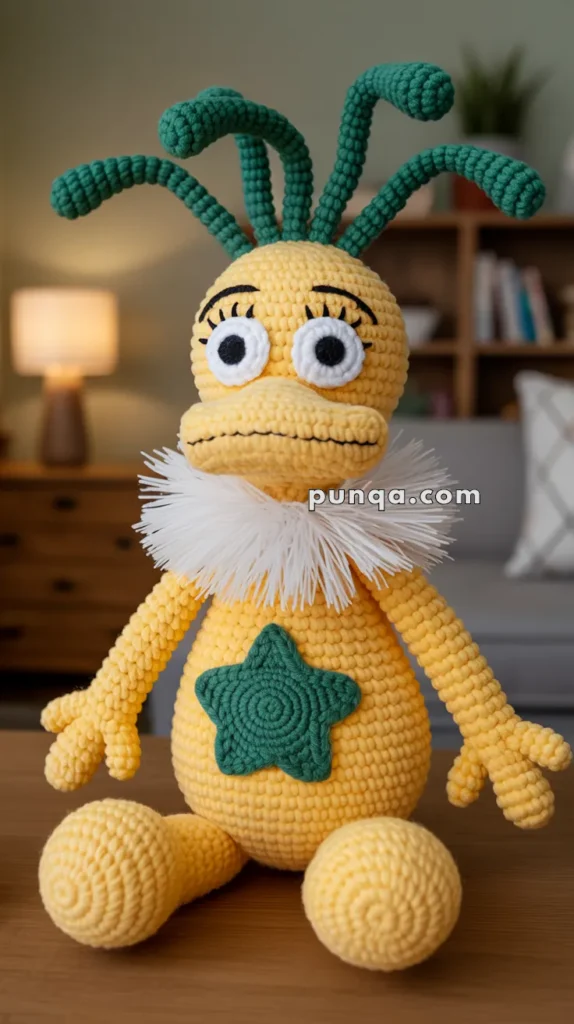
Ah, the joys of the holiday season! 🎄 There’s something truly magical about crafting your own Christmas decorations, and amigurumi brings an adorable twist to this tradition. Creating an amigurumi Christmas squirrel holding a pinecone might just be the cutest festive project you’ll ever embark on! The process of bringing this little woodland creature to life with yarn is both exciting and rewarding. Imagine the joy of seeing your creation perched on the mantelpiece or nestled within your holiday wreath. The squirrel’s whimsical charm, paired with the rustic touch of a crocheted pinecone, promises to bring smiles and warmth to any festive setting.
Starting this project is like stepping into a cozy creative journey. First, gather your materials: soft yarn in shades of gray or brown for the squirrel, and a complementary color for the pinecone. With your crochet hook in hand, you’ll embark on a series of simple stitches that transform into something extraordinary. The repetitive motion of crocheting is almost meditative, allowing your mind to wander and dream of holiday cheer. Before you know it, you’ll be adding adorable details like tiny eyes and a fluffy tail. As your amigurumi squirrel takes shape, you’ll feel a sense of accomplishment and festive spirit that only handmade creations can inspire. 🧶✨
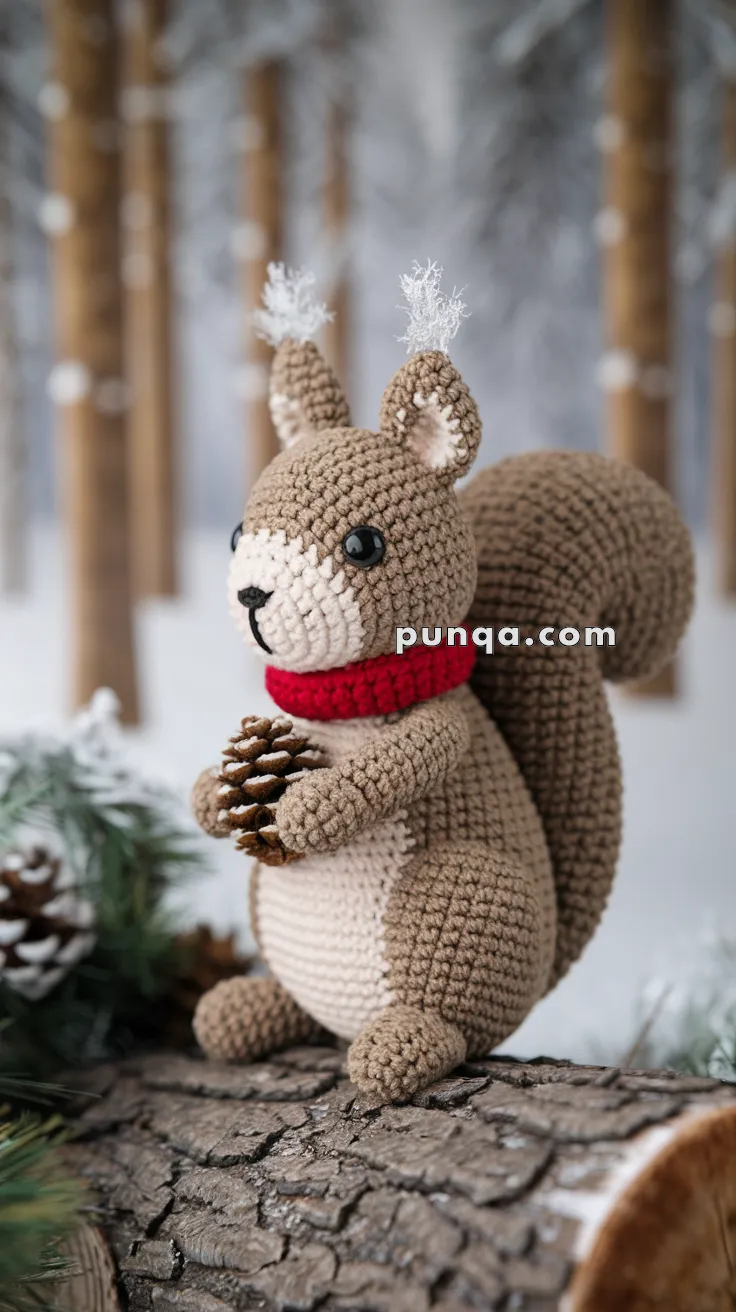
🐿️ Amigurumi Christmas Squirrel with Pinecone – Free Crochet Pattern
🧶 Skill Level
Intermediate
📏 Finished Size
Approx. 20–23 cm (8–9 inches) tall with worsted weight yarn and 3.5–4.0 mm hook
✂️ Materials
-
Worsted weight yarn:
-
Light brown (body, ears, tail, arms, legs)
-
Cream or beige (muzzle, belly)
-
Red (scarf)
-
-
Crochet hook: 3.5 or 4.0 mm
-
Safety eyes: 10–12 mm black
-
Black embroidery thread or thin yarn (for nose and mouth)
-
Small pinecone (real or crocheted/needle-felted)
-
Yarn needle, stitch markers, scissors
-
Fiberfill stuffing
-
White eyelash yarn (for ear tufts, optional)
🧵 Abbreviations (US Terms)
-
MR – Magic Ring
-
sc – Single Crochet
-
inc – Increase
-
dec – Decrease
-
ch – Chain
-
sl st – Slip Stitch
-
FO – Fasten Off
🔘 Head
With light brown:
-
MR, 6 sc
-
inc x6 (12)
-
(sc, inc) x6 (18)
-
(2 sc, inc) x6 (24)
-
(3 sc, inc) x6 (30)
-
(4 sc, inc) x6 (36)
7–13. sc around (36) -
(4 sc, dec) x6 (30)
-
(3 sc, dec) x6 (24)
-
(2 sc, dec) x6 (18)
-
(sc, dec) x6 (12)
-
dec x6 (6), FO, weave end
Stuff firmly as you go.
🧸 Body
With cream:
-
MR, 6 sc
-
inc x6 (12)
-
(sc, inc) x6 (18)
-
(2 sc, inc) x6 (24)
-
(3 sc, inc) x6 (30)
6–9. sc around (30)
Switch to light brown:
10–18. sc around (30) -
(3 sc, dec) x6 (24)
-
(2 sc, dec) x6 (18)
-
(sc, dec) x6 (12)
-
dec x6 (6), FO and close
👀 Muzzle
With cream:
-
MR, 6 sc
-
inc x6 (12)
-
(sc, inc) x6 (18)
-
sc around (18)
-
(sc, dec) x6 (12)
FO, sew under eyes. Embroider nose and mouth.
👂 Ears (make 2)
With light brown:
-
MR, 6 sc
-
(sc, inc) x3 (9)
-
sc around (9)
-
Flatten and sl st to close. FO and sew on top of head.
Optional: Attach eyelash yarn to tips for tufts.
🧤 Arms (make 2)
With light brown:
-
MR, 6 sc
-
(sc, inc) x3 (9)
3–7. sc around (9) -
Flatten, sl st to close. FO and sew angled forward to hold pinecone.
🐾 Legs (make 2)
-
MR, 6 sc
-
inc x6 (12)
-
sc around (12)
-
(2 sc, dec) x3 (9)
5–7. sc around (9) -
FO and sew to base of body.
🐿️ Tail
-
MR, 6 sc
-
inc x6 (12)
-
(sc, inc) x6 (18)
-
(2 sc, inc) x6 (24)
5–20. sc around (24)
Stuff firmly, bend into curve, sew vertically onto back of body.
🧣 Scarf
With red:
-
ch 45
-
Row 1: sc in each ch (44)
-
FO and wrap around neck, secure with a stitch.
🌰 Pinecone
Use a small real pinecone or create a faux one from felt or yarn. Glue or stitch lightly into place between hands.
🧩 Final Assembly
-
Attach safety eyes to the head before closing
-
Sew muzzle under eyes, embroider details
-
Attach ears with or without tufts
-
Sew arms, legs, tail in place
-
Add scarf and pinecone
-
Optional: Add blush, snow details, or a mini hat
