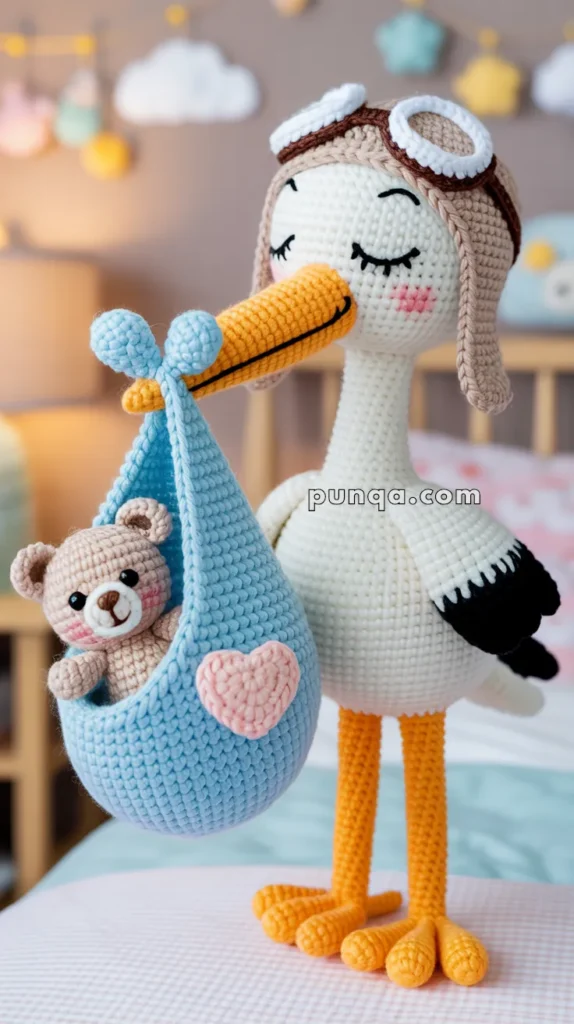
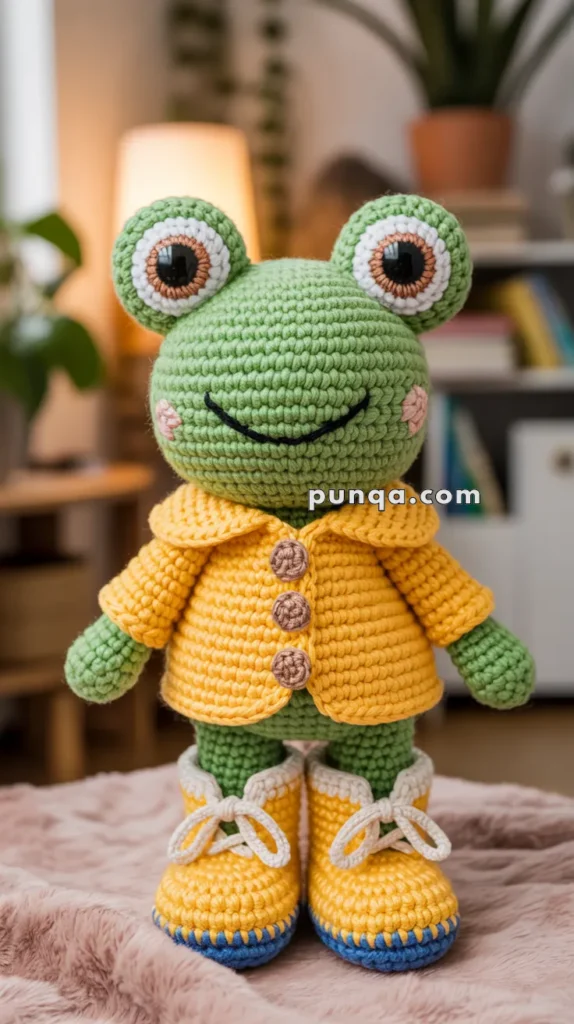
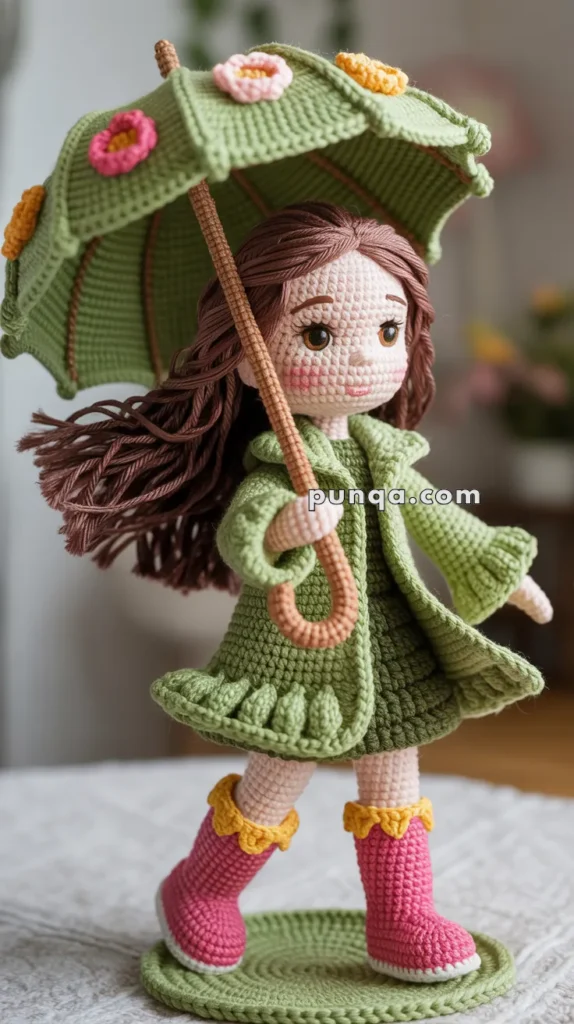
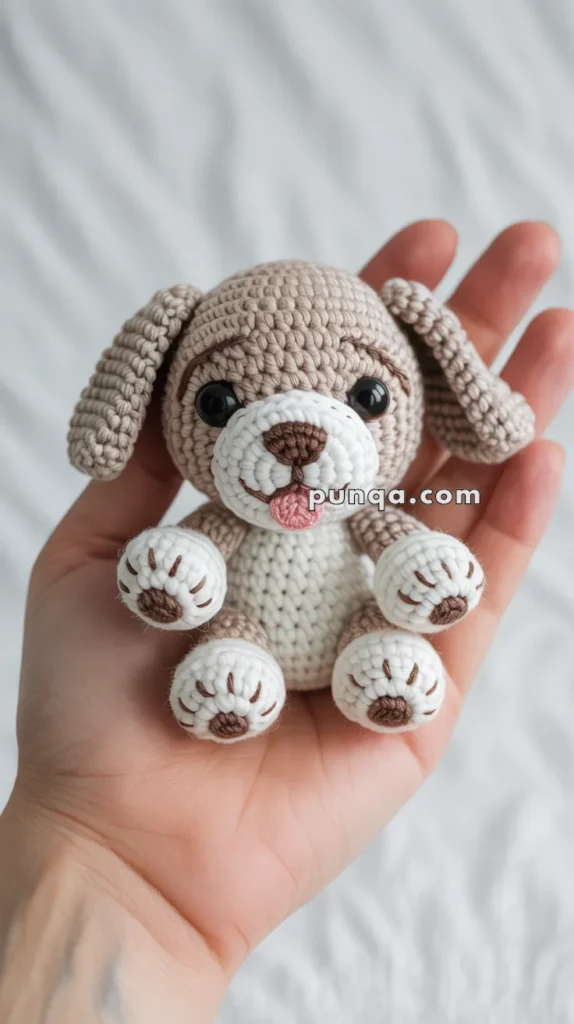
I’ve recently fallen head over heels for the delightful world of amigurumi, and let me tell you, creating a blossom amigurumi pattern is like sprouting joy with every stitch! 🌸 The whole process is both calming and thrilling, as I watch a simple ball of yarn transform into a vibrant, fluffy little flower. Amigurumi patterns are known for their charm and cuteness, and blossoms are no exception. They add a splash of color and a touch of whimsy to any space. Whether you’re a seasoned crafter or a beginner, there’s something incredibly satisfying about seeing your creation come to life in your hands.
Embarking on the journey of creating a blossom amigurumi pattern feels like a dance between creativity and technique. I start by choosing the perfect yarn, often opting for soft pastels or bright, cheerful colors that mimic nature’s own palette. 🌼 The key is to follow a series of rounds and stitches, which gradually shape the petals and center of the flower. It’s a bit like piecing together a puzzle, only softer and more snug! With each loop and tug, I find myself lost in the rhythm, eagerly anticipating the final result. The best part? These little blossoms make perfect gifts, infusing a bit of handmade love into any occasion.
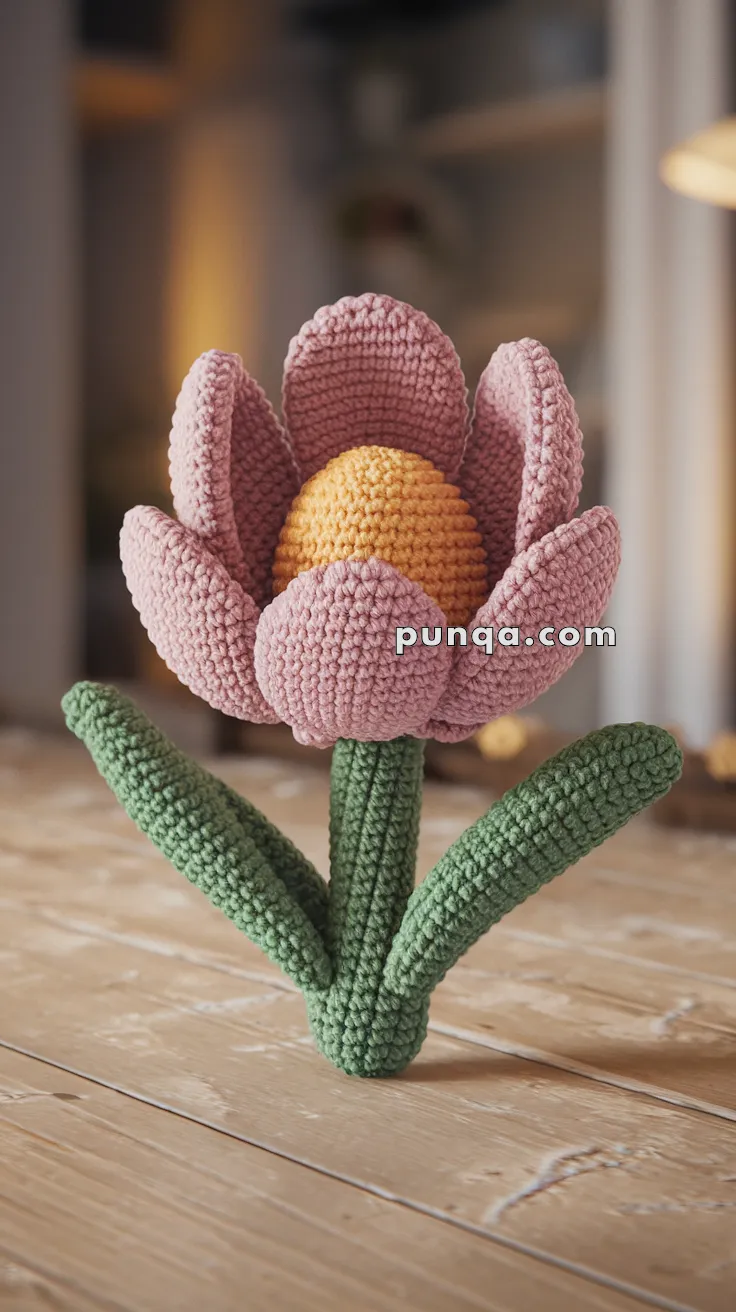
Amigurumi Blossom Pattern
Skill Level: Intermediate
Finished Size: Approximately 8 inches tall
Materials
– Worsted weight yarn in pink, yellow, and green
– Crochet hook size G/4.0 mm
– Polyester fiberfill stuffing
– Yarn needle
– Stitch marker
Abbreviations (US Terminology)
– ch: chain
– sc: single crochet
– inc: increase (2 sc in one stitch)
– dec: decrease (single crochet two stitches together)
– sl st: slip stitch
– st: stitch
– rnd: round
Pattern Instructions
Center of the Blossom (Yellow)
1. Rnd 1: Magic ring, 6 sc in ring (6)
2. Rnd 2: Inc in each st around (12)
3. Rnd 3: (Sc in next st, inc) around (18)
4. Rnd 4: (Sc in next 2 sts, inc) around (24)
5. Rnd 5-7: Sc in each st around (24)
6. Rnd 8: (Sc in next 2 sts, dec) around (18)
7. Rnd 9: (Sc in next st, dec) around (12)
8. Stuff firmly.
9. Rnd 10: Dec around (6)
10. Fasten off and weave in the end.
Petals (Make 5 in Pink)
1. Rnd 1: Magic ring, 6 sc in ring (6)
2. Rnd 2: Inc in each st around (12)
3. Rnd 3: (Sc in next st, inc) around (18)
4. Rnd 4-8: Sc in each st around (18)
5. Rnd 9: (Sc in next st, dec) around (12)
6. Rnd 10: Sc in each st around (12)
7. Fasten off, leaving a long tail for sewing.
Stem (Green)
1. Rnd 1: Magic ring, 6 sc in ring (6)
2. Rnd 2: Inc in each st around (12)
3. Rnd 3-20: Sc in each st around (12)
4. Fasten off, leaving a long tail for sewing.
Leaves (Make 3 in Green)
1. Ch 9.
2. Rnd 1: Sc in 2nd ch from hook and across, 3 sc in last ch; working on the other side of the chain, sc in each ch across, 2 sc in last ch (18)
3. Rnd 2-5: Sc in each st around (18)
4. Fasten off, leaving a long tail for sewing.
Assembly
1. Arrange the petals around the yellow center and sew them securely.
2. Attach the stem to the bottom of the assembled blossom.
3. Sew the leaves evenly around the base of the stem.
Finishing Touches
– Ensure all parts are stuffed to your preference before final assembly.
– Sew any remaining loose ends neatly.
– Adjust petals to give a natural blossom appearance.
Tips:
– Use a stitch marker to keep track of your rounds! 🌸
– Experiment with different colors for a rainbow bouquet! 🌈
– Share your beautiful blossom with friends to spread some cheer! 🎉
🎉 Your handmade crochet creation for Amigurumi Blossom Pattern is complete! Enjoy your one-of-a-kind amigurumi masterpiece and experiment with various yarn colors for a personal touch! 🧶✨


