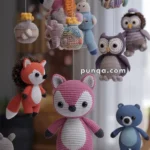
I’ve always found something truly magical about creating amigurumi, especially when it comes to crafting adorable little baskets! These charming and small crochet creations bring such joy, both in the making and the final product. It’s like weaving a little piece of happiness, one loop at a time. 🧶 Amigurumi baskets are not just cute to look at but also functional—perfect for holding tiny treasures or adding a dash of handmade charm to any corner of the house. The vibrant colors and limitless design possibilities make each project feel like an exciting new adventure. It’s a delightful way to express creativity and bring a little whimsy into everyday life.
The process of creating an amigurumi basket is both engaging and rewarding. Starting with just a skein of yarn and a trusty crochet hook, I love watching how, with each stitch, a simple strand of yarn transforms into a delightful 3D object. The beauty of making amigurumi baskets is in the details, from choosing the perfect colors to deciding on the right size and shape. It’s like painting a picture, but with fibers and loops instead of brushes and paint. And there’s nothing quite like the satisfaction of tying off that final knot, holding a completely unique creation that’s a product of both imagination and skill! 🎨💫
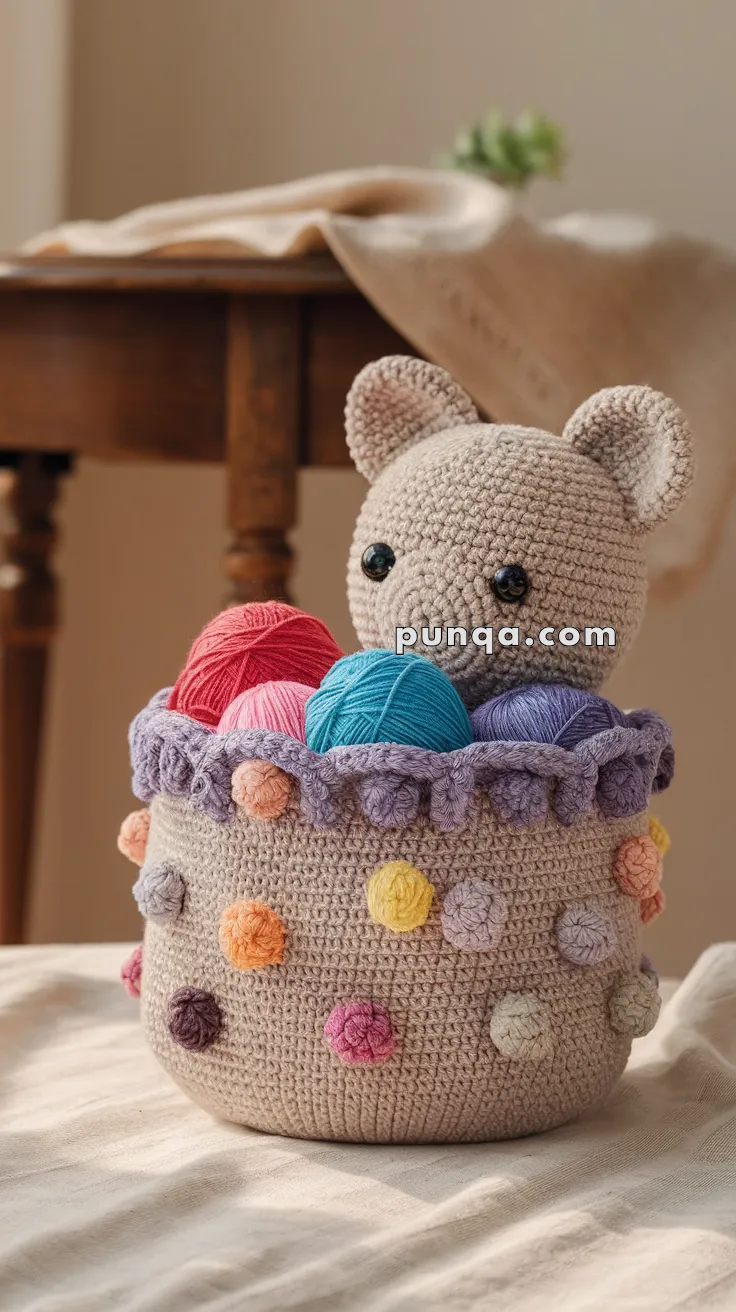
🧺 Amigurumi Bear in Yarn Basket – FREE Crochet Pattern
This charming bear-in-a-basket is the perfect project for crochet lovers who want something both decorative and functional! Whether you’re using it as a yarn holder, a gift basket, or simply as cute room decor, this little bear peeking from a polka-dot basket is bound to bring joy. 🎨🧸
🧶 Materials
-
Yarn in beige (bear), light tan (basket), purple (rim), and assorted bright colors for bobbles
-
2.5 mm or 3.0 mm crochet hook
-
10 mm safety eyes
-
Fiberfill stuffing
-
Yarn needle
-
Stitch marker
-
Optional: stitch stiffener if using for storage purposes
✨ Abbreviations (US Terms)
-
MR – Magic Ring
-
sc – Single Crochet
-
inc – Increase (2 sc in same stitch)
-
dec – Decrease (sc two together)
-
ch – Chain
-
sl st – Slip Stitch
-
bobble – 4–5 dc in same stitch, closed together
-
FO – Fasten Off
🧠 Skill Level
Beginner to Intermediate – Easy rounds, colorwork bobbles, and light shaping required.
✂️ Pattern Instructions
🐻 Bear Head
-
With beige yarn:
-
MR, sc 6
-
Round 2: inc around (12)
-
Round 3: (sc, inc) repeat around (18)
-
Continue increasing evenly to ~48 sts
-
Rounds 9–18: work even
-
Begin decreases (sc, dec) evenly
-
Insert safety eyes between rounds 10–12
-
Stuff firmly
-
FO, leave long tail to sew into basket
-
👂 Ears (Make 2)
-
With beige yarn:
-
MR, sc 6
-
Round 2: inc around (12)
-
Round 3: (sc, inc) around (18)
-
Round 4–5: sc around
-
FO and flatten ear, sew to head
-
🧺 Basket Base
-
With tan yarn:
-
MR, sc 6
-
Continue increasing evenly each round until base reaches ~15 cm diameter (or desired width)
-
Work even rounds to build up height (approx. 12–14 cm)
-
🌈 Basket Bobble Dots
-
Use colorful yarn scraps
-
Choose scattered spots and work into st:
-
Pull loop with color yarn
-
Work bobble stitch (4–5 dc in same st, close together)
-
sl st to secure, then weave tail inside
-
-
Repeat around basket evenly
💜 Basket Rim Frill
-
Attach purple yarn to top round of basket
-
Ch 1, then (sc, ch 3, sl st in same st) around to make scalloped edge
-
FO and weave in ends
🧵 Assembly
-
Sew bear head to inner side of basket near the back
-
Stuff the head slightly from inside to keep it upright
-
Optional: glue or sew yarn balls around the bear’s head as decor
-
Weave in all yarn tails
🌸 Finishing Touches
-
Embroider tiny nose and mouth with black yarn if desired
-
Add a little bow, tiny hook, or scissors for extra personality
-
Fill the basket with mini yarn balls or store your own supplies! 🧵🧷
📸 Display Idea
Place this cutie on your craft desk, shelf, or windowsill! You can even use it as a creative gift holder for your fellow crocheter friends. 🎁✨