Unleash your creativity with this Amigurumi Artist Doll crochet pattern! Whether you’re crafting for art lovers, adding a whimsical touch to your collection, or simply enjoy making expressive character dolls, this free pattern lets you stitch up a charming artist full of personality. With their colorful outfit, tiny paintbrush, and playful details, this crochet doll embodies the spirit of creativity and imagination. Perfect for gifting to fellow artists, decorating a craft space, or simply celebrating the joy of handmade artistry, this amigurumi creation is a delightful way to bring inspiration to life—one stitch at a time! 🎨✨
Designed for customization, this pattern allows you to experiment with different outfit colors, embroidered details, or even tiny accessories like a miniature easel or palette for extra charm. Craft a classic painter look, create a vibrant modern artist, or even stitch up a set of creative characters for a full artistic ensemble! Whether displayed as a whimsical accent, gifted to a fellow crochet enthusiast, or made simply for the joy of crafting, this Amigurumi Artist Doll is a fun and inspiring project—perfect for bringing a touch of artistic magic to every stitch! 🧶🖌️
🎨 Amigurumi Artist Doll Crochet Pattern
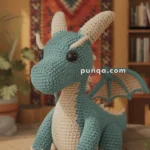
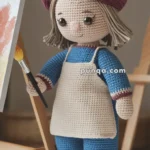
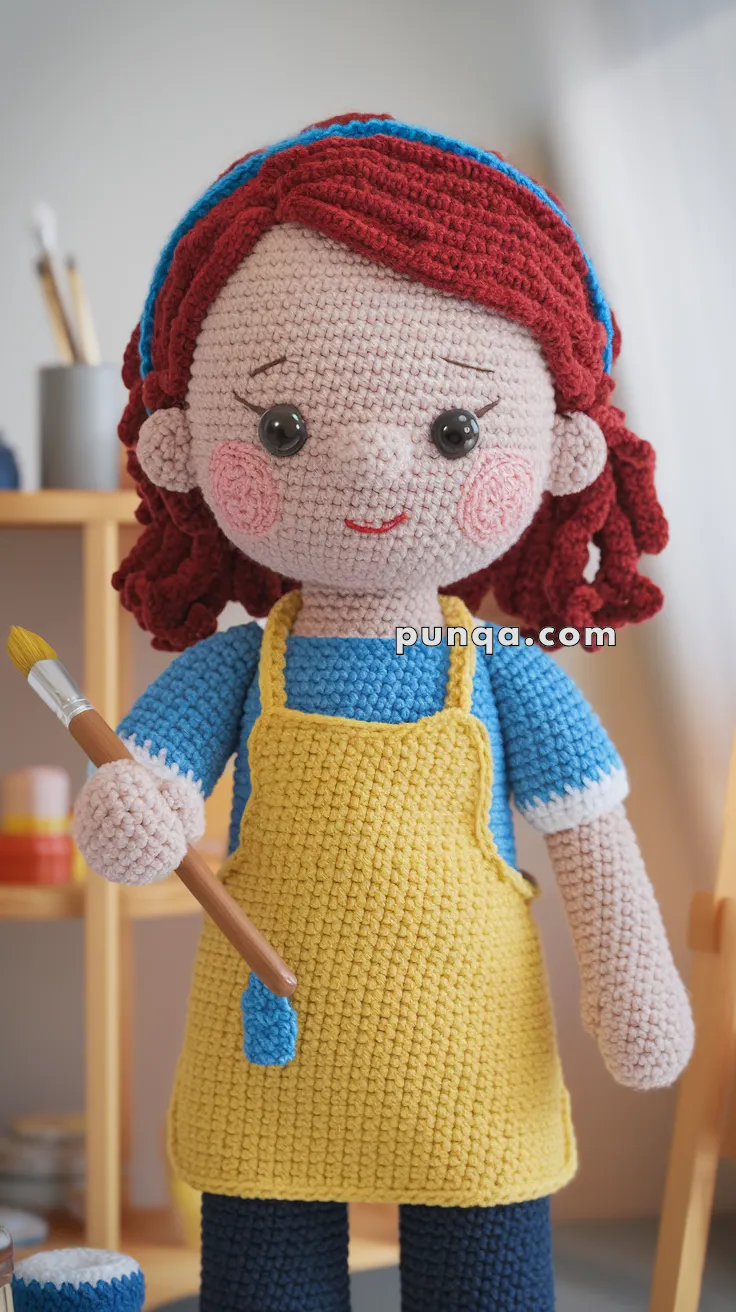
Let your creativity come to life with this adorable Amigurumi Artist Doll! Dressed in a bright yellow apron, with a paintbrush in hand and curls full of charm, she’s the perfect companion for crafty hearts and imaginative play. Whether as a gift for a little artist or a display in your studio, this doll adds handmade magic to any space.
✨ Skill Level
Intermediate – Involves color changes, shaping, hair curls, and clothing layers.
📏 Finished Size
Approx. 12–14 inches (30–36 cm) tall using DK or worsted weight yarn and a 2.5–3.5 mm hook.
🧶 Materials
Yarn (DK or Worsted weight):
-
Skin tone (light peach) – head, arms, hands
-
Red – hair
-
Blue – shirt and headband
-
Yellow – apron
-
Navy or dark blue – pants
-
White – sleeve edges
-
Black – safety eyes (8 mm)
-
Pink – cheeks
-
Brown – paintbrush handle
-
Gray/Beige – brush ferrule
-
Yellow/Blue – brush tip and paint splatter
Other Supplies:
-
2.5–3.5 mm crochet hook
-
Polyfill stuffing
-
Stitch marker
-
Tapestry needle
-
Wire (optional for posable arms)
🧵 Abbreviations (US Terms)
MR – Magic Ring
sc – Single Crochet
inc – Increase
dec – Decrease
sl st – Slip Stitch
ch – Chain
FO – Fasten Off
BLO – Back Loop Only
🧒 Head
With skin tone:
-
MR, 6 sc
-
inc x6 (12)
-
(1 sc, inc) x6 (18)
-
(2 sc, inc) x6 (24)
-
(3 sc, inc) x6 (30)
-
(4 sc, inc) x6 (36)
7–18. sc around (36) -
(4 sc, dec) x6 (30)
-
(3 sc, dec) x6 (24)
-
(2 sc, dec) x6 (18)
– Insert safety eyes between Rounds 12–13, 7 sts apart
– Embroider nose, lashes, and brows before closing
– Add pink cheeks and red smile with embroidery thread -
(1 sc, dec) x6 (12)
-
dec x6 (6)
FO and close.
💇 Hair & Headband
Curls (Make ~12):
With red:
-
Ch 21
-
2 sc in each st across (creates spiral curl)
FO and sew around back and sides of head.
Headband:
With blue:
-
Ch enough to wrap around crown of head
-
Sc in each st
FO and sew in place. Optional: Add a row of red trim.
👕 Body
Start with blue for shirt:
-
MR, 6 sc
-
inc x6 (12)
-
(1 sc, inc) x6 (18)
-
(2 sc, inc) x6 (24)
-
(3 sc, inc) x6 (30)
6–12. sc around (30) -
(3 sc, dec) x6 (24)
14–18. sc around (24)
Switch to yellow for apron back:
19–22. sc around (24)
FO and set aside.
👖 Legs (Make 2)
With navy/dark blue:
-
MR, 6 sc
-
inc x6 (12)
3–18. sc around (12)
FO and stuff. Don’t close.
Sew legs side-by-side and join to body base using whip stitch.
💪 Arms (Make 2)
Start with skin tone:
-
MR, 6 sc
-
inc x6 (12)
3–6. sc around (12)
Switch to white (cuff): -
sc around (12)
Switch to blue:
8–16. sc around (12)
Stuff lightly, FO and sew to shoulders.
👗 Apron
With yellow:
-
Ch 18
-
Sc in 2nd ch and across (17)
3–15. ch 1, turn, sc across (17)
FO, make 2 straps (ch 30 each) and sew to top corners of apron.
Stitch blue “paint splatter” patch and attach apron over shirt body.
🖌 Paintbrush
Handle:
With brown:
-
MR, 4 sc
2–8. sc around (4)
Switch to gray/beige for ferrule:
9–10. sc around (4)
Switch to yellow or blue for bristles:
11–12. sc around, then flatten and FO
Sew into one hand.
✂️ Finishing & Assembly
-
Attach head to body securely
-
Sew arms to sides
-
Attach apron in front and tie back
-
Add brush into hand (stitch to secure if needed)
-
Weave in all ends
💡 Customization Ideas
-
Add tiny paint pots or a canvas prop
-
Create a brush holder belt or tiny pocket palette
-
Give her rainbow hair or add glasses for flair
This sweet amigurumi artist is ready to create a masterpiece—and inspire your own! Stitch her up as a crafty gift, classroom decor, or part of your handmade doll collection. 🎨🧶