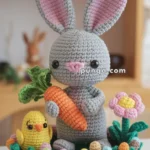
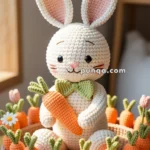
Add a festive touch to your crochet collection with this Amigurumi Easter Egg Garland pattern! 🐣✨ With its colorful eggs, playful textures, and cheerful design, this creation brings the joy of Easter to life in yarn form. Whether you’re crafting for seasonal décor, a heartfelt gift, or simply love holiday-inspired amigurumi, this FREE pattern is a delightful addition to your projects.
Designed for crocheters of all skill levels, this pattern allows for customization in egg sizes, color combinations, and even tiny embellishments like embroidered flowers or decorative beads to enhance its charm. Choose soft pastels for a classic springtime look or experiment with bold hues for a vibrant twist! Whether displayed across a mantel, draped along a festive table, or gifted to a fellow crochet enthusiast, this amigurumi Easter egg garland is sure to brighten any space. Grab your hook, select your favorite yarn, and let’s bring this joyful decoration to life—one stitch at a time! 🧶✨
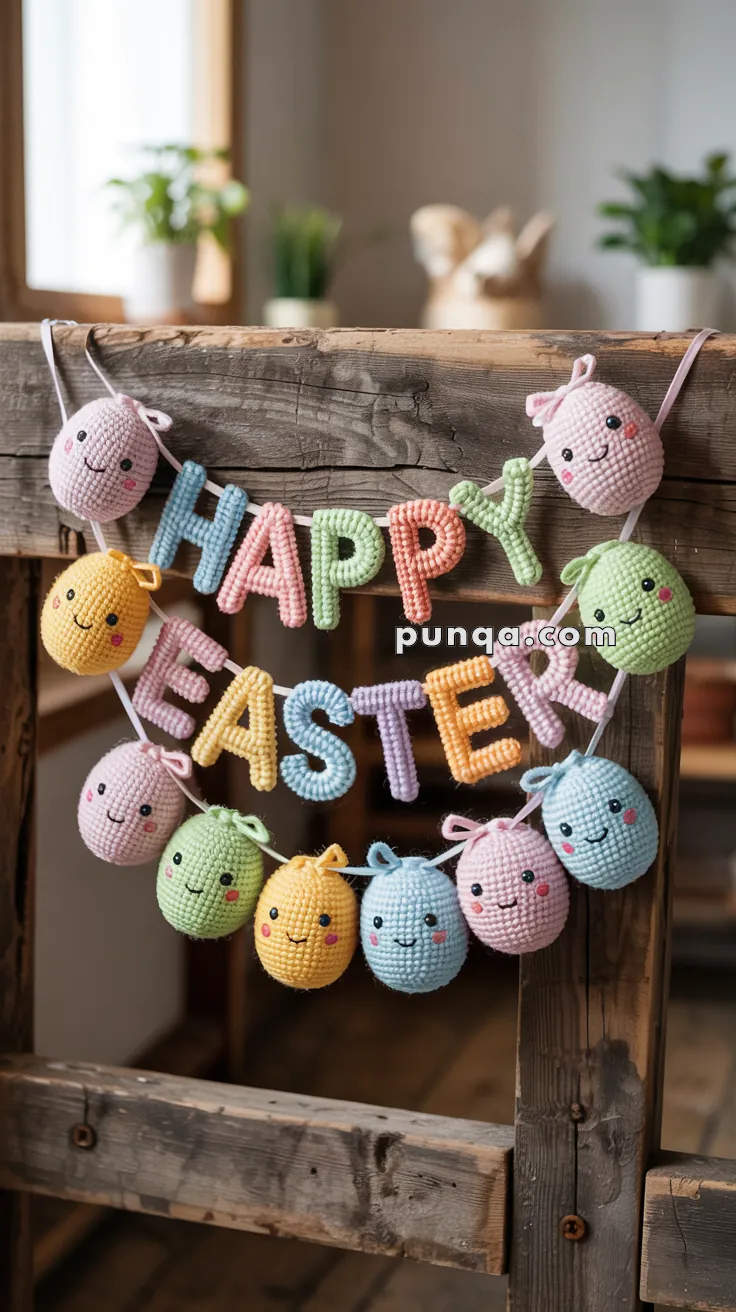
🌓 Amigurumi Easter Egg Garland Crochet Pattern
Celebrate Easter with this adorable amigurumi garland that combines smiling pastel eggs with bold, colorful letters spelling “HAPPY EASTER.” Perfect for decorating mantels, walls, or party tables!
✨ Skill Level
Beginner to Intermediate – Basic crochet shaping and color changes.
📏 Finished Size
- Eggs: Approx. 2.5–3 in (6–8 cm) tall
- Letters: Approx. 3.5–4.5 in (9–11 cm) tall
- Garland Length: Customizable (40–60 in)
🧶 Materials
- DK or worsted weight yarn in pastel colors (pink, blue, yellow, green, purple)
- Bright yarns for letters (red, orange, yellow, green, blue, purple)
- Black and white yarn/thread for eyes and facial embroidery
- Pink yarn for cheeks
- 2.5–3.5 mm crochet hook
- Tapestry needle
- Polyfill stuffing
- 6 mm safety eyes or black thread
- Ribbon or yarn cord for stringing the garland
🧵 Abbreviations (US Terms)
MR – Magic Ring
sc – Single Crochet
inc – Increase (2 sc in same stitch)
dec – Decrease (sc 2 together)
sl st – Slip Stitch
ch – Chain
FO – Fasten off
🪚 Easter Egg Pattern (Make 12)
Round 1: MR, 6 sc (6)
Round 2: inc x6 (12)
Round 3: (sc, inc) x6 (18)
Round 4: (2 sc, inc) x6 (24)
Rounds 5–9: sc around (24)
Round 10: (2 sc, dec) x6 (18)
Round 11: sc around (18)
Round 12: (sc, dec) x6 (12)
Round 13: sc around (12)
Round 14: dec x6 (6)
Stuff and FO, close hole.
Face Embellishments:
- Safety eyes or embroidered eyes between Rounds 6–7 (4 sts apart)
- Embroider mouth and cheeks
- Optional bow: ch 25, sl st in first ch, tie in center and stitch on top
🄠 Letter Patterns: “HAPPY EASTER”
Each letter is made flat in rows and sewn together (2 sides) or left single-layer.
General Tip: Adjust letter height/width with more or fewer rows/chains.
Letter H
Row 1: Ch 11, sc in 2nd ch from hook and across (10)
Rows 2–6: sc across (10)
Row 7: sc 3, ch 4, skip 4, sc 3 (forms bar)
Rows 8–10: sc across (10)
FO.
Letter A
Row 1: Ch 13, sc in 2nd ch and across (12)
Rows 2–8: sc across (12)
Row 9: ch 5, sc in 2nd ch and across (4), sl st to mid body for crossbar
FO.
Letter P (Make 2)
Row 1: Ch 11, sc across (10)
Rows 2–4: sc across
Rows 5–8: sc 5, ch 5, sc back across
Row 9: sc across (10)
FO.
Letter Y
Row 1: Ch 11, sc across (10)
Row 2: sc 5, ch 1, turn
Rows 3–6: sc across
FO first branch. Rejoin yarn to remaining 5 sts, repeat.
Join both arms with ch 1, work 3 more rows to form stem.
Letter E
Row 1: Ch 11, sc across (10)
Rows 2–5: sc across
Row 6: sc 4, ch 6, skip to edge, continue sc across
Repeat bar sections on rows 3 and 4 to give shape.
Letter A (as above)
Letter S
Row 1: Ch 12, sc across (11)
Rows 2–4: sc across
Row 5: dec 2, sc 7, inc 2 (curve top)
Row 6: sc across
Repeat similar shaping below.
Letter T
Row 1: Ch 11, sc across (10)
Rows 2–4: sc across
Row 5: ch 4, skip 3, sc in last 3 for stem
Letter E (as above)
Letter R
Start as P, then add:
Final Row: ch 5, sl st diagonally across body to shape the leg.
🧱 Assembly
- Sew or glue letters onto yarn or ribbon strand.
- Space eggs evenly below or between letters.
- Add bows or felt backing if desired.
- Leave extra yarn at each end for tying.
🌈 Final Touch
This cheerful Easter garland will add a burst of handmade joy to your celebration. Use it year after year or gift it as a colorful keepsake!
Happy stitching and Happy Easter! 🌿💕