Welcome in the cozy vibes of autumn with the Pumpkin Gnome with Flower Hat, a delightful crochet project that blends seasonal charm with whimsical flair! 🎃🌸 This cheerful little character features a plump pumpkin body, a classic gnome beard, and a blooming flower-topped hat that adds a sweet splash of color. Whether you’re decorating for fall, crafting a festive gift, or simply indulging your love of playful amigurumi, this gnome is ready to brighten your space with handmade joy.
Perfect for crocheters who adore expressive details and seasonal themes, this pattern invites endless creativity. You can mix and match yarn shades for a harvest-inspired palette, add embroidered vines or tiny leaves, or even stitch up a whole patch of gnome friends with different floral hats. Whether perched on a shelf or nestled among your autumn décor, the Pumpkin Gnome with Flower Hat is a cozy way to stitch up smiles—one charming loop at a time! 🧶🍂
🎃 Amigurumi Pumpkin Gnome with Sunflower Hat Crochet Pattern
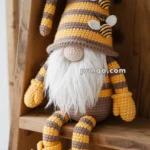
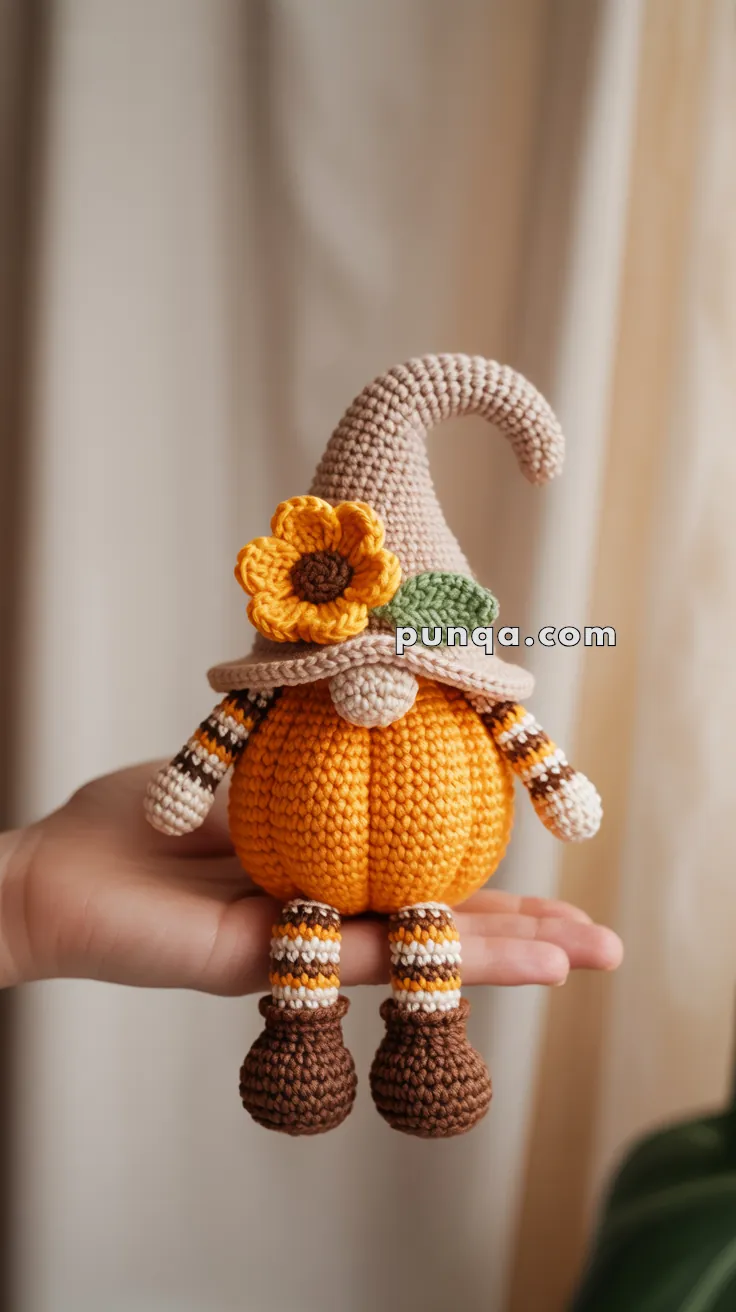
Bring cozy autumn vibes into your home with this adorable Pumpkin Gnome! 🍂 With a plump ridged pumpkin body, striped legs, soft brown boots, and a tall curled hat adorned with a sunflower and leaf, this gnome is full of fall charm. It makes a delightful handmade gift or a cute seasonal décor piece.
✨ Skill Level
Intermediate – involves shaping, color changes, and multi-piece assembly.
📏 Finished Size
Approx. 8–9 in (20–22 cm) tall using DK cotton yarn and a 2.5–3 mm hook.
🧶 Materials
- Orange: 30 g / 110 yd – pumpkin body
- Beige/Tan: 40 g / 145 yd – hat
- Brown: 20 g / 75 yd – boots, leg stripes, sunflower center
- White: 15 g / 55 yd – hands & leg stripes
- Yellow: 10 g / 35 yd – sunflower petals
- Green: 5 yd – leaf
- Crochet hook: 2.5–3 mm
- Polyfill stuffing
- Yarn needle, scissors, stitch markers
- Strong thread for pumpkin ridges
- (Optional) Thin floral wire for hat curl shaping
🧩 Abbreviations (US)
MR – Magic ring
sc – single crochet
hdc – half double crochet
dc – double crochet
inc – increase (2 sc in same st)
dec – invisible decrease (sc2tog)
sl st – slip stitch
ch – chain
BLO – back loop only
FLO – front loop only
FO – fasten off
( ) × 6 – repeat sequence six times
(24) – stitch count at end of round
🎃 Pumpkin Body (Orange)
R1: MR, 6 sc (6)
R2: inc × 6 (12)
R3: (1 sc, inc) × 6 (18)
R4: (2 sc, inc) × 6 (24)
R5: (3 sc, inc) × 6 (30)
R6: (4 sc, inc) × 6 (36)
R7: (5 sc, inc) × 6 (42)
R8: (6 sc, inc) × 6 (48)
R9–18: sc around (48)
R19: (6 sc, dec) × 6 (42)
R20: (5 sc, dec) × 6 (36)
R21: (4 sc, dec) × 6 (30)
R22: (3 sc, dec) × 6 (24)
R23: (2 sc, dec) × 6 (18)
R24: (1 sc, dec) × 6 (12)
R25: dec × 6 (6)
FO with long tail. Stuff firmly and flatten top and bottom for a squat pumpkin shape.
Finishing:
Using strong orange thread, pull 6–8 vertical ridges from top to bottom for deep pumpkin grooves. Knot tightly underneath.
🧡 Maker Tip: Slightly overstuff to get the plump shape before tightening the ridges — the thread tension will naturally pull it into that round, ribbed pumpkin look.
🥾 Boots (Make 2 – Brown)
R1: MR, 6 sc (6)
R2: inc × 6 (12)
R3: (1 sc, inc) × 6 (18)
R4: (2 sc, inc) × 6 (24)
R5: (3 sc, inc) × 6 (30)
R6–7: sc around (30)
R8: (3 sc, dec) × 6 (24)
R9: (2 sc, dec) × 6 (18)
R10: (1 sc, dec) × 6 (12)
R11: BLO sc around (12) – creates cuff ridge
R12–14: sc around (12)
FO with long tail. Stuff toe area firmly.
🤎 Maker Tip: Add a small flat bead or coin in the sole before stuffing for extra stability.
🦵 Legs (Make 2 – Striped)
(As shown in photo – fine alternating stripes)
R1 (Brown): MR, 6 sc (6)
R2: (1 sc, inc) × 3 (9)
R3: sc around (9)
R4 (White): sc around (9)
R5 (Orange): sc around (9)
R6 (White): sc around (9)
R7 (Brown): sc around (9)
R8 (White): sc around (9)
R9 (Orange): sc around (9)
FO and lightly stuff.
🧡 Maker Tip: Keep color joins aligned down the back of each leg for clean stripes when attached.
🤚 Arms (Make 2 – White → Orange)
R1 (White): MR, 6 sc (6)
R2: inc × 6 (12)
R3: sc around (12)
R4: dec × 6 (6)
R5–7 (Orange): sc around (6)
FO with long tail. Lightly stuff mittens only.
🎩 Curled Hat (Beige/Tan)
This tall, softly curved hat gives your gnome its signature whimsical look.
R1: MR, 6 sc (6)
R2: inc × 6 (12)
R3: (1 sc, inc) × 6 (18)
R4: (2 sc, inc) × 6 (24)
R5: (3 sc, inc) × 6 (30)
R6: (4 sc, inc) × 6 (36)
R7: (5 sc, inc) × 6 (42)
R8: (6 sc, inc) × 6 (48)
R9: (7 sc, inc) × 6 (54)
R10: (8 sc, inc) × 6 (60)
R11: BLO sc around (60) – forms the brim edge
R12: sc around (60)
Continue shaping the tall hat gradually:
R13–20: sc around (60)
R21: (8 sc, dec) × 6 (54)
R22–25: sc around (54)
R26: (7 sc, dec) × 6 (48)
R27–30: sc around (48)
R31: (6 sc, dec) × 6 (42)
R32–35: sc around (42)
R36: (5 sc, dec) × 6 (36)
R37–40: sc around (36)
R41: (4 sc, dec) × 6 (30)
R42–43: sc around (30)
R44: (3 sc, dec) × 6 (24)
R45: (2 sc, dec) × 6 (18)
R46: (1 sc, dec) × 6 (12)
R47: dec × 6 (6)
FO and close.
Stuffing & Curling Tips:
- Firmly stuff the lower third to help the hat sit upright.
- Use less stuffing toward the middle for flexibility.
- Leave the last few inches unstuffed for a natural droop.
- Bend the tip forward and slightly downward over the brim.
- Secure with hidden stitches or a short piece of floral wire.
✨ Optional: For a shorter, chubbier hat, stop decreasing after Round 42 and close the tip early.
🌻 Sunflower & Leaf
Center (Brown)
R1: MR, 6 sc (6)
R2: inc × 6 (12)
R3: (1 sc, inc) × 6 (18)
Lightly stuff for a puffed look. FO.
Petals (Yellow)
Join yarn to center edge, repeat 6 times:
(ch 7, sl st, sc, hdc, dc, hdc, sc, sl st in next st)
FO and weave in ends.
Leaf (Green)
Ch 8. Work down one side: sl st, sc, hdc, dc, hdc, sc, sl st.
Mirror stitches on opposite side. FO.
Sew leaf slightly behind flower, both angled to the left side of the hat.
👃 Nose (Optional)
In the photo, the nose is hidden beneath the brim.
For this look, you can omit it.
(If adding: MR 6 sc → inc × 6 → sc around → FO and tuck under brim.)
🧵 Assembly
1️⃣ Sew boots to legs (align first brown stripe with boot cuff).
2️⃣ Attach legs to bottom center of pumpkin so they dangle freely.
3️⃣ Sew arms to sides just below brim height.
4️⃣ Position hat so brim overlaps pumpkin top; front brim dips low.
5️⃣ Attach sunflower and leaf to left side of hat.
6️⃣ Curl hat tip forward and slightly down over front.
💡 Maker’s Finishing Tips
- Pull ridge threads tightly for deep pumpkin sections.
- Add weighted pellets in base for balance.
- Mist and pin hat brim flat to dry.
- Stuff boots firmly if you want a standing version.
🎉 Finished Look
Your Pumpkin Gnome is ready to bring warmth and whimsy to your fall décor! 🍁
With its plump orange pumpkin body, striped legs, soft brown boots, curled hat, and sunflower accent, it’s the perfect symbol of handmade coziness.