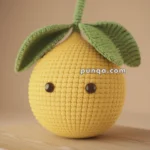
Welcome to the refreshing and cheerful world of amigurumi! 🍉✨ Today, I’m excited to share my free crochet pattern for an Amigurumi Watermelon—a bright and juicy creation perfect for summer lovers, fruit enthusiasts, or anyone who enjoys crafting adorable and playful plush designs! 🧶 Whether you love stitching up tiny treats, experimenting with textured details, or simply want to add a vibrant watermelon to your handmade lineup, this pattern will guide you through crafting a beautifully sculpted plush with a rich red center, a striped green rind, and a sprinkle of tiny seeds! ☀️
This design embraces bold reds, lush greens, and intricate shaping to bring a fun and refreshing presence to your crochet projects! 🧶✨ I’ve carefully outlined each step to ensure your Amigurumi Watermelon turns out just right—ready to brighten up your collection or become a treasured handmade gift! 🎁 So grab your hooks, pick out delicious hues, and let’s stitch up a fantastic watermelon! 🍉
🍉 Amigurumi Watermelon Crochet Pattern
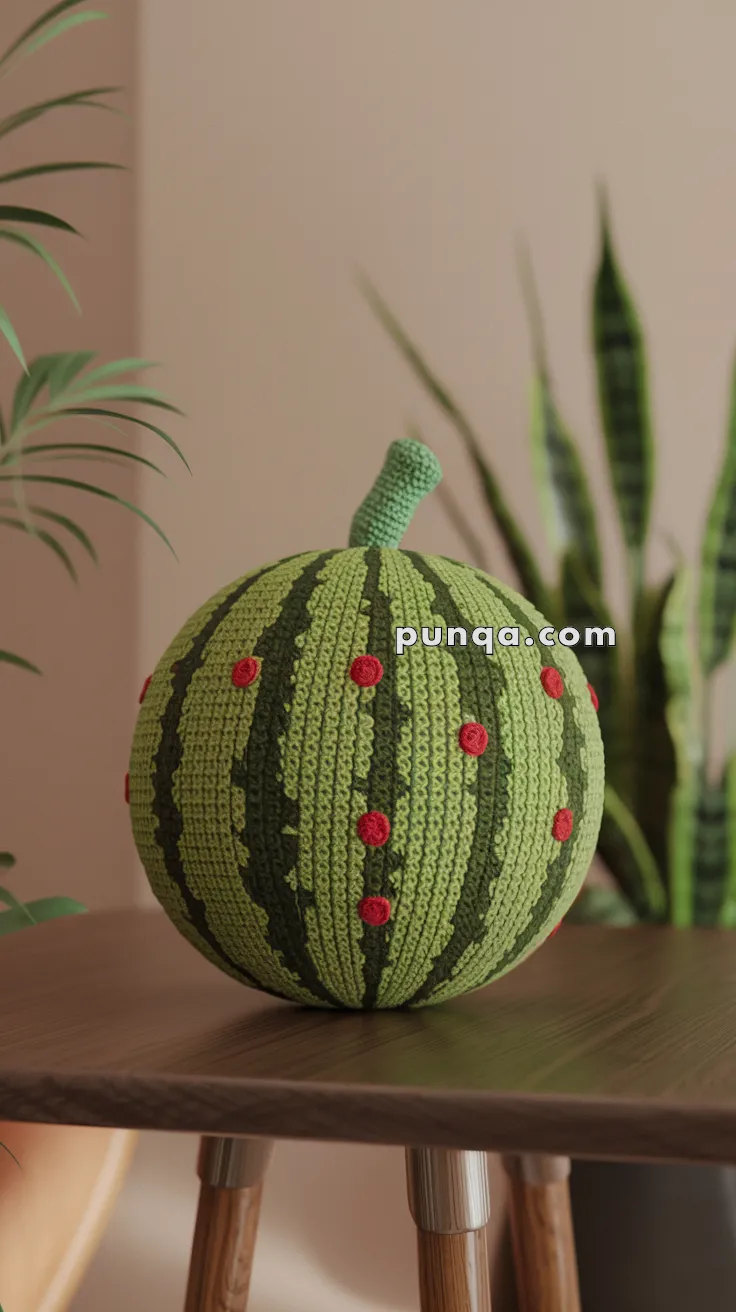
Bring summer into your home all year long with this adorable amigurumi watermelon! With its round plump shape, bold green stripes, cheerful red dots, and sturdy stem, this plush fruit makes the perfect toy, décor piece, or fun gift.
✨ Skill Level
Intermediate – involves color changes and surface slip stitch embroidery.
📏 Finished Size
Approx. 20–25 cm (8–10 inches) tall depending on yarn and hook.
🧶 Materials
-
Light green worsted-weight yarn (main body)
-
Dark green worsted-weight yarn (stripes)
-
Red worsted-weight yarn (spots)
-
Green yarn (stem)
-
3.5–4.0 mm crochet hook
-
Yarn needle
-
Polyfill stuffing
-
Stitch marker & scissors
🔤 Abbreviations (US Terms)
-
MR = Magic Ring
-
sc = single crochet
-
inc = increase (2 sc in one st)
-
dec = decrease (sc2tog)
-
sl st = slip stitch
-
st(s) = stitch(es)
-
FO = fasten off
🍉 Pattern Instructions
Watermelon Body (Light Green)
-
R1: MR, 6 sc (6)
-
R2: inc around (12)
-
R3: (sc, inc) ×6 (18)
-
R4: (2 sc, inc) ×6 (24)
-
R5: (3 sc, inc) ×6 (30)
-
R6: (4 sc, inc) ×6 (36)
-
R7: (5 sc, inc) ×6 (42)
-
R8: (6 sc, inc) ×6 (48)
-
R9: (7 sc, inc) ×6 (54)
-
R10: (8 sc, inc) ×6 (60)
👉 Continue working even rounds (60 sc each) until the piece measures about 20 cm tall. Stuff firmly as you go.
-
R41: (8 sc, dec) ×6 (54)
-
R42: (7 sc, dec) ×6 (48)
-
R43: (6 sc, dec) ×6 (42)
-
R44: (5 sc, dec) ×6 (36)
-
R45: (4 sc, dec) ×6 (30)
-
R46: (3 sc, dec) ×6 (24)
-
R47: (2 sc, dec) ×6 (18)
-
R48: (sc, dec) ×6 (12)
-
R49: dec around (6)
FO and weave to close.
Stripes (Dark Green, Surface Slip Stitch)
To make the realistic ridged stripes:
-
Insert hook at the top center of the watermelon.
-
Pull up a loop of dark green yarn.
-
Sl st down in a straight line to the bottom.
-
FO and weave in ends.
👉 Repeat 6–8 times, spacing stripes evenly around the body.
This creates the raised vertical stripes seen in the photo.
Red Spots (Make 10–12)
With red yarn:
-
MR, 6 sc (6)
-
FO, leaving a tail.
Sew evenly along the dark green stripes, about 3–4 spots per stripe, in vertical rows.
Stem (Green)
-
MR, 6 sc (6)
-
inc around (12)
3–4. sc around (12) -
(2 sc, dec) ×3 (9)
6–10. sc around (9)
FO, stuff lightly.
👉 Sew securely to the top center of the watermelon. The flared base matches the photo’s sturdy look.
🎀 Finishing Touches
-
Double-check stuffing so the watermelon holds a smooth, firm shape.
-
Ensure stripes run evenly from top to bottom.
-
Add red spots in straight lines along the stripes.
-
Attach the stem tightly.
Now your amigurumi watermelon is complete — plump, bright, and just as cheerful as the real fruit! 🍉