Welcome to the nostalgic and adventurous world of amigurumi! 🚐✨ Today, I’m excited to share my free crochet pattern for an Amigurumi Volkswagen Van—a retro and road-trip-ready creation perfect for travel lovers, vintage enthusiasts, or anyone who enjoys crafting detailed and iconic plush designs! 🧶 Whether you love stitching up classic vehicles, experimenting with structured shaping, or simply want to add a charming VW van to your handmade lineup, this pattern will guide you through crafting a beautifully sculpted plush with rounded edges, signature windows, and a touch of wanderlust charm! 🌍
This design embraces soft blues, warm reds, and intricate shaping to bring a timeless and adventurous presence to your crochet projects! 🧶✨ I’ve carefully outlined each step to ensure your Amigurumi Volkswagen Van turns out just right—ready to roll into your collection or become a treasured handmade gift! 🎁 So grab your hooks, pick out vintage hues, and let’s stitch up a classic VW van! 🚐
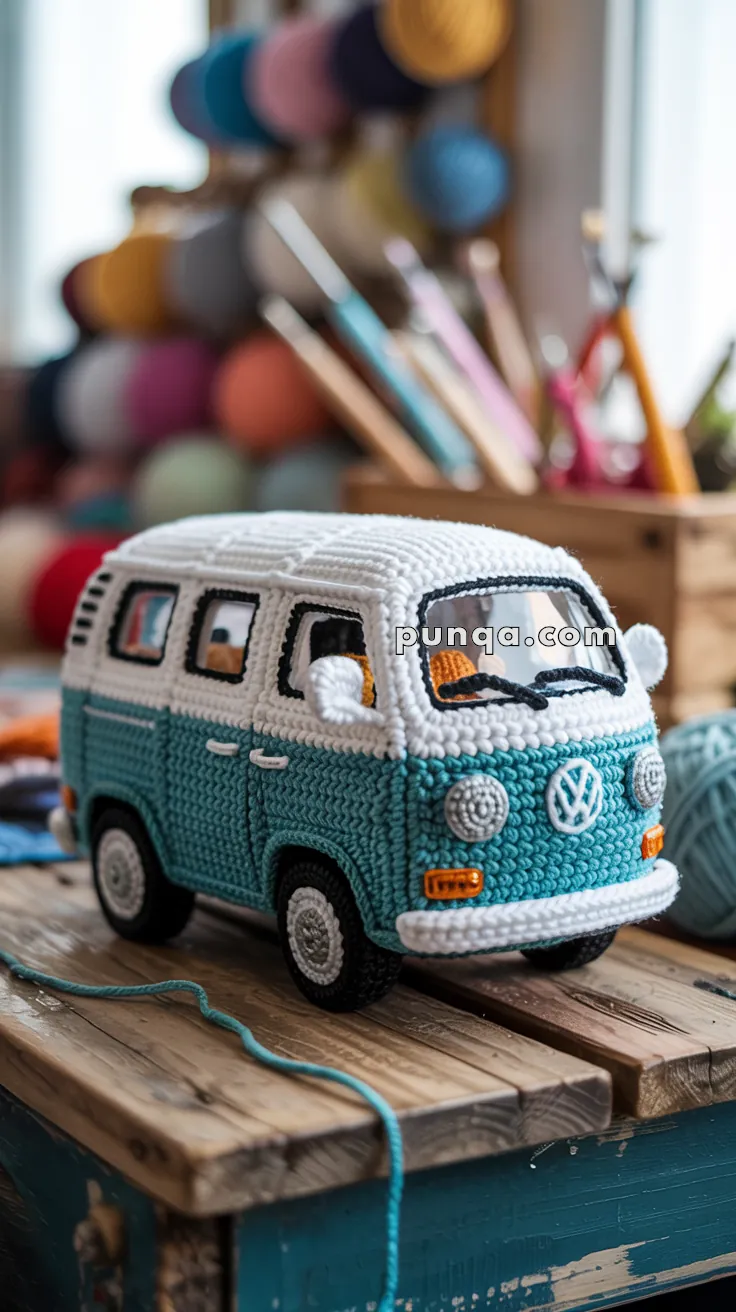
🚌 Amigurumi Volkswagen Van – Free Crochet Pattern
Capture the spirit of travel and adventure with this adorable amigurumi VW van! Ideal for decoration, toys, or campervan enthusiasts.
✨ Skill Level
Intermediate – Includes color changes, shaping, and joining parts.
📏 Finished Size
Approx. 6–7 in (15–18 cm) long when using DK or worsted weight yarn with a 2.5–3.5 mm hook.
🧶 Materials
- Yarn (DK or worsted):
- A: White (Top half, bumpers)
- B: Teal or Blue (Bottom half)
- C: Grey (Wheels, lights)
- D: Black (Wheels, outlines)
- E: Orange (Indicator lights)
- Hook: 2.5–3.5 mm
- Plastic canvas or sturdy cardboard (for base firmness)
- Polyester stuffing
- Tapestry needle
- Stitch marker
- Optional: white felt for window backing, clear plastic for windshield
- Black embroidery floss (window outlines)
🧵 Abbreviations (US Terms)
MR – Magic Ring
sc – Single Crochet
inc – Increase
dec – Decrease
ch – Chain
st – Stitch
BLO – Back Loop Only
FO – Fasten Off
🧱 Main Body (Van Shell)
Use Color A (White)
- Ch 24
- Sc in 2nd ch from hook, sc across (23), turn
3–10. Sc in each st across (23), ch 1, turn
Switch to Color B (Teal)
11–26. Sc in each row (23), ch 1, turn
FO, leaving long tail.
Make 2 identical side panels.
🔲 Roof (Top Panel)
Color A (White)
- Ch 24
- Sc in 2nd ch from hook and across (23), ch 1, turn
3–12. Repeat row (23)
FO.
🔲 Undercarriage/Base Panel
Color B (Teal)
- Ch 24
- Sc in 2nd ch and across (23), ch 1, turn
3–8. Repeat
Insert plastic canvas before closing (optional for stiffness).
FO.
🔳 Front & Back Panels (Make 2)
Start with Color A (White):
- Ch 12
- Sc across (11), ch 1, turn
3–6. Repeat (11)
Switch to Color B (Teal)
7–12. Repeat (11)
FO.
🪟 Windows (Make 6 Rectangular)
Color A or use white felt:
- Ch 6
- Sc across (5), ch 1, turn
3–5. Repeat
FO and leave tail for sewing.
You may embroider or outline in black (use whip stitch or surface slip stitch).
⚙️ Wheels (Make 4)
Start with Color C (Grey):
- MR, 6 sc (6)
- inc around (12)
- (1 sc, inc) x6 (18)
- (2 sc, inc) x6 (24)
Switch to Black - BLO, sc around (24)
- sc around (24)
Stuff and FO.
🔘 Headlights (Make 2)
Color C (Grey):
- MR, 6 sc
- inc around (12)
FO and sew to front panel.
🟠 Indicators (Make 2)
Color E (Orange):
- MR, 6 sc
- sl st around to flatten
FO.
⬜ Windshield
You can embroider or crochet:
Option 1: Embroidered
Use black yarn or floss to outline “V” windshield split.
Option 2: Crochet Frame
- Ch 10
- Sc 9 for 4 rows
Outline with black slip stitch around edge
FO and sew in place.
Use clear plastic sheet for realistic windows (optional).
🧵 Assembly Instructions
- Sew windows onto side and front panels.
- Stitch side panels to roof and base (box shape).
- Sew front and back panels.
- Stitch wheels to base (make sure evenly spaced).
- Add headlights and indicators.
- Embroider VW logo or use white felt/fabric glue.
- Embroider windshield wipers and outline features if desired.
🧼 Finishing Touch
- Block pieces if necessary to smooth out the panels before sewing.
- Add a loop to hang in your craft room or car!
🚐 Done!
You’ve now crocheted your very own amigurumi VW camper van – full of nostalgia and creativity! Ideal for gifting, desk decor, or displaying at craft fairs.