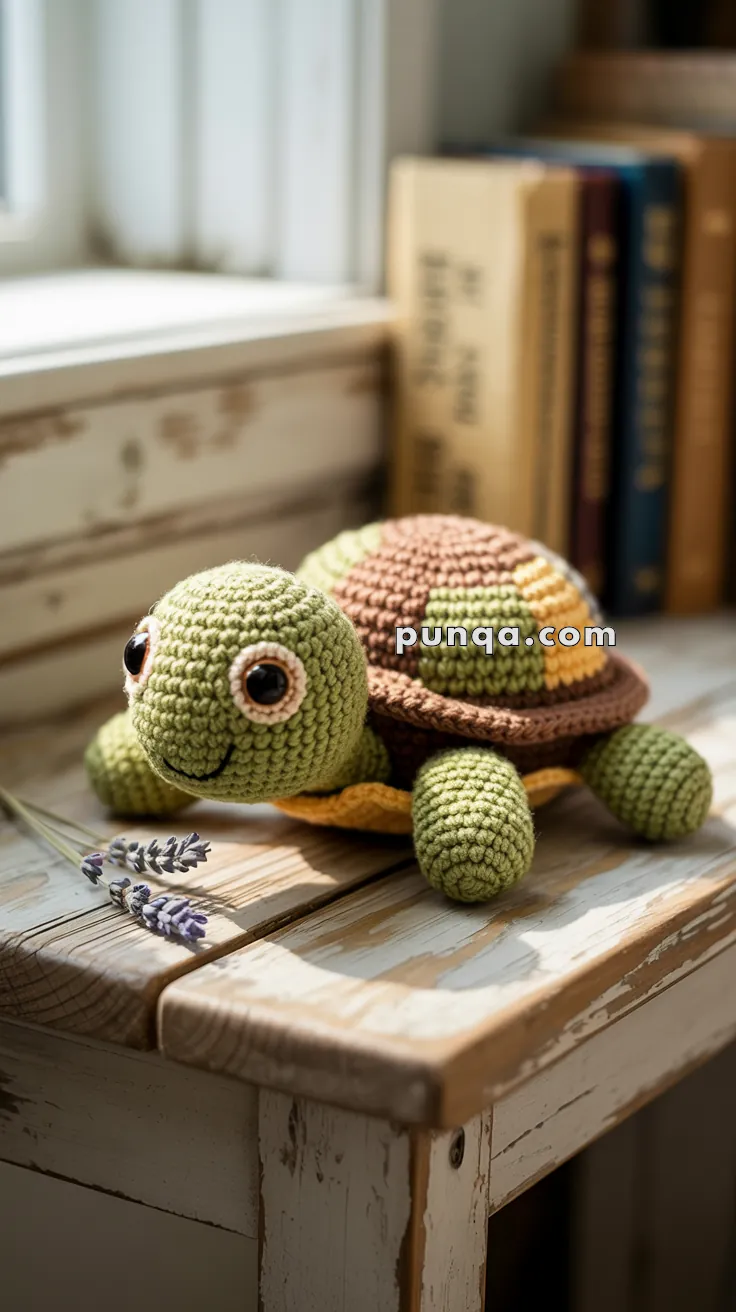
Dive into the world of adorable crochet with this Amigurumi Turtle pattern! Inspired by the gentle and lovable nature of turtles, this charming design captures their round shell, tiny flippers, and sweet little face in every stitch. With soft textures and delightful details, this crochet turtle is perfect for adding a cozy and whimsical touch to your handmade collection. Whether you’re crafting for ocean lovers, creating a cute decor piece, or simply enjoy making animal-inspired amigurumi designs, this pattern lets you stitch up a lovable turtle bursting with personality! 🐢✨
Designed for customization, this pattern allows you to experiment with different shades of green, embroidered details, or even tiny accessories like a miniature bow or seashell for extra charm. Craft a classic turtle with natural tones, create a vibrant version with bold hues, or even stitch up a full set of sea-inspired amigurumi for a delightful display! Whether gifted as a cherished keepsake, displayed as a charming accent, or made simply for the joy of crafting, this Amigurumi Turtle is a fun and creative project—perfect for bringing a touch of handmade ocean magic to every stitch! 🧶
🐢 Amigurumi Turtle Crochet Pattern
Bring a smile to someone’s face with this charming amigurumi turtle! With its gentle expression, adorable shell, and sturdy little legs, this soft-shelled friend makes the perfect gift, desk buddy, or cozy companion for your shelf. Great for animal lovers or spring-themed décor!
✨ Skill Level
Beginner to Intermediate – Basic shaping, simple color changes, and light sewing involved.
📏 Finished Size
Approx. 5–7 inches (13–18 cm) long using DK or worsted weight yarn and a 2.5–3.5 mm hook.
🧶 Materials
-
Yarn (DK or Worsted weight):
-
Color A: Light Green (Head, legs, tail)
-
Color B: Brown (Shell base)
-
Color C: Olive Green (Shell squares)
-
Color D: Yellow (Shell squares, underside)
-
Small amount of Black yarn (for mouth)
-
-
Crochet hook: 2.5–3.5 mm
-
10 mm safety eyes
-
Tapestry needle
-
Stitch marker
-
Polyfill stuffing
-
Scissors
🧵 Abbreviations (US Terms)
-
MR – Magic Ring
-
sc – Single Crochet
-
inc – Increase
-
dec – Decrease
-
sl st – Slip Stitch
-
FO – Fasten Off
🐢 Head
With Color A (Light Green)
Work in continuous rounds.
-
MR, 6 sc (6)
-
inc x6 (12)
-
(1 sc, inc) x6 (18)
-
(2 sc, inc) x6 (24)
-
(3 sc, inc) x6 (30)
6–12. sc around (30) -
(3 sc, dec) x6 (24)
-
(2 sc, dec) x6 (18)
-
(1 sc, dec) x6 (12)
— Insert safety eyes between rounds 6–7, approx. 5 stitches apart
— Embroider smile with black yarn -
dec x6 (6), FO and stuff firmly.
🐢 Shell Top
With Color B (Brown)
-
MR, 6 sc (6)
-
inc x6 (12)
-
(1 sc, inc) x6 (18)
-
(2 sc, inc) x6 (24)
-
(3 sc, inc) x6 (30)
-
(4 sc, inc) x6 (36)
-
(5 sc, inc) x6 (42)
-
(6 sc, inc) x6 (48)
9–11. sc around (48), FO
Shell Patches (Make 5 total)
Make 2 in Color C (Green), 2 in Color D (Yellow), and 1 in Color A (Light Green).
Crochet small 6×6 sc squares or ovals and sew on top of shell for a patchwork look.
🐢 Shell Underside
With Color D (Yellow)
Same as Shell Top up to Round 8:
1–8. Follow as above to (6 sc, inc) x6 (48)
9. sc around (48), FO
🐢 Legs (Make 4)
With Color A (Light Green)
-
MR, 6 sc (6)
-
inc x6 (12)
3–6. sc around (12) -
(2 sc, dec) x3 (9)
-
sc around (9), FO and stuff lightly.
🐢 Tail
With Color A (Light Green)
-
MR, 4 sc (4)
-
sc around (4)
-
inc, sc 3 (5)
-
sc around (5), FO and stuff lightly.
🐢 Assembly
-
Sew head to one end of the shell top.
-
Attach legs to the underside shell: 2 front, 2 back evenly spaced.
-
Sew tail to rear end.
-
Sew shell top and shell underside together using Color B. Add stuffing before fully closing.
✂️ Finishing Touches
-
Make sure the turtle sits evenly by adjusting leg placement.
-
You can add blush using pink embroidery thread or fabric paint for a touch of cuteness.
💡 Customization Ideas
-
Make it a rainbow turtle by using different colors for each shell patch.
-
Add a little flower or bow on the head for a personalized gift.
-
Use safety rattles inside for a baby-friendly version!
This amigurumi turtle is sure to win hearts with its wide-eyed look and huggable shape. Make one as a keepsake, gift, or even a cute desk buddy to brighten your day! 🐢🌿