Welcome to the delightfully spooky world of amigurumi! 🪦✨ Today, I’m excited to share my free crochet pattern for a Tombstone—a quirky and eerie addition to Halloween décor, gothic collections, or any handcrafted display that embraces a mysterious aesthetic! 🎃 Whether you love crafting themed decorations, enjoy making unique seasonal accents, or simply want to stitch up a hauntingly fun piece, this pattern will guide you through creating a beautifully textured tombstone with carved details and a slightly aged look! 🖤
This design embraces playful gothic charm and structured stitches to bring your tombstone to life—perfect for setting the scene in spooky displays, pairing with ghostly amigurumi, or serving as a fun handmade gift for Halloween lovers! 🧶🕷️ I’ve carefully outlined each step to ensure your Tombstone turns out just right—ready to add a little eerie elegance to your crochet collection! 🎁 So grab your hooks, pick out stone-gray tones, and let’s stitch up a hauntingly delightful amigurumi tombstone! ✨
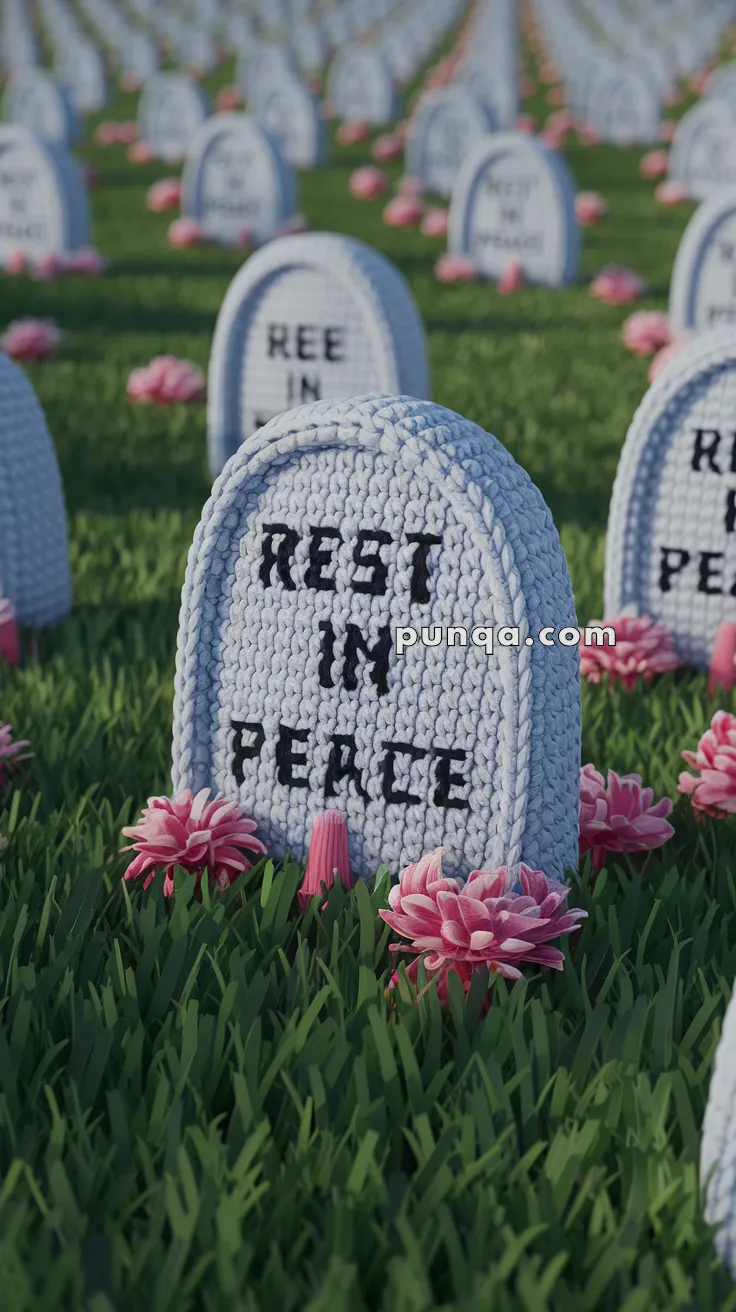
🪦 Amigurumi Tombstone – “Rest in Peace” Crochet Pattern
Craft a spooky yet adorable addition to your Halloween décor with this Amigurumi Tombstone! 🧶 Perfect for haunted dioramas, eerie wreaths, or tabletop graveyards, this plush gravestone is stitched with the classic “REST IN PEACE” lettering and surrounded by soft crochet flowers for a whimsical touch. 💀🌸
✨ Skill Level
Beginner to Intermediate – Basic shaping and surface embroidery.
📏 Finished Size
Approx. 12–15 cm (5–6 inches) tall using worsted-weight yarn and a 3.5 mm hook.
🧶 Materials
Worsted weight yarn:
Light gray (tombstone body)
Black (lettering)
Pink or purple (flowers)
Green (grass base or optional edging)
Crochet hook: 3.5 mm
Yarn needle
Stitch marker
Polyester stuffing
Scissors
🪡 Abbreviations (US Terms)
MR – Magic Ring
sc – Single Crochet
inc – Increase
dec – Decrease
sl st – Slip Stitch
FO – Fasten Off
🧱 Tombstone Panel (Make 2 – Light Gray)
MR, 6 sc
inc x6 (12)
(1 sc, inc) x6 (18)
(2 sc, inc) x6 (24) 5–12. sc around (24) 13–20. Work flat: ch 1, turn, 24 sc across (creates the flat bottom portion) FO and weave in ends.
You should have a rounded rectangular tombstone shape.
🧵 Tombstone Edge (Side Panel – Light Gray)
Ch 40 Row 1: sc in each ch across (39) Rows 2–3: sc in each st across (39) FO. This will form the thickness between the two panels.
Sew the side strip evenly between both front and back pieces, stuffing lightly as you go.
✒️ Embroidered Text – “REST IN PEACE” (Black Yarn)
Use surface slip stitch or chain-stitch embroidery.
Center the lettering on the front panel before assembly or after light stuffing.
Use pins to map the letter spacing for better alignment.
🌸 Flowers (Make 3–5 – Pink Yarn)
Basic Petals: Ch 5, sl st in 2nd ch from hook, hdc, dc, hdc, sl st Repeat 5–7 petals into MR Pull tight, FO and sew at the tombstone base.
Optional: Add green felt or yarn leaves.
🌱 Optional Grass Base
Make a small oval or circle with green yarn. Attach the tombstone by sewing its bottom securely to the grass patch. Add a flower or mushroom applique for an extra spooky-cute touch.
✂️ Finishing Touches
Stuff gently to retain shape
Weave in all ends securely
Add decorative edging or cobweb stitching if desired
💡 Customization Ideas
Add spooky names or dates instead of “RIP”
Use glow-in-the-dark yarn for the lettering
Make multiples for a haunted graveyard scene
This soft and spooky tombstone is a perfect little Halloween craft to bring creepy-cute vibes to your amigurumi world! 🧵👻