Welcome to the cozy and adventurous world of amigurumi! 🏕️✨ Today, I’m excited to share my free crochet pattern for a Teepee Tent—a charming and rustic creation perfect for nature lovers, miniature scenes, or anyone who enjoys crafting atmospheric and detailed designs! 🌿 Whether you’re building a serene campsite, creating a whimsical play area for tiny plush friends, or simply want to craft a unique structure for your handmade collection, this pattern will guide you through stitching up a beautifully sculpted plush teepee with sturdy poles, flowing fabric, and a touch of nomadic charm! ⛺
This design embraces earthy tones, dynamic textures, and intricate details to bring a rich and inviting presence to your crochet projects! 🧶🌄 I’ve carefully outlined each step to ensure your Amigurumi Teepee Tent turns out just right—ready to set the scene for adventures big and small or become a treasured handmade decoration! 🎁 So grab your hooks, pick out warm browns, soft beiges, or patterned accents, and let’s stitch up a timeless teepee for your amigurumi world! ✨
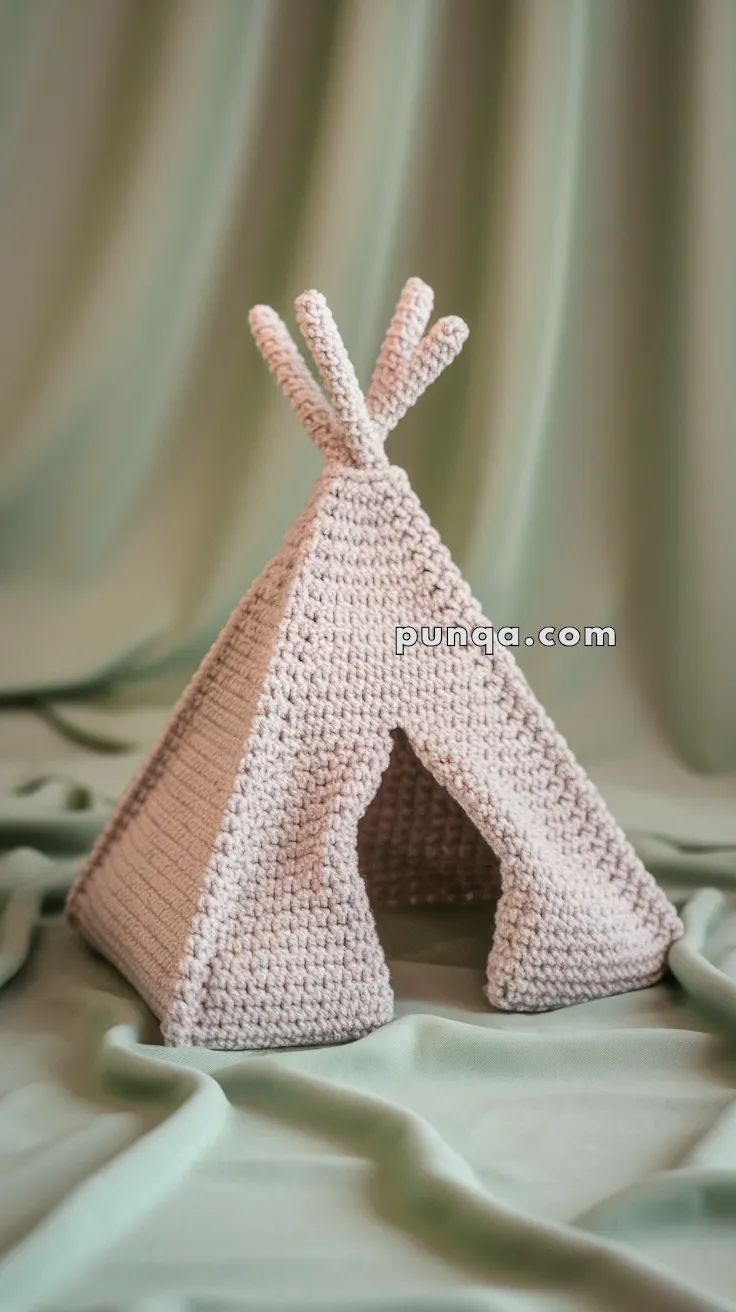
🏕️ Amigurumi Teepee Tent Crochet Pattern
This minimalist Amigurumi Teepee Tent is the perfect handmade prop for your tiny dolls, forest critters, or miniature scene settings. Its simple geometric construction and realistic crossing poles give it a cozy, whimsical look. ✨
✨ Skill Level
Beginner to Intermediate – Includes simple shaping and minimal sewing.
📏 Finished Size
Approx. 6–7 inches (15–18 cm) tall using worsted weight yarn and a 3.5 mm hook.
🧶 Materials
-
Yarn (Worsted or Velvet): Beige, Tan, or Cream
-
Crochet hook: 3.0–3.5 mm
-
Yarn needle
-
Stitch marker
-
Cardboard or plastic canvas (optional, for base stability)
-
Fiberfill (for top poles only)
-
Optional: pipe cleaners or wooden skewers for pole stiffness
🧵 Abbreviations (US Terms)
MR – Magic Ring
sc – Single Crochet
inc – Increase
dec – Decrease
ch – Chain
sl st – Slip Stitch
FO – Fasten Off
st – Stitch
rep – Repeat
🔺 Triangle Panels (Make 4)
With main tent color (beige or off-white):
-
Ch 2
-
Row 1: 1 sc in 2nd ch from hook (1)
-
Row 2: ch 1, turn, inc (2)
-
Row 3: ch 1, turn, inc in each st (4)
-
Row 4: ch 1, turn, sc in each st (4)
-
Row 5: ch 1, turn, inc, sc to last st, inc (6)
-
Row 6: ch 1, turn, sc across (6)
8–18. Continue in this pattern: increasing each side on odd rows and working even on even rows until you reach 26–28 stitches across
Do not fasten off on last triangle – You’ll use it to join all four sides.
🧵 Joining Panels
-
Hold two triangle panels together (right sides facing out).
-
Using sl st or sc, join along one side from bottom to top.
-
Repeat until all four triangle panels are joined.
Leave the final seam open halfway (for entrance).
You can add a small triangle flap if desired.
🧱 Base Circle (Optional for firmness)
-
MR, 6 sc
-
inc x6 (12)
-
(1 sc, inc) x6 (18)
-
(2 sc, inc) x6 (24)
-
Continue increasing evenly until your circle matches the base diameter of your tent (~5.5–6 inches)
FO and sew to bottom of tent or glue a circle of cardboard inside for a sturdy base.
🪵 Tent Poles (Make 5)
With same or contrasting color:
-
MR, 5 sc
2–18. sc in each st (5)
Stuff lightly and bend gently before sewing
FO, leaving long tail.
Assembly:
-
Sew the bottom of each pole to the inside corners of the triangle peaks.
-
Cross them together at the top and tie off securely with yarn to form the iconic teepee look.
✂️ Finishing Touches
-
Optional: add mini embroidered triangles, zigzag stripes, or fringe for boho flair
-
Add a little mat or mini pillow inside
-
Use as a forest backdrop or photo prop for mini plushies!
Your Amigurumi Teepee Tent is ready to pitch! Whether it’s for woodland creatures, dolls, or holiday scenes, this cozy cone is sure to warm up your handmade world. 🌿🏕️