Welcome to the deliciously fun world of amigurumi! 🍣✨ Today, I’m excited to share my free crochet pattern for an Amigurumi Sushi Roll—a quirky and adorable creation perfect for food lovers, playful décor, or anyone who enjoys crafting miniature and detailed plush designs! 🧶 Whether you love stitching up tiny treats, creating textured and lifelike figures, or simply want to add a cute sushi roll to your handmade lineup, this pattern will guide you through crafting a beautifully sculpted plush with vibrant fillings, soft rice texture, and a touch of culinary charm! 💖
This design embraces bold colors, intricate shaping, and delightful details to bring a fun and whimsical presence to your crochet projects! 🧶✨ I’ve carefully outlined each step to ensure your Amigurumi Sushi Roll turns out just right—ready to brighten up your space or become a treasured handmade gift! 🎁 So grab your hooks, pick out classic whites, deep blacks, and colorful fillings, and let’s stitch up a tasty sushi roll! 🍣
🍣 Amigurumi Sushi Roll – Crochet Pattern
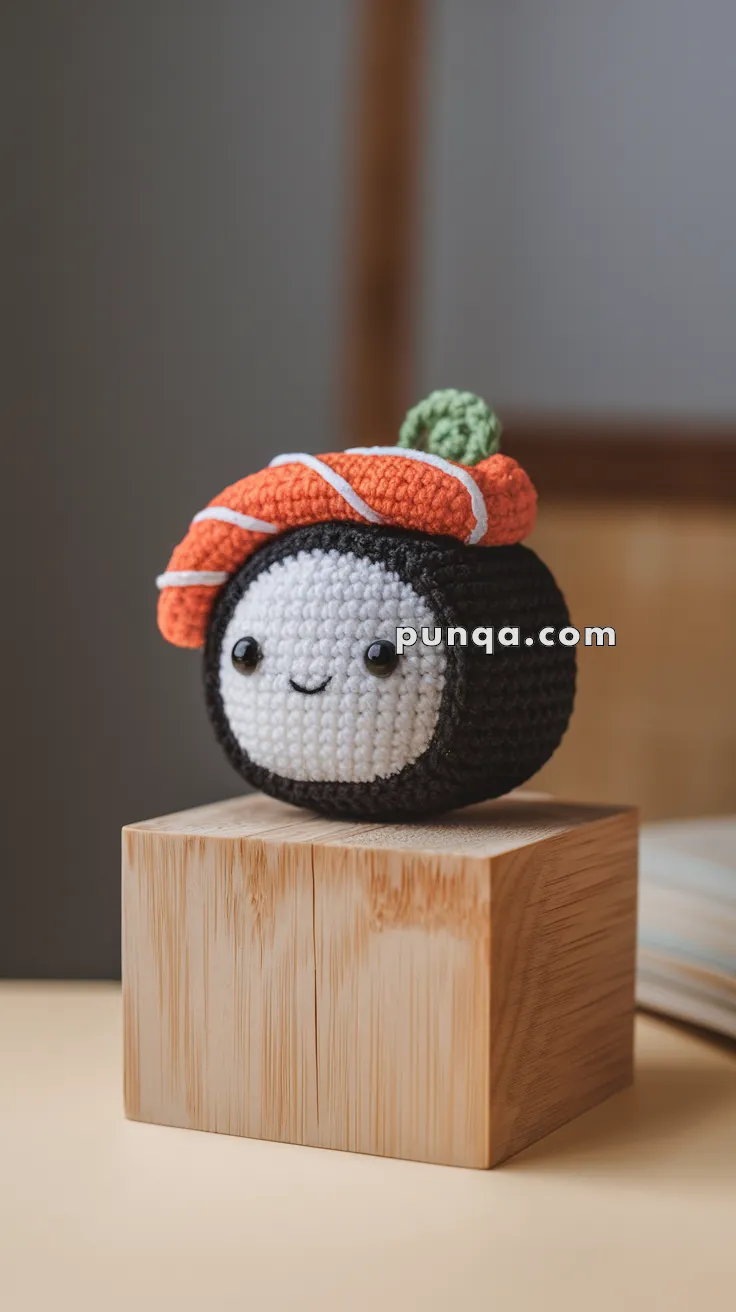
Add a playful twist to your amigurumi collection with this adorable smiling sushi roll! Featuring a nori-wrapped rice base, a salmon slice, and a wasabi topping, it’s perfect for food lovers and kawaii enthusiasts alike.
✨ Skill Level
Beginner to Intermediate – Basic shapes and simple color changes.
📏 Finished Size
Approx. 3.5 inches (9 cm) tall using DK yarn and a 2.5–3 mm hook.
🧶 Materials Needed
-
DK yarn in:
-
White (rice)
-
Black (nori)
-
Orange (salmon)
-
Green (wasabi)
-
White (salmon stripes)
-
-
2.5–3 mm crochet hook
-
Fiberfill stuffing
-
Safety eyes (6–8 mm)
-
Tapestry needle
-
Stitch marker
-
Embroidery thread for smile
🧵 Abbreviations (US Terms)
MR – Magic Ring
sc – Single Crochet
inc – Increase
dec – Decrease
sl st – Slip Stitch
FO – Fasten Off
ch – Chain
🍚 Rice Base (White)
-
MR, 6 sc (6)
-
inc x6 (12)
-
(1 sc, inc) x6 (18)
-
(2 sc, inc) x6 (24)
-
(3 sc, inc) x6 (30)
-
(4 sc, inc) x6 (36)
7–14. sc around (36)
FO. Set aside. This is the inner “face” part.
🥢 Nori Outer Shell (Black)
Repeat the same steps as the rice base:
-
MR, 6 sc (6)
-
inc x6 (12)
-
(1 sc, inc) x6 (18)
-
(2 sc, inc) x6 (24)
-
(3 sc, inc) x6 (30)
-
(4 sc, inc) x6 (36)
7–17. sc around (36)
Stuff the rice base and insert into nori shell. Seam together at top edge using black yarn.
🧡 Salmon Slice (Orange)
-
ch 8
-
sc across (7), ch 1, turn
3–6. sc across (7), ch 1, turn -
sc around entire piece to form clean edge, sl st to join, FO.
Shape into a gentle curve and sew to top of sushi roll.
Salmon Stripes (White):
-
Use surface slip stitch or embroidery thread to make wavy lines across the orange piece.
💚 Wasabi Dot (Green)
-
MR, 6 sc (6)
-
sc around (6)
-
dec x3 (3)
FO, leave tail to sew on top of the salmon.
🧸 Face
-
Attach safety eyes between Rounds 6 and 7 of the rice base, approx. 6 stitches apart.
-
Embroider a small curved smile between the eyes.
✂️ Finishing Touches
-
Adjust shape by gently pressing the stuffed body.
-
Optional: Add cheeks with pink blush or thread.
-
Add a keyring for a cute food-themed charm!
This amigurumi sushi roll is a quick and quirky project perfect for gifting or keeping as a desk buddy! 🍣💕