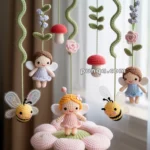
Creating amigurumi star fridge magnets is a delightful crafting adventure that always brings a smile to my face! 🌟 There’s something incredibly satisfying about turning a simple skein of yarn into a whimsical, cheerful star that brightens up any kitchen. The appeal of these tiny crochet creations lies in their cuteness and versatility. Not only do they add a splash of color to your fridge, but they also make for perfect handmade gifts that are sure to charm anyone who receives them. Plus, they’re small enough to complete in just a couple of hours, making them an ideal project for both beginners and seasoned crocheters looking for quick gratification.
Now, let’s chat about the process! 🧶 It all starts with choosing the perfect yarn. I often find myself gravitating towards bright, vibrant colors that echo the fun, lighthearted nature of these stars. After picking a yarn, it’s time to grab a crochet hook, usually a size that complements the yarn weight, and get started with the magic ring—a technique essential for creating that seamless, rounded star shape. The pattern typically involves a series of simple stitches, like single crochet and slip stitches, making it accessible to crafters at any skill level. Once the star is complete, I sew on a magnet to the back, effectively turning a playful crochet piece into a practical kitchen accessory!
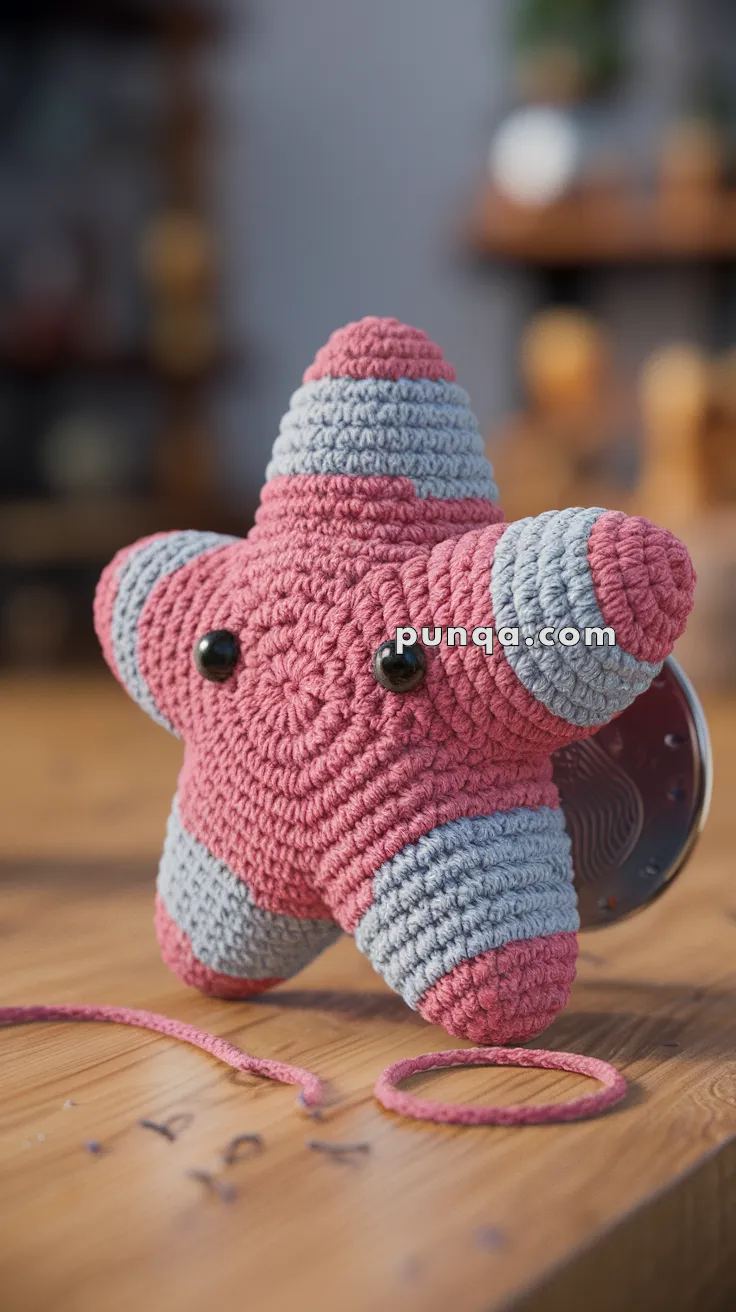
⭐ Amigurumi Star Fridge Magnet Pattern
Bring a bit of whimsy and color to your refrigerator or magnetic board with this cheerful crocheted star! Small, vibrant, and beginner-friendly, it’s the perfect project for quick gifts or décor.
📏 Finished Size:
Approx. 8–10 cm (3–4 in) wide
🧶 Skill Level:
Beginner
✂️ Materials:
-
DK or worsted weight yarn in:
-
Color A (e.g., dusty pink)
-
Color B (e.g., pale grey)
-
-
2.5 mm or 3.0 mm crochet hook
-
Safety eyes (6 mm)
-
Polyester stuffing
-
Yarn needle
-
Stitch marker
-
1 small magnet (about 2 cm diameter)
-
Hot glue or fabric glue
🧵 Abbreviations (US Terms):
-
MR – magic ring
-
sc – single crochet
-
inc – increase (2 sc in one st)
-
dec – decrease (sc 2 together)
-
sl st – slip stitch
-
ch – chain
-
st – stitch
-
… – repeat instructions between asterisks
🧷 Pattern Instructions
🌟 Star Point (Make 5):
With Color A:
-
MR, 6 sc (6)
-
inc x6 (12)
-
sc, inc x6 (18)
4–5. sc around (18)
Switch to Color B:
-
2 sc, inc x6 (24)
7–8. sc around (24)
Fasten off the first 4 points. Do not fasten off the 5th point; continue below.
🌟 Joining the Star:
-
With 5th point still on hook, join 2nd point with 1 sc, sc in next 23 sts.
-
Repeat for all 5 points to form a ring. Total: 120 sts (5 x 24)
-
Next 2 rounds: sc around (120)
-
Place eyes between 3rd and 4th points, 6–7 stitches apart.
-
Stuff each point as you go.
🔻 Decrease Rounds (Body Back):
-
4 sc, dec x20 (100)
-
3 sc, dec x20 (80)
-
2 sc, dec x20 (60)
-
sc, dec x20 (40)
-
dec x20 (20)
-
dec x10 (10)
Stuff the body firmly. -
dec x5 (5), fasten off and weave in end.
🧲 Magnet:
-
Use glue to securely attach the magnet to the back center of your star.
-
Let dry completely before placing on a magnetic surface.
✨ Final Tips:
-
You can make this in multiple colors and add embroidery or felt stars for extra personality.
-
Consider inserting a jingle bell inside for a fun twist!