Creating an amigurumi star is such a delightful journey that it’s hard not to get excited about it! 🌟 If you haven’t heard of amigurumi before, let me introduce you to this charming world where yarn and creativity intertwine to craft adorable, crocheted creatures. One of the things I love most about making a star amigurumi is its simplicity and versatility. Whether you’re a seasoned crocheter or a newbie just getting started, a star pattern is a perfect project. It’s small enough to finish in an afternoon, yet offers endless possibilities for customization. You can create them in an array of colors and sizes, and they make perfect gifts, decorations, or even little pocket pals to brighten someone’s day.
The process of creating a star amigurumi is a satisfying blend of relaxation and creativity. Starting with a magic ring—a magical technique that never ceases to amaze me—you work in rounds to shape each point of the star. It’s like crocheting your way through a constellation! 🌠 There are quite a few fun stitches involved, and watching it all come together is incredibly rewarding. As each point takes shape, it’s almost like they’re reaching out to be part of something bigger. Plus, you can’t forget the fun of adding a cute little face with embroidery or safety eyes, giving each star its own unique personality. I love how this simple project allows me to express creativity while crafting something truly heartwarming.
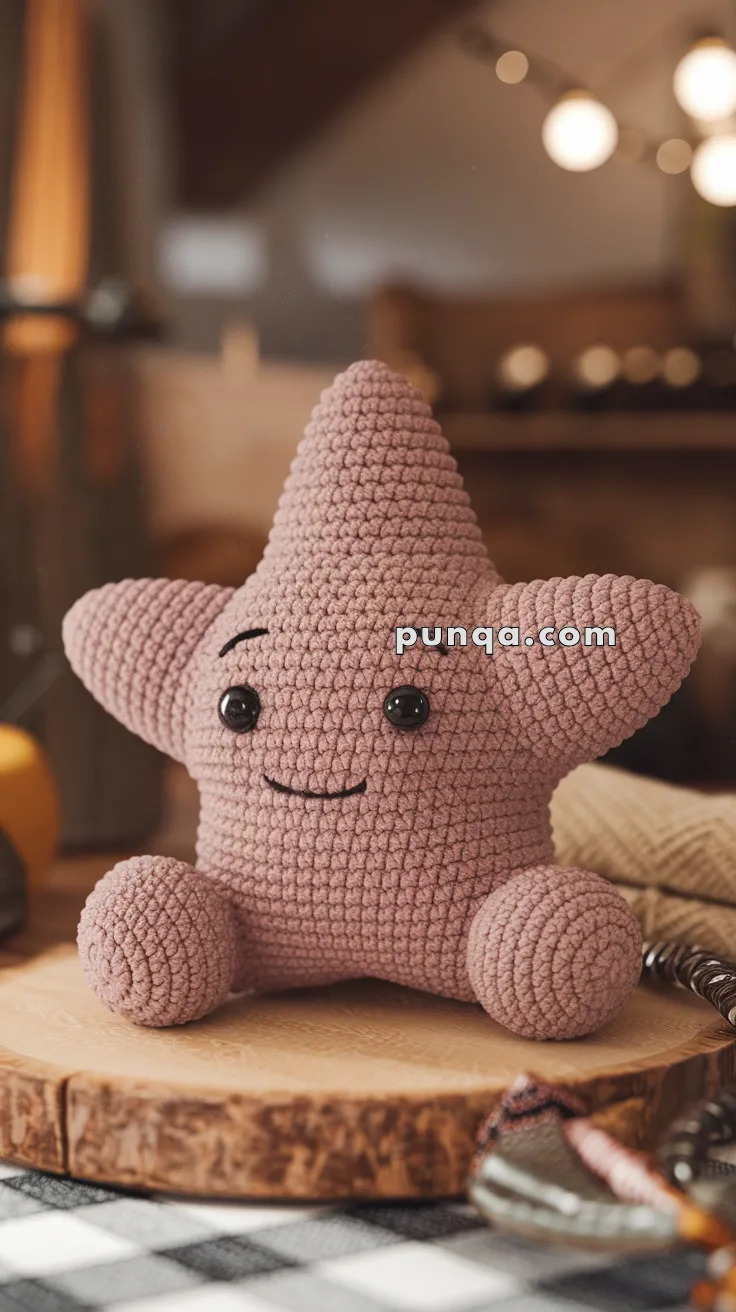
⭐ Cute Amigurumi Star – Free Crochet Pattern
This cheerful little star is full of personality and charm! Whether you’re decorating a coastal-themed nursery or just want a cuddly ocean friend, this soft, plushy design is perfect for all ages.
🧵 Skill Level: Beginner-Friendly
📏 Finished Size: Approx. 7–8 inches wide
🧶 Materials Needed
-
Yarn: Velvet or plush yarn in dusty rose or soft pink
-
Hook: 3.5 mm crochet hook (adjust for yarn weight)
-
Stuffing: Fiberfill stuffing
-
Safety Eyes: 12 mm black eyes
-
Extras:
-
Yarn needle
-
Stitch markers
-
Black embroidery thread (for mouth and brow)
-
Optional: blush or fabric paint for cheeks
-
✨ Abbreviations (US Terms)
-
MR – Magic ring
-
sc – Single crochet
-
inc – Increase (2 sc in one st)
-
dec – Decrease (sc two together)
-
ch – Chain
-
sl st – Slip stitch
-
st(s) – Stitch(es)
⭐ Main Star Point (Make 5)
Each point is crocheted individually and later joined.
-
MR, 6 sc
-
(inc) x6 = 12
-
(1 sc, inc) x6 = 18
-
(2 sc, inc) x6 = 24
-
(3 sc, inc) x6 = 30
6–9. sc in each st = 30 -
(3 sc, dec) x6 = 24
-
(2 sc, dec) x6 = 18
-
(1 sc, dec) x6 = 12
-
dec x6 = 6
Stuff lightly. Fasten off, leave tail for sewing.
🎯 Body Base
After making 5 points, they will be sewn together in a star shape.
-
Arrange the points with tips facing out, touching at the bases.
-
Seam them together with whip stitch or mattress stitch.
-
Be sure to leave a small opening at the back to stuff the body more fully before closing.
🦶 Bumps / Base Knobs (Make 5)
-
MR, 6 sc
-
(inc) x6 = 12
-
(1 sc, inc) x6 = 18
4–5. sc around -
(1 sc, dec) x6 = 12
-
dec x6 = 6
Fasten off. Stuff and sew one bump to each star tip.
😊 Face & Features
-
Insert safety eyes between two adjacent star points, about 3 stitches apart.
-
Embroider a curved smile with black thread.
-
Add a single raised eyebrow with black thread.
-
Blush or lightly tint the cheeks with pink for added charm!
💡 Final Touches
-
Use a slicker brush to fluff up velvet yarn if desired.
-
Attach a loop or rattle insert for use as a baby toy.
-
Personalize it with a bow, shell, or tiny crochet star on one arm!