Bring a touch of handmade holiday magic to your season with the Amigurumi Santa with Gift Sack, a jolly crochet creation full of festive cheer! 🎅🧶 With his classic red suit, fluffy white beard, and twinkling eyes, this merry little Santa is ready to deliver joy one stitch at a time. Tucked beside him is a charming gift sack—perfect for tiny presents, candy canes, or even a heartfelt note—making him a delightful addition to your holiday décor or a sweet handmade gift.
Perfect for crocheters who love character-rich designs and seasonal flair, this pattern invites you to play with cozy textures, bright colors, and whimsical details like a pom-pom hat and sack embellishments. Whether he’s perched on a mantel, nestled under the tree, or traveling in a stocking, the Amigurumi Santa with Gift Sack is a joyful way to stitch up warmth, wonder, and a whole lot of Christmas spirit—one loop at a time! 🎄🧵
🎅 Amigurumi Santa Claus with Gift Sack Crochet Pattern
Create a warm and welcoming holiday Santa bursting with charm. His rounded body, layered bubble beard, deeply ribbed jacket trim, tall droopy hat with holly, and soft slouching sack bring an extra-cozy handmade aesthetic to your Christmas décor. This pattern focuses on rich texture, rounded shaping, and layered construction for an authentic artisan look.
✨ Skill Level
Intermediate to Advanced – shaping, ribbing, layered assembly, and detailed finishing.
📏 Finished Size
Approx. 30–34 cm (12–13.5 inches) tall
🧶 Materials & Yarn Amount
Worsted-weight yarn:
Red – 120 g (~240 m)
White – 95 g (~190 m)
Beige – 40 g (~80 m)
Black – 60 g (~120 m)
Brown – 70 g (~140 m)
Green – small amount
Yellow – small amount
Pink – small amount (cheeks)
Assorted colors – small amounts (gifts)
Tools:
3.0–3.5 mm hook
10 mm safety eyes
Polyfill stuffing
Yarn needle, stitch markers
🧵 Abbreviations (US Terms)
MR – magic ring
sc – single crochet
inc – increase
dec – invisible decrease
ch – chain
sl st – slip stitch
BLO – back loop only
FO – fasten off
👨🦳 Head (Rounded with Soft Cheeks)
Beige yarn
R1: MR 6
R2: inc ×6 (12)
R3: (1 sc, inc) ×6 (18)
R4: (2 sc, inc) ×6 (24)
R5: (3 sc, inc) ×6 (30)
R6: (4 sc, inc) ×6 (36)
R7–15: sc around (36)
Insert eyes between R10–11
R16: (4 sc, dec) ×6 (30)
R17: (3 sc, dec) ×6 (24)
R18: (2 sc, dec) ×6 (18)
Stuff firmly, shaping cheeks slightly forward
R19: (1 sc, dec) ×6 (12)
R20: dec ×6 (6)
FO
👃 Nose (Rounded & Prominent)
R1: MR 6
R2: inc ×6 (12)
R3–5: sc around (12)
Lightly stuff and sew centered between eyes
👀 Eyebrows
Using white yarn, embroider thick curved brows above eyes
🧔 Layered Bubble Beard (Full Coverage)
Make 12–14 disks
Each disk:
R1: MR 6
R2: inc ×6 (12)
R3: sc around
Flatten slightly
👉 Arrange in two dense overlapping rows
👉 Extend slightly toward cheeks for fullness
👨 Mustache (Curved)
Make 2:
ch 9
sc across
Shape slightly curved and sew under nose
🎩 Tall Droopy Hat with Holly
Hat (Red)
R1: MR 6
R2: inc ×6 (12)
R3: (1 sc, inc) ×6 (18)
R4: (2 sc, inc) ×6 (24)
R5: (3 sc, inc) ×6 (30)
R6: (4 sc, inc) ×6 (36)
R7: (5 sc, inc) ×6 (42)
R8–30: sc around (42)
👉 Extra length ensures natural droop
Ribbed Brim (Thick & Structured)
ch 6
Row 1: sc across (5)
Repeat BLO rows until length fits hat
Sew into ring and attach
Pom-pom
MR 6 → inc → sc → dec → FO
Holly Detail 🌿
Leaves (3):
ch 8 → sl st, sc, hdc, dc, dc, hdc, sc
Berries (3): MR 6
Attach to side of brim
🧥 Body (Full & Rounded)
Red yarn
R1: MR 6
R2: inc ×6 (12)
R3: (1 sc, inc) ×6 (18)
R4: (2 sc, inc) ×6 (24)
R5: (3 sc, inc) ×6 (30)
R6: (4 sc, inc) ×6 (36)
R7: (5 sc, inc) ×6 (42)
R8: (6 sc, inc) ×6 (48)
R9–24: sc around (48)
Belt (Black)
R25–27: sc around (48)
Switch to red:
R28–34: sc around
Stuff firmly
🤍 Ribbed Coat Trim (Thick Raised Detail)
Make 2 strips:
ch 7
Row 1: sc across (6)
Rows 2–38: BLO sc
Attach vertically along front edges
🧤 Gloves with Thumb (Accurate Shape)
Black yarn
Thumb
R1: MR 5
R2–4: sc around
FO
Hand
R1: MR 6
R2: inc ×6 (12)
R3–6: sc around (12)
Attach thumb at side (work 4 stitches into thumb)
Arm
Switch to red:
R7–16: sc around
White cuff (ribbed)
ch 5 → BLO rows → wrap and sew
👉 Gloves are slightly longer with clear thumb shape
👢 Boots (Tall & Rounded)
Black yarn
R1: MR 6
R2: inc ×6 (12)
R3: (1 sc, inc) ×6 (18)
R4–9: sc around (18)
👉 Extra height creates chunky tall boots
Legs
Switch to red:
R10–16: sc around (18)
Boot Trim
Switch to white:
R17–19: sc around (18)
Stuff firmly
🎁 Sack (Soft & Slouchy Texture)
Brown yarn
R1: MR 6
R2: inc ×6 (12)
R3: (1 sc, inc) ×6 (18)
R4: (2 sc, inc) ×6 (24)
R5: (3 sc, inc) ×6 (30)
R6: (4 sc, inc) ×6 (36)
R7: (5 sc, inc) ×6 (42)
R8–26: hdc around
👉 Bottom stuffed, top left loose
Strap
ch 55 → sc across
Attach diagonally
Gifts 🎁
Make small cubes and embroider ribbon
🧵 Assembly & Shaping
✨ Attach beard tightly for volume
✨ Position hat naturally drooping to side
✨ Place gloves slightly forward holding strap
✨ Attach boots evenly for stable stance
✨ Shape cheeks and mustache gently outward
✨ Let sack hang softly over shoulder
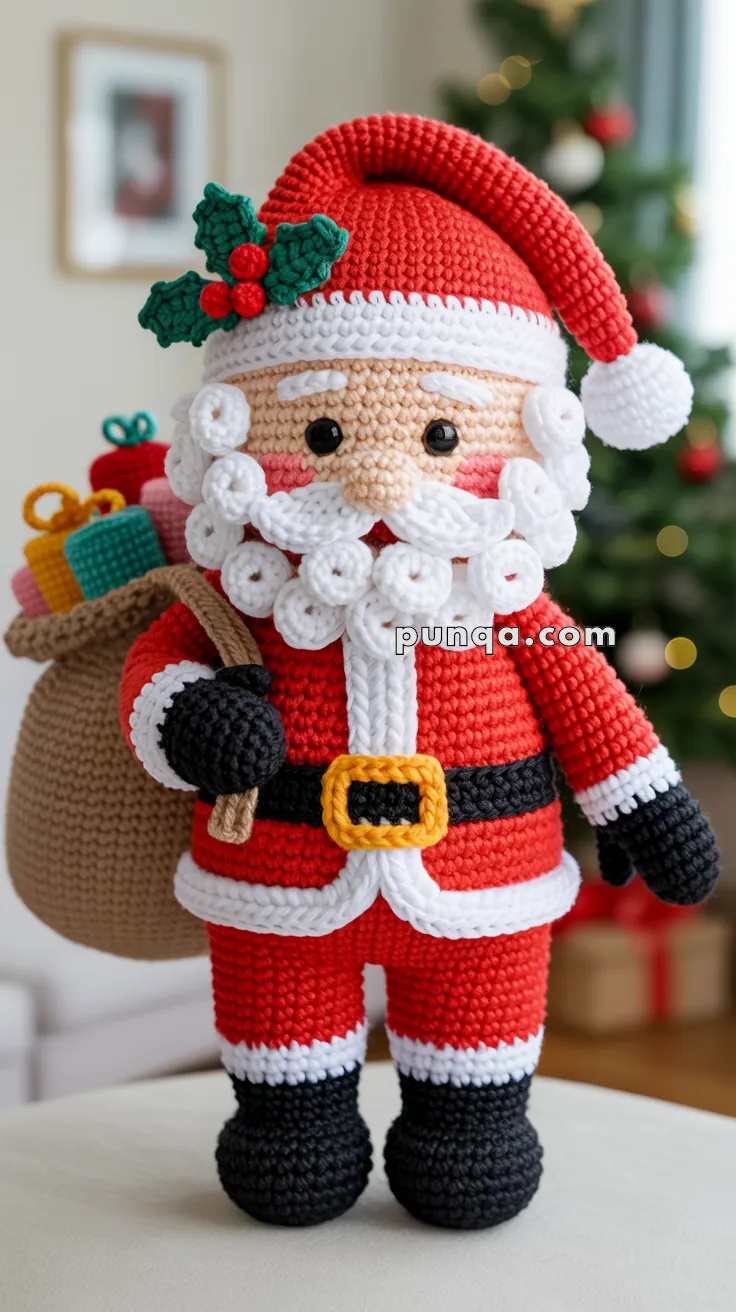
🎄 Final Result
A beautifully detailed Santa with full layered beard, expressive face, tall drooping hat with holly, defined thumb gloves, tall rounded boots, and a soft slouching sack filled with gifts.
Perfect for holiday décor, gifting, or heirloom keepsakes.
Happy crocheting! 🎅🧶✨