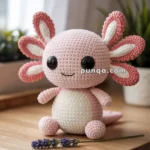
Welcome to the graceful and ocean-inspired world of amigurumi! 🌊✨ Today, I’m excited to share my free crochet pattern for a Ray Fish—an elegant and flowing marine creature, perfect for sea lovers, aquatic-themed collections, or anyone who enjoys crafting unique handmade companions! 🐠 Whether you love stitching up underwater creatures, enjoy making soothing ocean-inspired designs, or simply want to add a gentle sea dweller to your amigurumi lineup, this pattern will guide you through creating a beautifully detailed ray with its signature fins and soft, gliding shape! 💙
This design embraces smooth textures and natural movement to bring a calming oceanic charm to your crochet collection! 🧶🐚 I’ve carefully outlined each step to ensure your amigurumi ray fish turns out just right—ready to float into your display or become a cherished handmade gift! 🎁 So grab your hooks, pick out serene blues and sandy hues, and let’s stitch up a mesmerizing sea companion! ✨
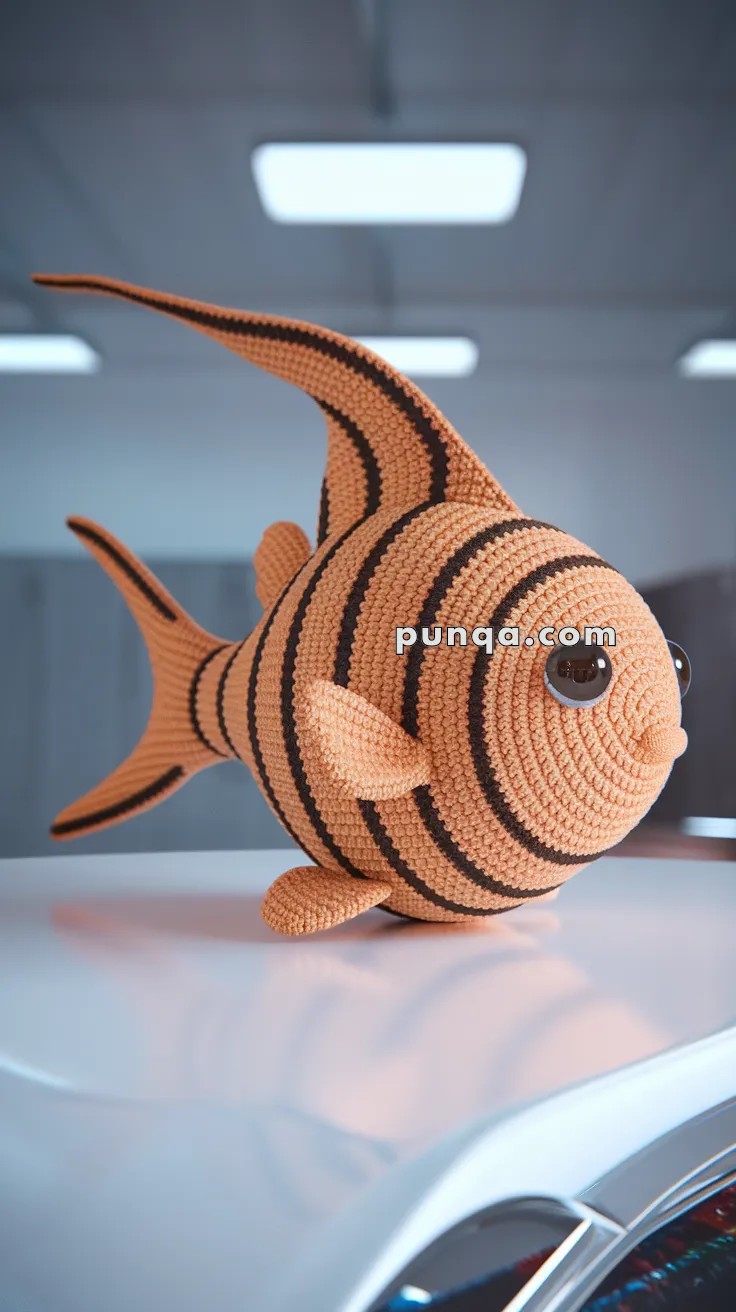
🐟 Striped Ray Fish Amigurumi Crochet Pattern
Make a splash with this elegant striped ray fish! With dramatic flowing fins and bold orange and black striping, this stunning design is perfect for amigurumi lovers who want to level up their aquatic creations.
🧶 Skill Level
Intermediate – involves color changes, shaping, and sculpting large fins.
📏 Finished Size
Approximately 28 cm (11 inches) long and 24 cm (9.5 inches) tall using worsted weight yarn and a 3.5 mm hook.
✂️ Materials Needed
-
Yarn (Worsted Weight):
-
Orange (Main Color)
-
Black (Stripe Color)
-
-
3.5 mm crochet hook
-
18 mm safety eyes
-
Stuffing (polyester fiberfill)
-
Yarn needle
-
Stitch marker
-
Scissors
-
Optional: wire (for shaping fins)
🧵 Abbreviations (US Terms)
-
MR – Magic Ring
-
sc – single crochet
-
inc – increase (2 sc in same stitch)
-
dec – decrease (sc 2 together)
-
ch – chain
-
sl st – slip stitch
-
BLO – back loops only
-
FO – fasten off
🧩 Pattern Instructions
🐟 Body (Work in continuous rounds, striped)
Start with Orange
-
MR, 6 sc (6)
-
inc x6 (12)
-
(sc, inc) x6 (18)
-
(2 sc, inc) x6 (24)
-
(3 sc, inc) x6 (30)
-
(4 sc, inc) x6 (36)
-
(5 sc, inc) x6 (42)
-
(6 sc, inc) x6 (48)
-
(7 sc, inc) x6 (54)
10–20. sc around (54), switch between orange and black every 2 rounds to create stripes. End with orange. -
(7 sc, dec) x6 (48)
-
(6 sc, dec) x6 (42)
-
(5 sc, dec) x6 (36)
-
(4 sc, dec) x6 (30)
-
(3 sc, dec) x6 (24)
-
(2 sc, dec) x6 (18)
-
(sc, dec) x6 (12)
-
dec x6 (6)
FO, weave in end. Stuff firmly.
👁 Eyes (Attach before closing body)
Insert 18 mm safety eyes between Rounds 13–14, with ~12 stitches between them.
🎋 Side Fins (Make 2 – Orange)
-
MR, 6 sc (6)
-
(sc, inc) x3 (9)
-
sc around (9)
-
(2 sc, inc) x3 (12)
-
sc around (12)
-
(3 sc, inc) x3 (15)
-
sc around (15)
-
(4 sc, inc) x3 (18)
-
sc around (18)
FO, flatten and sew to sides of the body.
🐠 Tail Fin (Orange with Black edge)
Main Tail (Make 1)
-
Ch 21
-
sc in 2nd ch from hook, sc across (20)
3–6. Turn, ch 1, sc across (20)
FO, create 3 total identical panels. Sew together along the long edges, stuffing lightly if desired.
Edge Stripe
Attach black yarn and sl st around tail fin for border. FO and sew to rear of body.
🧭 Top Dorsal Fin (Tall Curved – Orange & Black)
-
Ch 2, work 4 sc in 2nd ch from hook
-
inc x4 (8)
-
(sc, inc) x4 (12)
4–16. sc around (12), switch to black every 3 rounds
17–25. Continue sc around, alternating stripe pattern and taper with dec every other round until 6 st
FO, flatten and sew on top of the fish head, angled backwards.
🔻 Bottom Fin (Matching Shape, Smaller)
Repeat dorsal fin pattern up to Round 15 only. Flatten and sew to belly in line with top fin.
🧷 Final Touches
-
Embroider a tiny mouth with orange or black yarn.
-
Use a yarn needle to lightly stretch stripe edges into a clean curve if needed.
-
Optional: insert thin floral wire in dorsal and tail fins for a flowing look.
✨ Done!
Your stunning Striped Ray Fish is ready to swim off the hook and into your handmade ocean world!