Welcome to the vibrant and joyful world of amigurumi! 🌈✨ Today, I’m excited to share my free crochet pattern for an Amigurumi Rainbow Egg—a colorful and cheerful creation perfect for Easter décor, playful gifts, or anyone who enjoys crafting bright and uplifting plush designs! 🧶 Whether you love stitching up festive projects, experimenting with bold color combinations, or simply want to add a handmade touch to your seasonal lineup, this pattern will guide you through crafting a beautifully textured egg with soft curves and radiant rainbow stripes! 🎨
This design embraces lively hues, smooth shaping, and delightful details to bring a fun and celebratory presence to your crochet projects! 🧶✨ I’ve carefully outlined each step to ensure your Amigurumi Rainbow Egg turns out just right—ready to brighten up your space or become a treasured handmade gift! 🎁 So grab your hooks, pick out vibrant reds, sunny yellows, cool blues, and rich purples, and let’s stitch up a dazzling rainbow egg! 🌈
🌈 Amigurumi Rainbow Egg Crochet Pattern
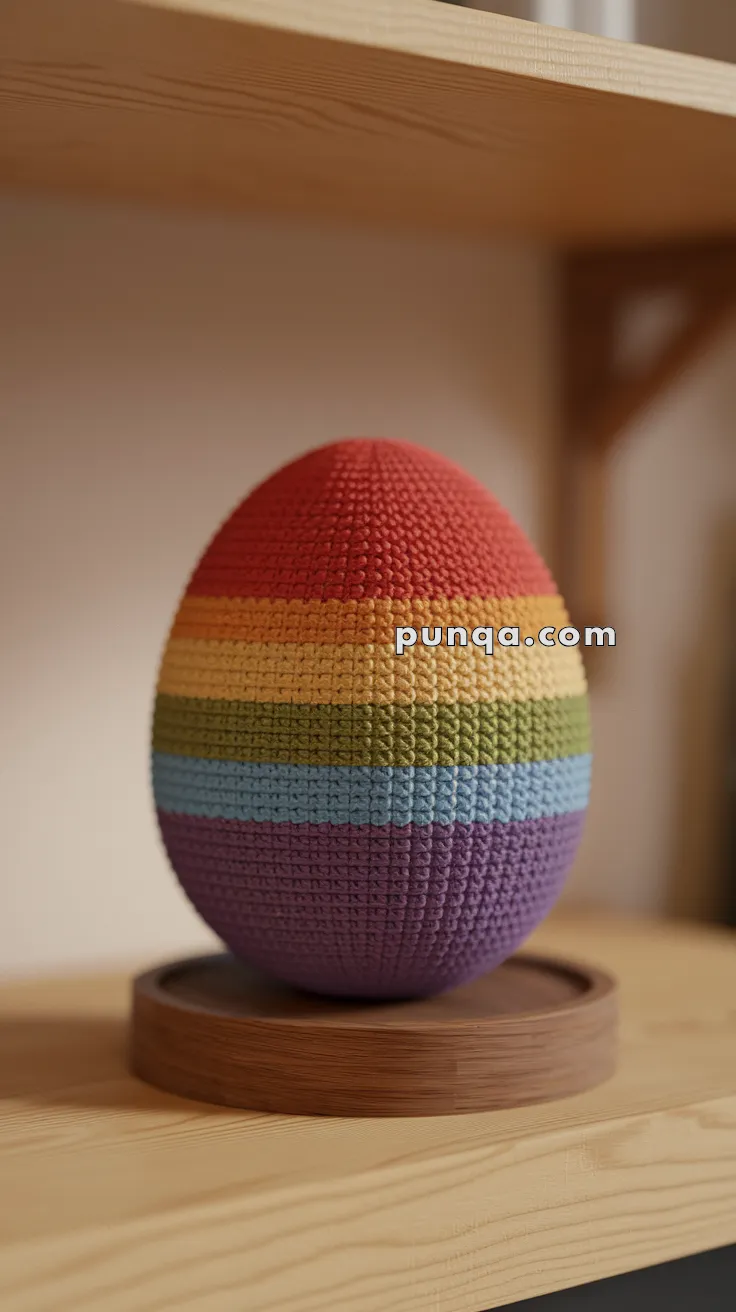
Brighten your day with this cheerful and colorful rainbow amigurumi egg! Perfect for springtime displays, Easter decor, or as a joyful handmade gift, this egg features clean color transitions and a smooth, oval shape.
✨ Skill Level
Beginner to Intermediate – Basic shaping and color changes included.
📏 Finished Size
Approx. 5–6 inches (13–15 cm) tall using DK yarn and a 2.5 mm–3 mm hook.
🧶 Materials Needed
-
DK weight yarn in 6 rainbow colors:
-
Red
-
Orange
-
Yellow
-
Green
-
Blue
-
Purple
-
-
Crochet hook: 2.5 mm or 3 mm
-
Polyester fiberfill stuffing
-
Stitch marker
-
Tapestry needle
🧵 Abbreviations (US Terms)
MR – Magic Ring
sc – Single Crochet
inc – Increase
dec – Decrease
sl st – Slip Stitch
FO – Fasten Off
🥚 Rainbow Egg Body (Work in continuous spiral)
Color Sequence (change every 7 rounds):
Purple → Blue → Green → Yellow → Orange → Red
Start with Purple:
-
MR, 6 sc (6)
-
inc x6 (12)
-
(1 sc, inc) x6 (18)
-
(2 sc, inc) x6 (24)
-
(3 sc, inc) x6 (30)
-
(4 sc, inc) x6 (36)
-
(5 sc, inc) x6 (42)
Change to Blue:
8–14. sc around (42)
Change to Green:
15–21. sc around (42)
Change to Yellow:
22–28. sc around (42)
Change to Orange:
29–35. sc around (42)
Change to Red:
36–38. sc around (42)
Start decreasing:
-
(5 sc, dec) x6 (36)
-
(4 sc, dec) x6 (30)
-
(3 sc, dec) x6 (24)
-
(2 sc, dec) x6 (18)
– Stuff firmly with fiberfill -
(1 sc, dec) x6 (12)
-
dec x6 (6)
FO, weave yarn through front loops of final 6 stitches and pull tight to close.
✂️ Finishing Touches
-
Gently shape the egg with your hands.
-
Use a yarn needle to close any small gaps.
-
Optional: Add surface embroidery, hearts, or stars for extra flair!
💡 Customization Tips
-
Try pastel rainbow shades for a springtime palette.
-
Use cotton yarn for a sturdier shape.
-
Add a loop at the top to turn it into a hanging ornament!
This rainbow egg is a fun, quick make that adds a pop of joy to any season! 🌈💖