Oh, the joy of diving into the world of amigurumi! 🌟 There’s something incredibly charming about crafting these adorable yarn creations, each one infused with its own personality and character. When it comes to making an amigurumi inspired by Quicksilver, the excitement levels are truly through the roof! For those who might not know, Quicksilver is a superhero known for his lightning-fast speed and charisma, making him a fantastic subject for amigurumi. The process of creating an amigurumi Quicksilver is like embarking on a delightful artistic adventure where you get to bring a beloved character to life, stitch by stitch.
The beauty of amigurumi lies in its simplicity and the endless creative possibilities it offers. Starting with a basic pattern, you can let your imagination run wild, playing with colors and textures to capture Quicksilver’s essence. 🧶 The process usually involves crocheting or knitting small, intricate shapes that come together to form the body, limbs, and features of the character. Adding little details, like a detailed suit or expressive eyes, can be both challenging and rewarding. It’s a delightfully hands-on experience where every knot and loop contributes to the final masterpiece. Plus, it’s such a joy to see Quicksilver take shape, knowing that the end result will not only be a testament to your crafting skills but also a cuddly companion that brings smiles all around! 😊
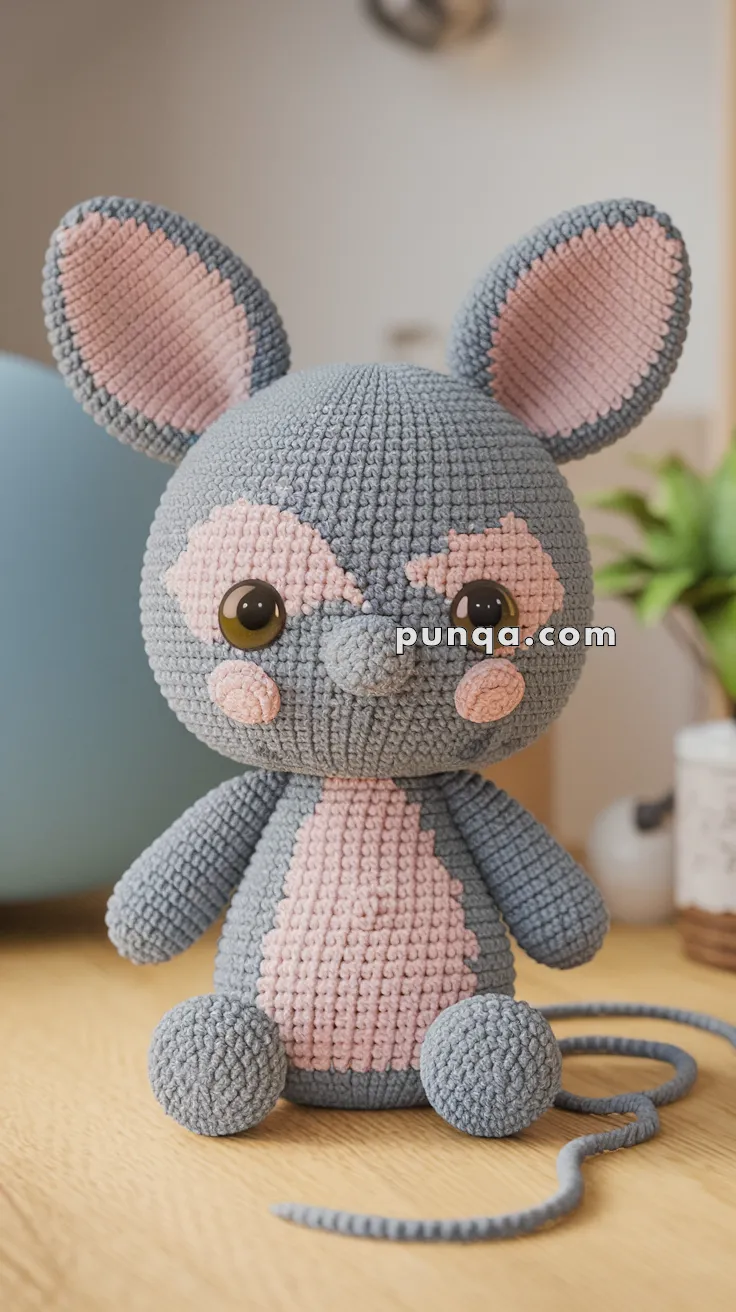
🐭 Amigurumi Quicksilver Mouse Crochet Pattern
Meet Quicksilver — a wide-eyed, whimsical mouse with a charming pink belly and detailed facial markings. This playful critter is perfect for mouse lovers and soft toy collectors!
✨ Skill Level
Intermediate – Includes color changes, shaping, and embroidery.
📏 Finished Size
Approximately 20 cm (8 inches) tall when using sport weight yarn and a 2.5 mm hook.
🧶 Materials Needed
-
Yarn (Sport or DK weight):
-
Light gray (main body)
-
Baby pink (belly, cheeks, eye patches, inner ears)
-
-
2.5 mm crochet hook
-
10 mm safety eyes
-
Tapestry needle
-
Stitch marker
-
Scissors
-
Fiberfill stuffing
🧵 Abbreviations (US Terminology)
-
MR – Magic Ring
-
sc – Single Crochet
-
inc – Increase (2 sc in same st)
-
dec – Decrease (sc 2 together)
-
ch – Chain
-
sl st – Slip Stitch
-
FO – Fasten Off
-
(x6) – repeat instructions in parentheses
🧠 Head
With gray yarn:
-
MR, 6 sc
-
inc x6 (12)
-
(1 sc, inc) x6 (18)
-
(2 sc, inc) x6 (24)
-
(3 sc, inc) x6 (30)
-
(4 sc, inc) x6 (36)
7–12. sc around (36) -
(4 sc, dec) x6 (30)
-
(3 sc, dec) x6 (24)
-
(2 sc, dec) x6 (18)
Insert safety eyes between R9–R10, about 6 sts apart. -
(1 sc, dec) x6 (12)
-
dec x6 (6)
FO, stuff firmly.
🐭 Body
With gray yarn:
-
MR, 6 sc
-
inc x6 (12)
-
(1 sc, inc) x6 (18)
-
(2 sc, inc) x6 (24)
-
(3 sc, inc) x6 (30)
6–14. sc (30)
Switch to pink yarn for belly section: -
sc around, color change each round to make pink patch centered on front (approx. 6 sts wide, increase over rows)
16–20. Continue shaping belly patch symmetrically -
(3 sc, dec) x6 (24)
-
(2 sc, dec) x6 (18)
Stuff -
(1 sc, dec) x6 (12)
-
dec x6 (6)
FO, close, weave in end.
🦶 Legs (Make 2)
With gray yarn:
-
MR, 6 sc
-
inc x6 (12)
3–5. sc (12) -
(2 sc, dec) x3 (9)
7–9. sc (9)
Stuff, FO, leave tail for sewing.
🖐 Arms (Make 2)
With gray yarn:
-
MR, 6 sc
-
(1 sc, inc) x3 (9)
3–7. sc (9)
Lightly stuff, FO, leave tail for sewing.
🐽 Muzzle
With gray yarn:
-
MR, 6 sc
-
(1 sc, inc) x3 (9)
-
sc (9)
FO, stuff, sew to head centered below eyes.
👂 Ears (Make 2 outer + 2 inner)
Outer (gray):
-
MR, 6 sc
-
(1 sc, inc) x3 (9)
-
(2 sc, inc) x3 (12)
-
(3 sc, inc) x3 (15)
Flatten, FO
Inner (pink):
Work as outer to R3 only, FO
Sew pink inner onto gray ear and attach to head sides.
🎨 Face Details
With pink yarn:
-
Embroider blush cheeks below eyes.
-
Crochet or embroider pink face markings (triangular eye patches).
🐀 Tail
With gray yarn:
Ch 40
Row 1: sl st back in each ch
FO, sew tail to back base of the body.
🧷 Assembly
-
Sew arms to each side below neck
-
Attach legs to bottom sides of body
-
Sew muzzle and ears in place
-
Embroider or attach facial markings
-
Secure tail and finish with slight curl if desired
Enjoy your playful Quicksilver mouse – a perfect project for cheerful vibes and charming shelf buddies!