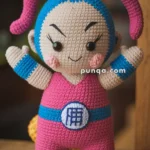
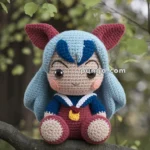
Creating amigurumi piccolo patterns is like crafting a pocket-sized bundle of joy! 🎶 If you’ve ever held one of these tiny crocheted figures in your hands, you know the charm they carry. It’s almost magical how just a few simple stitches can transform a ball of yarn into an adorable, huggable character. The allure of making these miniature masterpieces lies in their simplicity and the endless possibilities for creativity. Whether you’re a seasoned crafter or a curious beginner, the journey of making an amigurumi piccolo is filled with delightful moments and the promise of a unique creation that’s sure to bring a smile to anyone’s face.
The process is wonderfully rewarding and surprisingly meditative. To get started, all you need is some yarn, a crochet hook, a bit of stuffing, and a splash of imagination. 🌈 As you begin crocheting in the round, each stitch brings your piccolo closer to life, and there’s something incredibly satisfying about watching it take shape. The beauty of amigurumi lies in the personalization: you can experiment with different yarn colors, add tiny accessories, or even give your piccolo a little character with embroidered features. It’s a playful dance between creativity and craftsmanship, resulting in a charming piece of art that’s as unique as the person who made it—plus, they make the most delightful gifts for friends and family! 🎁
🐭 Amigurumi Piccolo Crochet Pattern
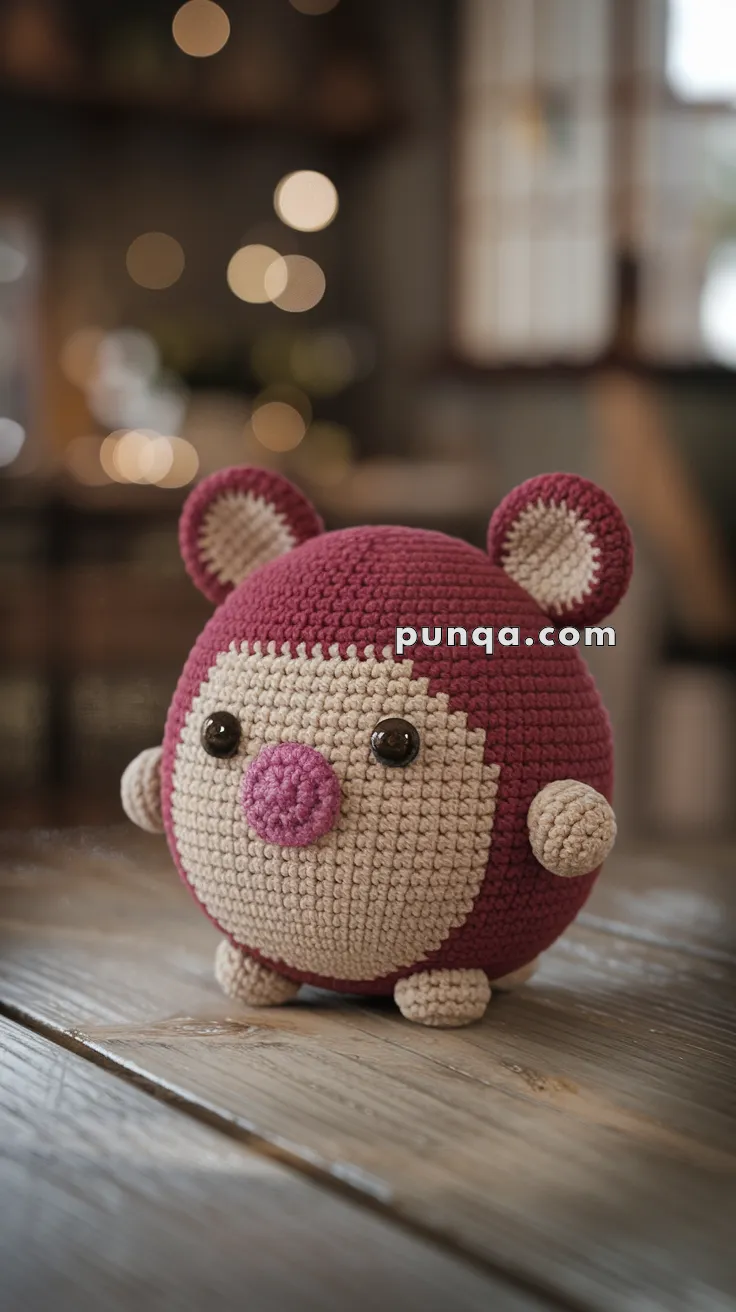
Meet Piccolo — a chubby little mouse with a round shape and a cheerful personality! This simple and adorable project is great for beginners and works up quickly, making it a perfect handmade gift or desk buddy.
✨ Skill Level
Beginner to Intermediate – Basic shaping, color changes, and small part attachment involved.
📏 Finished Size
Approx. 5 inches (13 cm) in diameter using worsted weight yarn and a 3.0 mm crochet hook.
🧶 Materials
-
Worsted weight yarn:
-
Main color (Rose Red)
-
Contrast color (Light Beige)
-
Nose (Dark Pink)
-
-
Crochet hook: 3.0 mm
-
Safety eyes (8 mm)
-
Tapestry needle
-
Stitch marker
-
Polyfill stuffing
🧵 Abbreviations (US Terms)
MR – Magic Ring
sc – Single Crochet
inc – Increase
dec – Decrease
sl st – Slip Stitch
FO – Fasten Off
🧠 Body (Work in Spiral)
Using Rose Red yarn:
-
MR, 6 sc (6)
-
inc x6 (12)
-
(1 sc, inc) x6 (18)
-
(2 sc, inc) x6 (24)
-
(3 sc, inc) x6 (30)
-
(4 sc, inc) x6 (36)
-
(5 sc, inc) x6 (42)
-
(6 sc, inc) x6 (48)
9–22. sc around (48)
Switch to Light Beige:
23–27. sc around (48) -
(6 sc, dec) x6 (42)
-
(5 sc, dec) x6 (36)
-
(4 sc, dec) x6 (30)
-
(3 sc, dec) x6 (24)
-
(2 sc, dec) x6 (18)
Stuff firmly. -
(1 sc, dec) x6 (12)
-
dec x6 (6)
FO, close the hole, and weave in the end.
👃 Nose
Using Dark Pink yarn:
-
MR, 6 sc
-
inc x6 (12)
3–4. sc around (12)
FO, leave a long tail for sewing.
Stuff lightly and sew onto the center of the face.
👀 Eyes
Attach safety eyes between rounds 24–25, about 8 stitches apart.
Optional: embroider small white specks to give a sparkle effect.
🐾 Arms (Make 2)
Using Light Beige:
-
MR, 6 sc
2–5. sc around (6)
FO, stuff lightly, and sew to sides of body.
🦶 Feet (Make 2)
Using Light Beige:
-
MR, 6 sc
-
(1 sc, inc) x3 (9)
-
sc around (9)
FO, stuff and sew to the bottom of body evenly.
👂 Ears (Make 2)
Inner (Light Beige):
-
MR, 6 sc
-
(1 sc, inc) x3 (9)
-
(2 sc, inc) x3 (12), FO.
Outer (Rose Red):
Repeat steps above in Rose Red but DO NOT FO.
Continue:
4. Hold both pieces together (wrong sides facing), sc around through both layers (12)
FO, leave a tail for sewing.
Sew ears evenly to top sides of the head.
✂️ Finishing Touches
-
Double-check eye and nose placement
-
Adjust limbs for symmetry
-
Shape the body into a perfect sphere
-
Weave in all ends neatly
💡 Customization Tips
With its round belly and button-like features, Piccolo is a charming companion to stitch and share. Great for gifting, collecting, or cuddling on a cozy shelf! 🧶❤️🐭