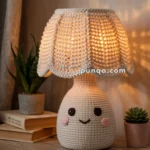
Oh, the joy of crafting an amigurumi pen holder! 🧶✨ There’s something incredibly satisfying about taking a simple ball of yarn and transforming it into a delightful little creature that keeps your pens organized. Whether you choose to make a cute cat with a wiggly tail or a whimsical cactus with colorful flowers, the possibilities are as endless as your imagination. Amigurumi, the Japanese art of crocheting small stuffed creatures, has this magical way of bringing a splash of personality to the otherwise mundane task of organizing your desk. The end result isn’t just practical; it’s a personalized piece of art that brings a smile every time you reach for a pen. 🖊️
Creating an amigurumi pen holder is not only a joyful endeavor but also a rewarding one. Starting with just a hook and some yarn, you’ll stitch your way through rounds, watching your creation come to life one loop at a time. It’s like sculpting, but with a soft and cuddly medium. Don’t worry if you’re new to it; the process is forgiving and celebrates the uniqueness in each handmade piece. From picking the perfect colors to adding those finishing touches like eyes and embellishments, each step is a little adventure. So grab your hook, pick some vibrant yarn, and let’s bring some crochet magic to your workspace! 🌈
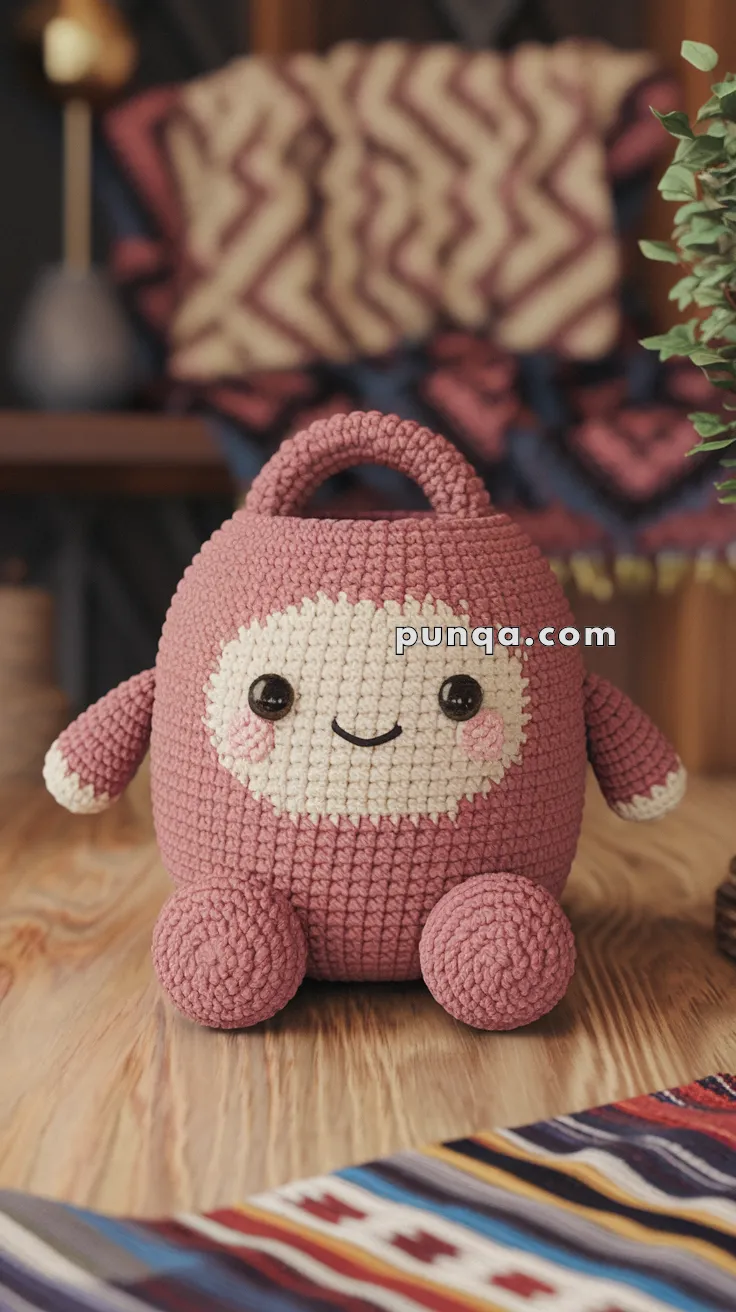
✨ Amigurumi Pen Holder Buddy Pattern
This plush pen holder is both functional and huggable, designed to hold your favorite pens while smiling back at you. The handle makes it easy to move, and the chubby limbs add charm.
📏 Finished Size
Approx. 15–18 cm (6–7 inches) tall (excluding handle)
🧵 Skill Level
Easy – suitable for confident beginners
🧶 Materials
-
Worsted weight yarn in:
-
Dusty rose (main body, limbs)
-
Cream (face patch, hand tips)
-
Pink (cheeks)
-
-
3.0 mm crochet hook
-
8–10 mm safety eyes
-
Stitch marker
-
Yarn needle
-
Fiberfill stuffing (only for arms and legs)
-
Cardboard or plastic cup insert (optional for stability inside)
-
Scissors
🪡 Abbreviations (US Terms)
-
MR – Magic Ring
-
sc – Single crochet
-
inc – Increase
-
dec – Decrease
-
sl st – Slip stitch
-
ch – Chain
-
st – Stitch
🧩 Pattern Instructions
🟣 Body (Start at base)
Using dusty rose:
-
MR, 6 sc
-
inc in each st (12)
-
(sc, inc) × 6 (18)
-
(2 sc, inc) × 6 (24)
-
(3 sc, inc) × 6 (30)
-
(4 sc, inc) × 6 (36)
7–20. sc around (36) -
ch 1, sc in next 36 sts (do not join)
Repeat for total height of ~10–12 cm (you can adjust taller or shorter)
Fasten off and weave in.
Optional: Insert a firm cup or rolled cardboard to help hold pens upright.
🟠 Handle
Using dusty rose:
-
ch 20
-
sc in 2nd ch from hook and across (19)
-
ch 1, turn, sc across (19)
Repeat Row 3 for 4–5 rows total. Fasten off with long tail.
Sew each short end of handle securely to the inner rim of the top opening.
🟡 Face Patch
Using cream:
-
MR, 6 sc
-
inc in each st (12)
-
(sc, inc) × 6 (18)
-
(2 sc, inc) × 6 (24)
-
(3 sc, inc) × 6 (30)
Fasten off and leave tail. Stitch or sew onto front of body about halfway up.
Attach safety eyes about 4–5 stitches apart. Embroider a smile with black thread or yarn.
Add two round blush patches with pink yarn using surface embroidery or small flat circles (optional).
🧸 Arms (Make 2)
Using dusty rose:
-
MR, 6 sc
-
(sc, inc) × 3 (9)
3–5. sc around (9)
Change to cream:
6–7. sc around (9)
Stuff lightly, fasten off, and sew to sides of body.
🦶 Legs (Make 2)
Using dusty rose:
-
MR, 6 sc
-
inc × 6 (12)
3–6. sc around (12)
Stuff and sew near bottom front of body.
✅ Final Touches
-
Stitch the face firmly
-
Optionally add a weighted base if using as a heavy-duty desktop organizer
-
Embroider a name tag on the back or stitch a little pocket!