Welcome to the fiery and adventurous world of amigurumi! 🔥✨ Today, I’m excited to share my free crochet pattern for Natsu, inspired by the beloved character from Fairy Tail! This dynamic and expressive creation is perfect for anime fans, fantasy-themed collections, or anyone who enjoys crafting bold and energetic plush designs! ⚡ Whether you love stitching up iconic characters, creating textured and lifelike figures, or simply want to add a powerful Natsu to your handmade lineup, this pattern will guide you through crafting a beautifully sculpted plush with spiky pink hair, a signature scarf, and a touch of fiery magic! 🧶🔥
This design embraces vibrant colors, intricate shaping, and playful details to bring a strong and adventurous presence to your crochet projects! 🌟 I’ve carefully outlined each step to ensure your Amigurumi Natsu turns out just right—ready to ignite your collection or become a treasured handmade gift! 🎁 So grab your hooks, pick out fiery oranges, deep blacks, or soft grays, and let’s stitch up a legendary Natsu! ✨
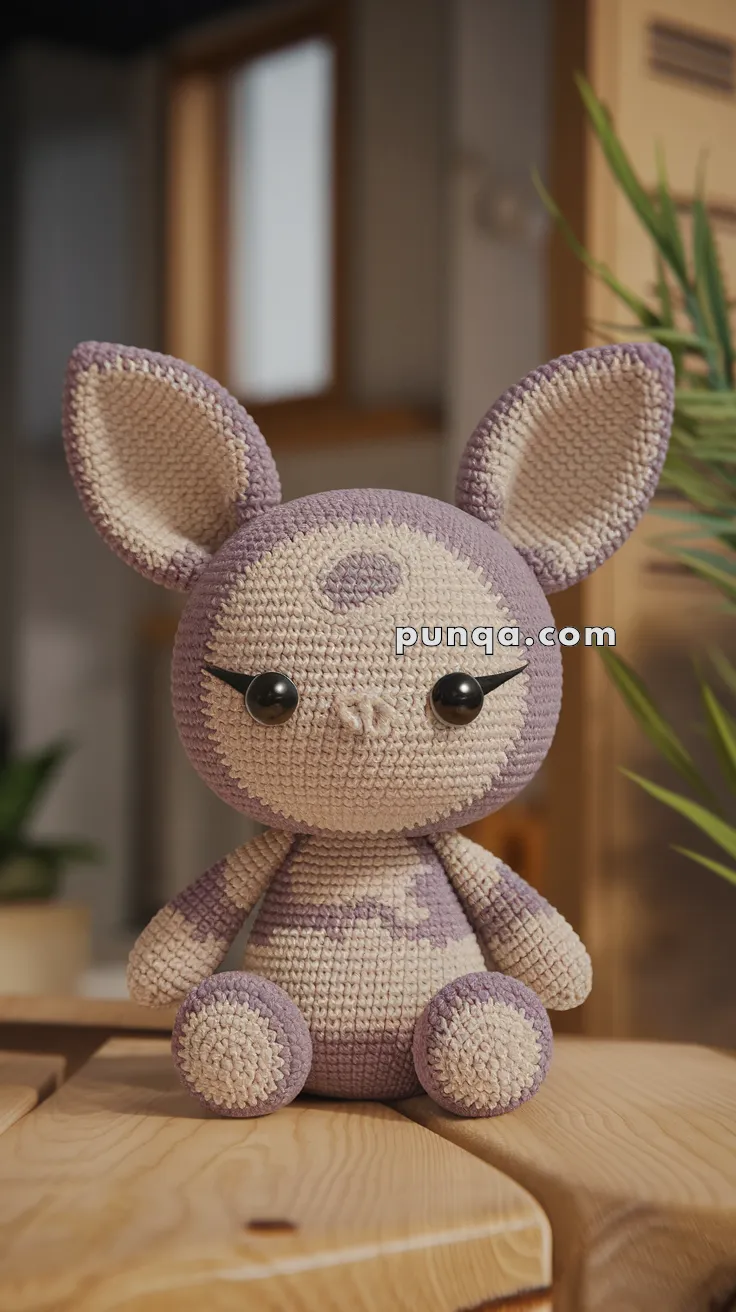
🐰 Amigurumi Natsu – Crochet Pattern
Natsu is a whimsical bunny-like creature with big ears, sleepy eyes, and a soft, spotted body. Perfect for imaginative play or a fantasy-inspired nursery gift!
✨ Skill Level
Intermediate – Includes color changes, shaping, and sewing parts together.
📏 Finished Size
Approx. 22–25 cm (9–10 inches) tall when using DK yarn and a 2.5–3 mm hook.
🧶 Materials
-
DK-weight cotton yarn in:
-
Cream (Main body)
-
Lavender or Light Purple (Secondary color)
-
-
2.5 mm crochet hook
-
8 mm safety eyes
-
Tapestry needle
-
Fiberfill stuffing
-
Stitch marker
-
Black embroidery thread (for lashes & nose)
🧵 Abbreviations (US Terms)
-
MR – Magic Ring
-
sc – Single Crochet
-
inc – Increase (2 sc in one st)
-
dec – Decrease (sc2tog)
-
ch – Chain
-
sl st – Slip Stitch
-
st – Stitch
-
FO – Fasten Off
🎀 Head
Start with Cream:
🐾 Body
Begin with Lavender:
🐇 Arms (Make 2)
Start with Cream:
🐾 Legs (Make 2)
Start with Cream:
🐰 Ears (Make 2)
Make 2 Inner Ears in Cream:
Make 2 Outer Ears in Lavender (same pattern).
Sew inner ear to outer ear, wrong sides together. Fold base and stitch to top sides of the head.
🌀 Tail (Optional)
With Lavender:
✨ Assembly
-
Sew head to body securely.
-
Attach arms on either side of the upper body.
-
Sew legs angled outward on the lower body.
-
Attach ears symmetrically on top of the head.
-
Embroider the nose (tiny “v” shape) and mouth with pink or brown thread.
-
Add optional tail and detail the body with lavender patches using surface slip stitch or embroidery for extra personality.
Natsu is now ready to hop into a magical forest—or your collection! 🌙