Welcome to the playful and charming world of amigurumi! 🐵✨ Today, I’m excited to share my free crochet pattern for an Amigurumi Monkey Fridge Magnet—a fun and quirky creation perfect for animal lovers, kitchen décor, or anyone who enjoys crafting adorable and functional plush designs! 🧶 Whether you love stitching up miniature creatures, experimenting with textured details, or simply want to add a cheeky monkey to your fridge lineup, this pattern will guide you through crafting a beautifully sculpted plush with tiny ears, a curly tail, and a magnetic touch! 🍌
This design embraces soft textures, rounded shaping, and delightful details to bring a playful and lighthearted presence to your crochet projects! 🧶✨ I’ve carefully outlined each step to ensure your Amigurumi Monkey Fridge Magnet turns out just right—ready to brighten up your space or become a treasured handmade gift! 🎁 So grab your hooks, pick out warm browns, soft creams, and deep blacks, and let’s stitch up a mischievous monkey! 🐵
🐵 Amigurumi Monkey Fridge Magnet Crochet Pattern
Looking for a small project that makes everyone smile each time they open the fridge?
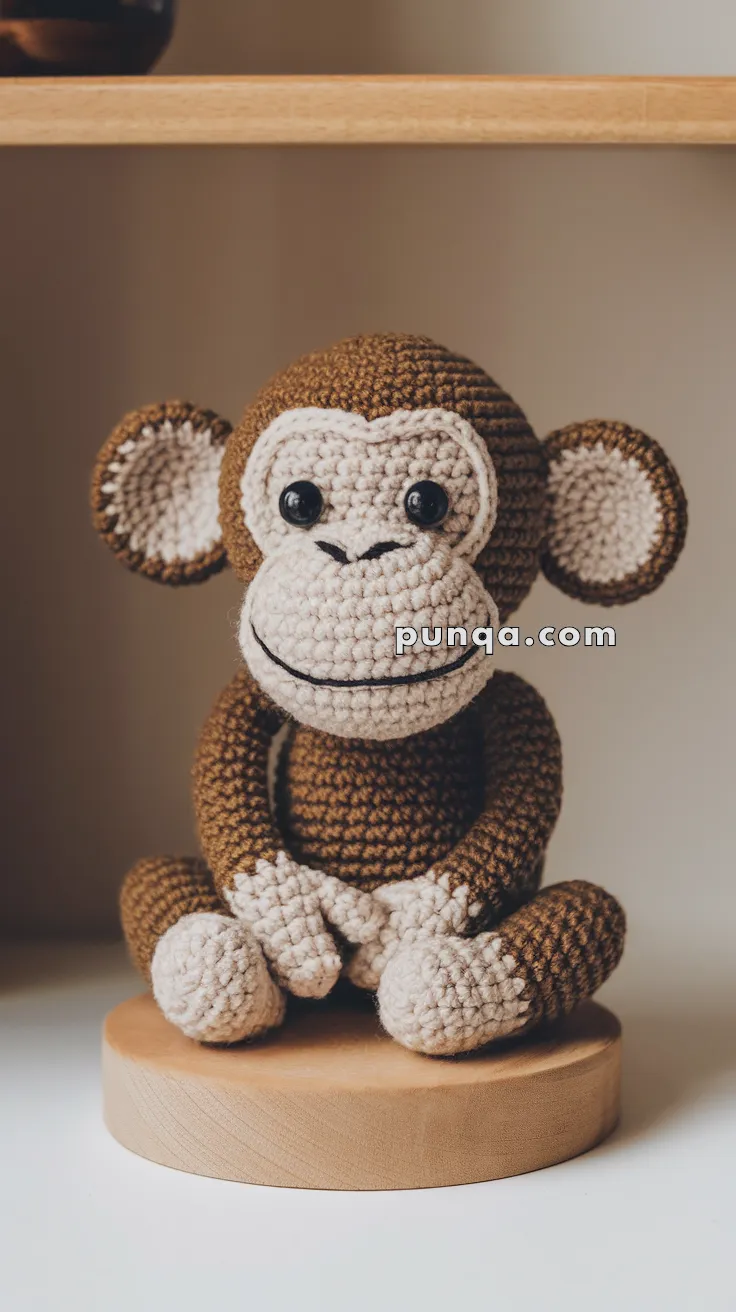
Meet the Amigurumi Monkey Fridge Magnet — a palm-sized version of the plush monkey you love, now redesigned for your kitchen!
This miniature crochet monkey keeps all the charm of the full-size version: round head, big muzzle, soft smile, and seated pose — but it’s lighter, flatter, and magnet-ready.
✨ Skill Level
Easy to Intermediate — includes shaping, simple embroidery, and color changes.
📏 Finished Size
About 10–12 cm (4–4.5 in) tall when made with DK yarn and a 2.5 mm crochet hook.
🧶 Materials Needed
• Brown DK or sport-weight yarn — about 20 g (main body, head, limbs)
• Beige or light-tan yarn — about 10 g (face, ears, hands, feet, belly)
• Crochet hook — 2.5 mm
• Safety eyes — 6 mm
• Black embroidery thread — for mouth and nostrils
• Small amount of fiberfill stuffing
• Yarn needle, scissors, stitch markers
• Small round magnets (2–4 pieces, 8–10 mm)
• Optional hot-glue gun — for securing magnets
💡 Photo-accuracy tip: Use a heathered or lightly variegated brown yarn to recreate the soft tone variation seen in the original photo.
🔤 Abbreviations (US Terms)
MR – Magic Ring
sc – Single crochet
inc – Increase (2 sc in same stitch)
dec – Invisible decrease
sl st – Slip stitch
ch – Chain
st(s) – Stitch(es)
FO – Fasten off
🧠 Head (Brown)
R1 MR 6 sc [6]
R2 inc × 6 [12]
R3 (sc, inc) × 6 [18]
R4 (2 sc, inc) × 6 [24]
R5–8 sc around [24]
R9 (2 sc, dec) × 6 [18]
R10 (sc, dec) × 6 [12]
Stuff firmly.
R11 dec × 6 [6]
FO and close.
Attach safety eyes between Rounds 5–6, about 5–6 stitches apart.
🐵 Muzzle (Beige)
R1 MR 6 sc [6]
R2 inc × 6 [12]
R3 (sc, inc) × 6 [18]
R4 sc around [18]
Stuff lightly and flatten slightly.
Sew centered low on the face.
Embroider a short vertical nose line and a curved smile along the lower edge.
💡 Mini tip: Keep the muzzle soft and lightly stuffed so the magnet can hold easily.
👂 Ears (Make 2)
Inner (Beige)
R1 MR 6 sc [6]
R2 (sc, inc) × 3 [9]
R3 sc around [9]
FO.
Outer (Brown)
Repeat R1–R3 with brown.
Join inner and outer pieces with brown yarn; sc around to join [9 sc].
Flatten slightly and sew to sides of head at eye level.
🧍 Body (Brown)
R1 MR 6 sc [6]
R2 inc × 6 [12]
R3 (sc, inc) × 6 [18]
R4–5 sc around [18]
R6 (sc, dec) × 6 [12]
R7 sc around [12]
Stuff lightly and flatten the back slightly so magnets sit flush.
FO, leaving tail to sew to head.
Belly Patch (Beige)
Ch 6, sc in 2nd ch from hook and each back (5). Ch 1, turn.
Row 2 inc, 3 sc, inc [7]
Row 3 sc across [7]
FO and sew centered on front.
✋ Arms (Make 2)
Beige: R1 MR 6 sc [6]; R2 sc around [6].
Switch to brown: R3–6 sc around [6].
FO, flatten ends, and sew to sides of body near top.
🦶 Legs (Make 2)
Beige: R1 MR 6 sc [6]; R2 inc × 6 [12]; R3 sc around [12].
Switch to brown: R4–6 sc around [12].
Stuff lightly. FO and sew to front bottom so monkey sits upright.
💡 Pose tip: Place feet close together for that cute folded-leg pose.
🌀 Tail (Optional)
Ch 15, sc in 2nd ch from hook and each back.
Tail curls naturally. Attach to back or underside.
(Hidden or omitted in photo version.)
🧲 Magnet Placement
Sew-in (Hidden):
Insert a small magnet into the back of the body before closing. You can add one in the head for balance.
Glue-on (Flat):
Glue 1–2 magnets directly onto the back after assembly. Press firmly and let dry completely.
💡 Balance tip: Slightly flatten the back so the magnet sits flush and sticks securely.
🪡 Assembly
-
Sew head to body securely.
-
Attach arms and legs symmetrically.
-
Add muzzle and embroider face.
-
Sew ears to sides of head.
-
Insert or glue magnets at the back.
🌟 Finishing Touches
• Lightly brush yarn surface for a soft look.
• Add a small felt circle behind the magnet if needed for extra support.
• Optional tiny blush on cheeks for extra cuteness.
💖 Result
You’ll have a photo-accurate mini monkey magnet that’s:
– Adorable, round, and smiling
– Perfectly balanced and light
– Flat-backed to stick securely on any metal surface
– A fun handmade gift for any crochet lover
Hang it on your fridge, office cabinet, or magnetic board — a tiny monkey that brightens your day every time you see it!