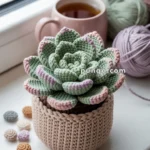
Sip into creativity with this Amigurumi Mini Cup crochet pattern! Inspired by the cozy charm of a tiny cup, this adorable design captures its rounded shape, delicate handle, and warm personality in every stitch. Whether you’re crafting for coffee lovers, creating a cute kitchen accent, or simply enjoy making miniature amigurumi designs, this pattern lets you stitch up a tiny cup bursting with charm! Perfect for adding a playful touch to your collection, this crochet mini cup is both stylish and fun. ☕✨
Designed for customization, this pattern allows you to experiment with different colors, embroidered details, or even tiny accessories like a miniature saucer or steam effect for extra flair. Craft a classic mini cup with neutral tones, create a whimsical version with pastel hues, or even stitch up a full set of beverage-inspired amigurumi for a delightful display! Whether gifted as a quirky keepsake, displayed as a charming accent, or made simply for the joy of crafting, this Amigurumi Mini Cup is a fun and creative project—perfect for bringing a touch of handmade coziness to every stitch! 🧶💖☕
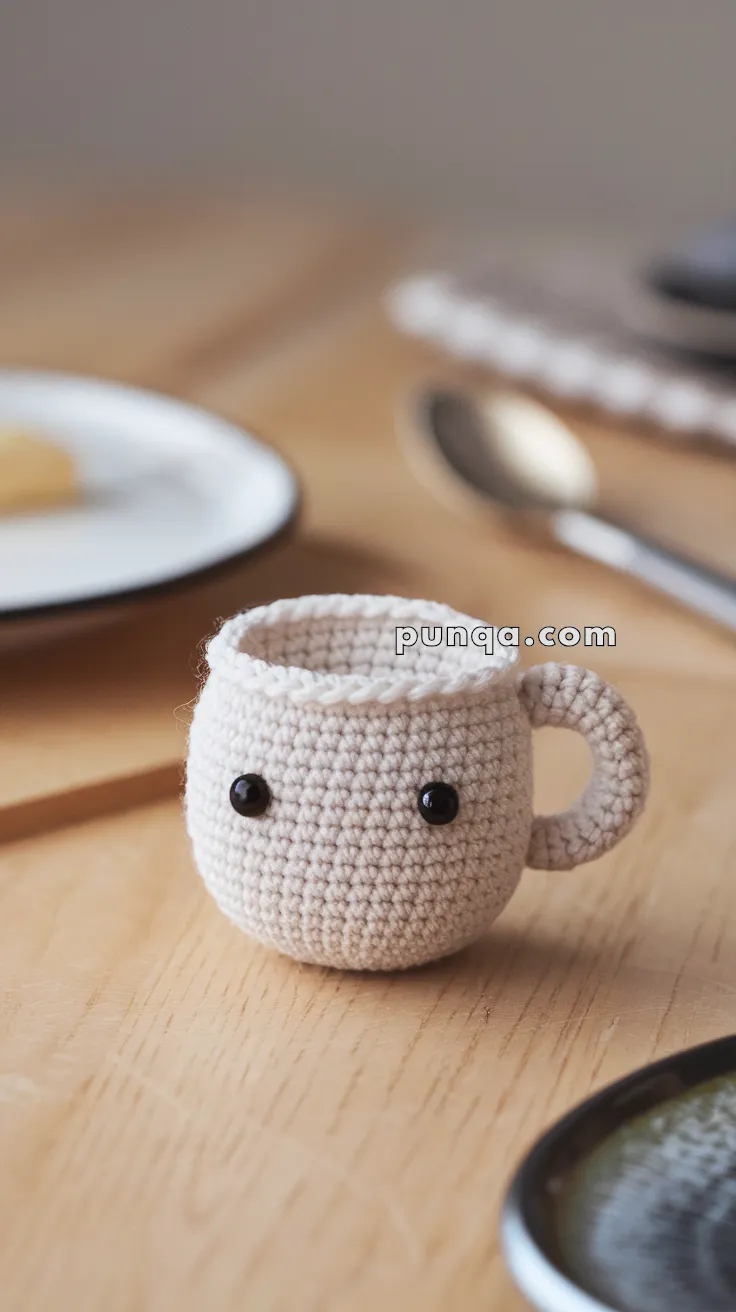
☕ Amigurumi Mini Cup Crochet Pattern
This adorable amigurumi mini cup is perfect for adding a dose of cuteness to your kitchen, workspace, or as a handmade gift. Its simple construction and charming face make it a quick and beginner-friendly project!
✨ Skill Level
Beginner – Great for practicing working in the round and attaching simple features.
📏 Finished Size
Approx. 2.5–3 inches (6–7.5 cm) tall using DK yarn and a 2.5–3 mm hook.
🧶 Materials
-
DK or light worsted weight yarn:
-
Color A: Beige, Cream, or your choice for cup
-
-
2.5–3 mm crochet hook
-
6–8 mm black safety eyes
-
Tapestry needle
-
Stitch marker
-
Black embroidery thread (for smile)
-
Optional: a small amount of stuffing (bottom only)
🧵 Abbreviations (US Terms)
MR – Magic Ring
sc – Single Crochet
inc – Increase (2 sc in one st)
dec – Decrease (sc two together)
sl st – Slip Stitch
ch – Chain
FO – Fasten Off
🧁 Cup Base – Color A
-
MR, 6 sc (6)
-
inc x6 (12)
-
(1 sc, inc) x6 (18)
-
(2 sc, inc) x6 (24)
-
(3 sc, inc) x6 (30)
-
(4 sc, inc) x6 (36)
-
BLO sc around (36) – Creates bottom edge
8–17. sc around (36) – 10 rounds to build up the cup
FO and weave in end.
Optional: Lightly stuff the bottom of the cup to help it hold shape.
🪝 Cup Rim Detail (Optional)
Join yarn to front loop of Round 7:
-
sl st around the entire round (36 sl st)
FO and weave in for a neat top edge.
☕ Handle – Color A
-
ch 12
-
Starting in 2nd ch from hook, sc 11
FO, leave long tail.
Shape into a semi-circle and sew ends to the side of the cup at about Rounds 10–13.
😄 Face
-
Place safety eyes between Rounds 9 and 10, approximately 7 stitches apart.
-
Use black embroidery thread to stitch a small curved smile between the eyes.
✂️ Finishing Touches
-
Weave in all remaining yarn tails securely.
-
Gently shape the cup by hand.
-
Add a cardboard disc inside the base for extra stability (optional).
💡 Customization Ideas
-
Use brown yarn to create a “coffee” or “hot chocolate” layer at the top.
-
Add tiny crocheted accessories like a spoon, saucer, or whipped cream!
-
Stitch initials or patterns on the front for a personalized touch.
This cute mini cup will bring a smile to your face with every glance. Whether displayed alone or as part of a set, it’s a cozy, creative joy to make! ☕💛