Add a zesty twist to your decor with this Amigurumi Lemon Tree in Pot crochet pattern! Bursting with cheerful yellow lemons, soft green leaves, and a sturdy little pot, this charming project brings a fresh, fruity vibe to any space. Whether you’re crafting a sunny accent for your kitchen, a thoughtful gift for a plant lover, or just want to stitch up something that radiates positivity, this lemon tree is a sweet and satisfying way to brighten your day—no watering required! 🍋🪴🧶
Designed for playful detail and charm, this pattern invites you to mix vibrant yarns, experiment with textures, and bring your tree to life with expressive touches like blushing lemons or a tiny tag that says “fresh picked.” Add a gingham ribbon, a mini bee, or even a little face for extra personality. Whether it’s perched on a windowsill or gifted with love, this Amigurumi Lemon Tree in Pot is a joyful project—perfect for bringing a touch of handmade sunshine to every stitch! 💛🌿✨
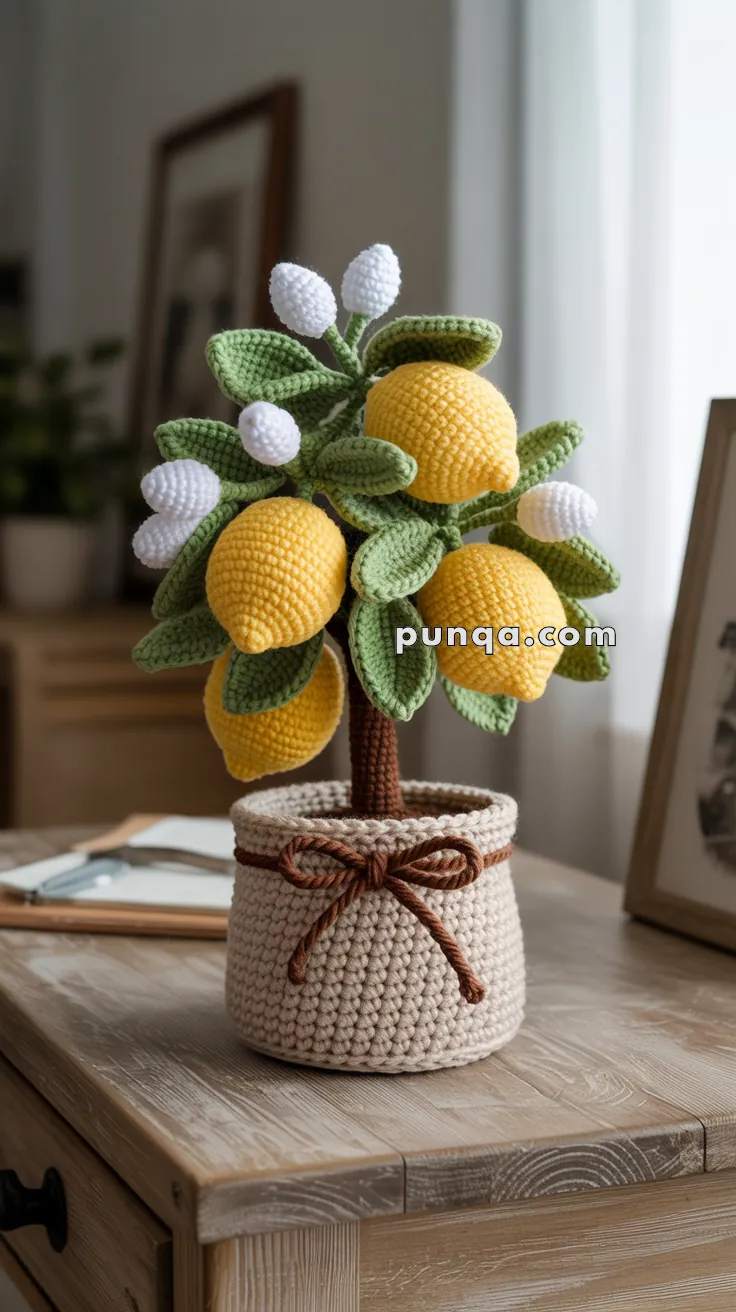
🍋 Amigurumi Lemon Tree in Pot Crochet Pattern
Brighten any corner with this adorable and fresh-looking amigurumi lemon tree. Featuring juicy lemons, glossy leaves, delicate white buds, and a cozy potted base with a tied bow, this project is perfect for a homey and creative crochet day.
Skill Level: Intermediate – involves shaping, sewing multiple pieces, and support structure assembly.
📏 Finished Size
Approx. 25–30 cm (10–12 in) tall (depending on materials used and leaf arrangement).
🧶 Materials
- Yarn (DK or worsted weight):
- Yellow (lemons)
- Green (leaves)
- White (buds)
- Brown (tree trunk & bow)
- Beige or tan (pot)
- Hook: 2.5–3.0 mm
- Fiberfill stuffing
- Floral wire or pipe cleaners (for flexible branches)
- Yarn needle, stitch markers
- Small pebbles or cardboard circle (optional, to weigh down the pot)
🧵 Abbreviations (US Terms)
- MR – Magic Ring
- sc – Single Crochet
- inc – Increase (2 sc in 1 st)
- dec – Decrease (sc 2 together)
- ch – Chain
- sl st – Slip Stitch
- (…) – repeat sequence inside parentheses
- – stitch count at end of round
🍋 Lemons (Make 5–6)
With Yellow Yarn
- MR, 6 sc [6]
- (inc) x6 [12]
- (sc, inc) x6 [18]
4–8. sc around [18] - (1 sc, dec) x6 [12]
- (dec) x6 [6]
Fasten off, stuff firmly, shape slightly oval, and close.
🔸 Optional: Embroider a tiny bump at the end for a lemon “tip.”
🌿 Leaves (Make 10–12)
With Green Yarn
- ch 10
- Starting in 2nd ch from hook: sc, hdc, dc x4, hdc, sc [8]
- Continue around the other side: sc, hdc, dc x4, hdc, sc
- Sl st in first st, fasten off and leave a long tail for sewing.
Optional: Add a central vein with surface slip stitch using a darker green yarn.
⚪ Buds (Make 6–8)
With White Yarn
- MR, 5 sc [5]
- (sc, inc) around [8]
- sc around [8]
- (sc, dec) around [5–6]
Fasten off and stuff lightly.
🌳 Tree Trunk
With Brown Yarn
- MR, 6 sc [6]
- (inc) x6 [12]
3–20. sc around [12]
Stuff as you go. Insert floral wire in center to support branches.
🪴 Pot
With Beige or Tan Yarn
- MR, 6 sc [6]
- (inc) x6 [12]
- (sc, inc) x6 [18]
- (2 sc, inc) x6 [24]
- (3 sc, inc) x6 [30]
- (4 sc, inc) x6 [36]
- (5 sc, inc) x6 [42]
- BLO: sc around [42]
9–18. sc around [42]
Optional: Insert cardboard circle or pebbles at the base for stability.
🎀 Pot Bow (Optional)
With Brown Yarn
- ch 55
- sl st in 2nd ch from hook and all the way back [54 sl st]
Fasten off and tie in a bow. Sew to pot.
🧩 Assembly
- Sew lemons and buds to ends of floral wire “branches.”
- Sew leaves around each lemon to make groupings.
- Wrap base of each floral wire around trunk and sew securely.
- Insert trunk into pot and stuff around it to stabilize.
- Stitch the trunk base into the pot firmly.
- Attach bow to front of pot.
🌞 Finishing Tips
- For a sturdier tree, glue the floral wire ends inside the trunk and reinforce with hot glue at the base.
- Use dry beans or small rocks in the bottom of the pot if you want extra weight.
- Optional: add a little blush on the lemons or glitter yarn to make them sparkle.
🪴 Final Thoughts
This amigurumi lemon tree is a joyful, long-lasting alternative to a real plant. Whether you gift it, display it on a shelf, or use it as a cheerful table centerpiece, it’s guaranteed to brighten the day.