Rev up your crochet creativity with this Amigurumi Lamborghini pattern! Inspired by the sleek and powerful design of the iconic supercar, this miniature creation captures the bold curves, aerodynamic shape, and unmistakable style of a Lamborghini in every stitch. With carefully crafted details like sporty wheels, streamlined bodywork, and a dynamic stance, this crochet Lamborghini is perfect for adding a touch of speed and luxury to your handmade collection. Whether you’re crafting for car enthusiasts, creating a unique display piece, or simply enjoy making vehicle-inspired amigurumi designs, this pattern lets you stitch up a tiny supercar bursting with personality! 🏎️✨
Designed for customization, this pattern allows you to experiment with different car colors, embroidered details, or even tiny accessories like racing stripes or headlights for extra flair. Craft a classic Lamborghini with its signature bold hues, create a whimsical version with vibrant tones, or even stitch up a full set of supercar-inspired amigurumi for a high-speed display! Whether gifted as a cherished keepsake, displayed as a stylish accent, or made simply for the joy of crafting, this Amigurumi Lamborghini is a fun and creative project—perfect for bringing a touch of handmade automotive magic to every stitch! 🧶💖
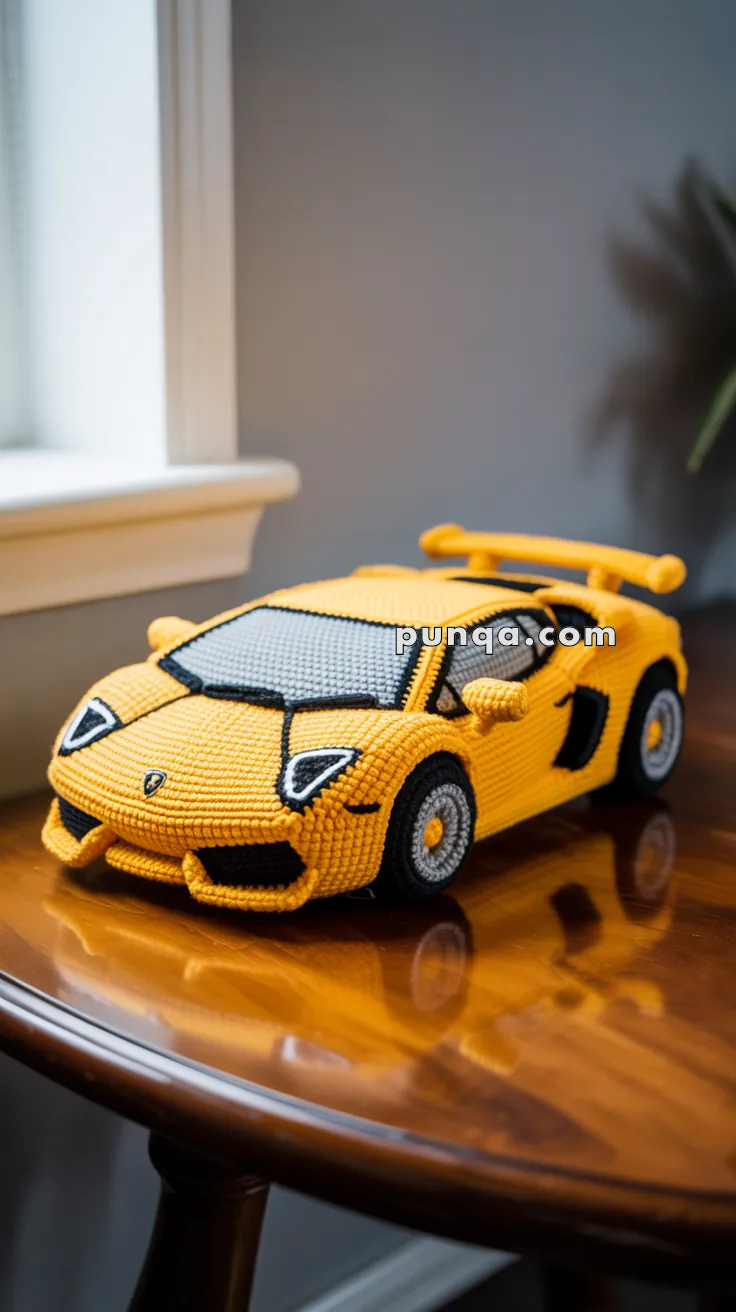
🏎️ Amigurumi Lamborghini-Inspired Supercar Crochet Pattern
Zoom into the world of crochet with this sleek amigurumi Lamborghini-style supercar! With realistic shaping, bold panel lines, and sporty features like a spoiler and air vents, this piece makes a show-stopping gift for car lovers and kids alike.
✨ Skill Level
Advanced – Involves 3D shaping, multiple parts, surface detail work, and sewing.
📏 Finished Size
Approx. 10–12 inches (25–30 cm) long using DK or worsted weight yarn and a 2.5–3.5 mm hook.
🧶 Materials
- Yarn (DK or Worsted weight):
- Yellow (Main body)
- Gray (Windshield, side and rear windows, wheels)
- Black (Panel detailing, interior, tires, grille)
- White (Headlight accents)
- Orange (Wheel hub centers)
- Crochet hook: 2.5–3.5 mm
- Tapestry needle
- Stitch marker
- Polyfill stuffing
- Thin black felt (optional for finer details)
- Cardboard/plastic inserts for tire stiffness (optional)
🧵 Abbreviations (US Terms)
MR – Magic Ring
sc – Single Crochet
inc – Increase (2 sc in one stitch)
dec – Decrease (sc2tog)
sl st – Slip Stitch
ch – Chain
FO – Fasten Off
🟡 Car Body Shell (Yellow)
Work in rows to form car’s shell shape
Top Panel (roof & hood, in one piece)
- ch 21
2–10. sc in each st (20) – this forms the hood and top
11–14. dec 1 at each edge to taper slightly (optional)
15–18. sc evenly to lengthen rear roof area
FO, leave long tail.
Sides (Make 2, mirror)
- ch 26
2–3. sc across (25) - For wheel wells: skip 3 stitches in mid-section, chain same amount, continue row.
5–8. sc across evenly
FO.
Back Panel
- ch 15
2–6. sc in each st (14)
FO.
Front Panel (with black grille)
- With black: ch 15
2–4. sc across
5–6. Switch to yellow, sc across
FO.
Bottom Panel (underside)
- ch 26
2–8. sc in rows to match body
FO.
🪞 Rear Spoiler
- ch 20
2–3. sc across - Fold lengthwise and sl st along to close
- ch 2 side arms, attach to car body sides
Sew firmly to the rear.
🧊 Windows (Gray)
Windshield
- ch 15
2–6. sc across
Cut triangle corners if preferred. FO.
Side Windows (Make 2)
- ch 10
2–5. sc across
Sew flush into sides of car.
Rear Window
- ch 10
2–4. sc across
FO.
💡 Headlights (Make 2 – White and Black)
- MR, 4 sc (white)
- Change to black, sc around
- sl st to finish triangle shape
Sew to front corners.
Taillights (Red or Orange Yarn)
- MR, 4 sc – flatten into oval
Sew to rear panel.
🛞 Wheels (Make 4)
Tires (Black)
- MR, 6 sc
- inc x6 (12)
- (1 sc, inc) x6 (18)
- sc around
FO, stuff or add firm insert (optional)
Wheel Rims (Gray)
- MR, 6 sc
- inc x6 (12)
- sl st around
Sew onto center of tires.
Center Hub (Orange)
- MR, 4 sc
Sew to rim center.
Sew all 4 wheels to base of the car at aligned positions.
🧵 Detailing & Assembly
- Sew top panel to both side panels
- Attach front and rear panels
- Add bottom and roof
- Sew windows and lights
- Use black yarn or surface slip stitch to embroider panel lines and vent outlines
- Attach rear spoiler firmly
- Optional: Add small mirrors or logo detailing using felt or surface embroidery
💡 Customization Ideas
- Change colors for Ferrari (red), Bugatti (blue), or McLaren (orange) variants
- Add initials or license plate embroidery
- Use fuzzy yarn for a “plush toy” version for younger children
🏁 This stylish amigurumi supercar brings speed, creativity, and character to your yarn projects—perfect for car fans and crochet lovers alike! Whether it races down your craft table or sits proudly on a shelf, it’s sure to steal the spotlight. 🧶💨