Oh, the joy of creating amigurumi! 🧶 There’s something truly magical about bringing a ball of yarn to life, especially when crafting an adorable amigurumi kangaroo with a joey in its pouch. Every stitch is an adventure, and nothing beats the excitement of seeing that little joey peek out for the first time! Whether you’re a seasoned crocheter or just starting out, this project offers a delightful challenge that keeps your fingers busy and imagination running wild. It’s like sculpting with yarn, and I promise, the end result is worth every single loop and hook.
Now, let’s dive into the process! Creating an amigurumi kangaroo and its joey requires some basic crochet skills, a splash of creativity, and a whole lot of enthusiasm. It often starts with selecting the perfect yarn—soft, cuddly, and in just the right shades of brown and tan to mimic a real marsupial. As I work through the pattern, I find myself enchanted by the gradual formation of the kangaroo’s strong legs and perky ears. The magic comes alive when I get to craft the tiny joey; it’s like creating a mini masterpiece within a masterpiece! By the time I weave in the final tail, I’m already planning my next amigurumi endeavor, inspired by the joy of crafting these lovable yarn creatures. 🦘💖
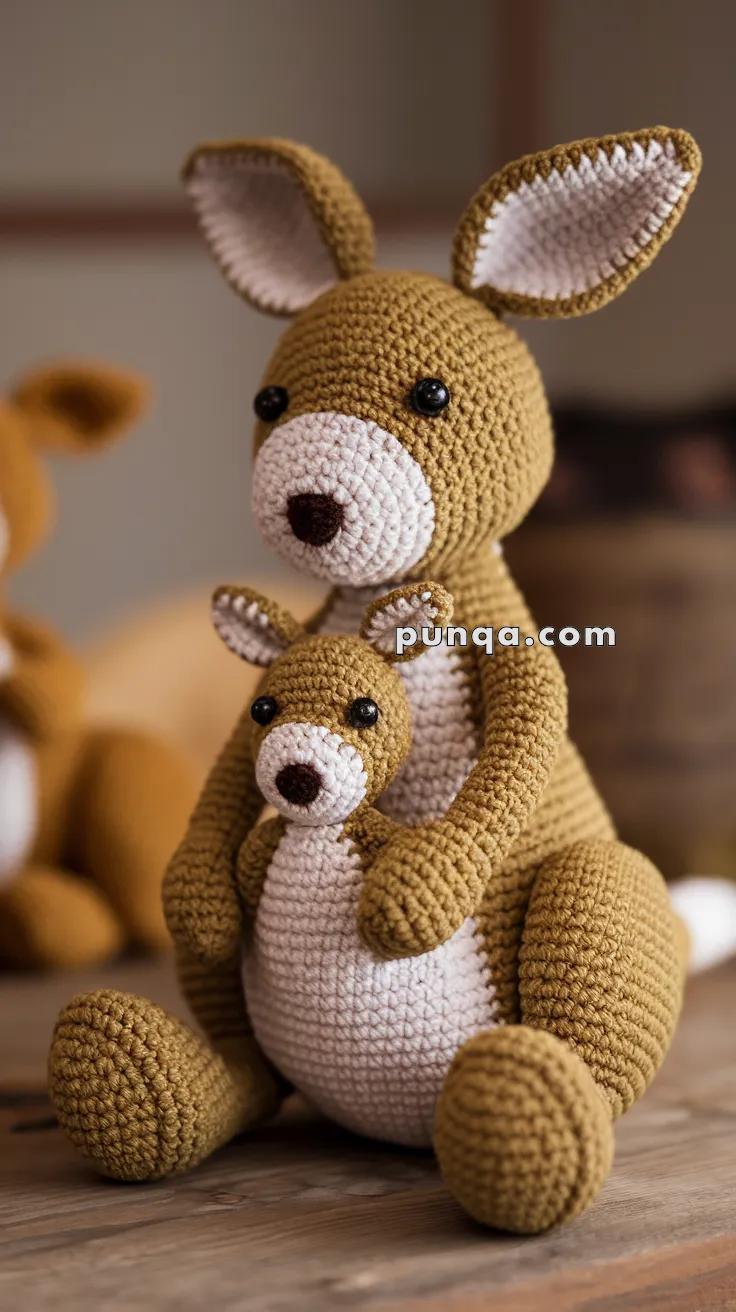
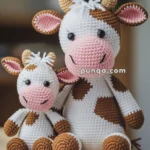
🦘 Amigurumi Kangaroo With Joey – FREE Crochet Pattern
This adorable kangaroo duo features a loving mom with her sweet baby joey tucked snugly in her pouch! Perfect for animal lovers or nursery decor, this project combines cuddly charm with practical shaping to hold the baby securely in place.
🧶 Materials:
-
Yarn in light brown, cream, and dark brown
-
2.5 mm or 3.0 mm crochet hook
-
10 mm and 6 mm safety eyes (mom and joey)
-
Fiberfill stuffing
-
Yarn needle
-
Stitch marker
-
Optional: Velcro or snap for pouch closure
✨ Abbreviations (US Terms):
-
MR – Magic Ring
-
sc – Single Crochet
-
inc – Increase
-
dec – Decrease
-
ch – Chain
-
sl st – Slip Stitch
-
FO – Fasten Off
🧠 Skill Level:
Intermediate – Includes shaping, color changes, and small parts.
✂️ Pattern Instructions
🔸 Head (Mom):
-
With light brown, MR, sc 6
-
Increase to 48 sts
-
Work even for multiple rounds
-
Switch to cream for snout area
-
Insert safety eyes and embroider nose
-
Stuff firmly and FO
🔹 Ears (Make 2 Large, 2 Small):
-
Start with cream, ch and shape inner ear
-
Switch to light brown for outer ear
-
Sew inner and outer pieces together
-
Slightly fold and attach to head
🔸 Body:
-
Start with cream for the belly
-
MR, increase to 54 sts
-
Switch to brown for back
-
Work even and begin shaping pouch
-
Add pouch lining separately if desired
-
Stuff and FO
🔹 Arms (Make 2):
-
Start with brown yarn
-
MR and increase to slim tube shape
-
Slight shaping near paw
-
Lightly stuff and FO
-
Sew near upper sides of body
🔸 Legs (Make 2):
-
Begin with feet in brown
-
Shape rounded feet and ankles
-
Work leg tube and flatten top
-
Stuff well and attach seated
🔹 Tail:
-
Work in brown from thick base to pointed tip
-
Shape long tapering tail
-
Stuff lightly and sew to back
🔸 Joey:
-
Follow same steps as for mom, scaled down
-
Use 6 mm eyes and reduced stitch counts
-
Skip arms or legs if making very small
-
Stuff and attach inside pouch or make removable
🧵 Assembly:
-
Attach head securely to body
-
Position and sew ears and facial features
-
Sew arms close to pouch edge for protective pose
-
Attach legs with a seated angle
-
Insert joey into pouch (sew or removable)
-
Stitch tail at back for balance
💡 Tips:
-
Use a snap or button to make the pouch openable
-
Add blush for a sweet mommy-and-me effect
-
Create a mini scarf or bow for the joey for extra cuteness
-
Use a wire in the tail for better balance if needed
-
You can add a tiny bottle or pacifier as a prop
✨ Finishing Touches:
-
Embroider small claws on the paws with dark yarn
-
Lightly brush yarn with a slicker brush for a soft, fuzzy look
-
Customize the joey’s color for a unique personality