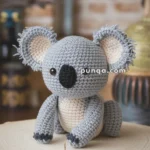
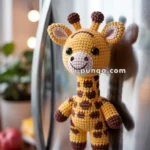
Add a touch of woodland charm to your fridge with this Amigurumi Hedgehog Fridge Magnet crochet pattern! Inspired by the adorable spiky creatures of the forest, this tiny hedgehog captures their round shape, soft fur, and sweet little face in every stitch. With its compact size and delightful details, this crochet hedgehog magnet is perfect for adding a cozy and whimsical touch to your kitchen decor. Whether you’re crafting for animal lovers, creating a cute gift, or simply enjoy making nature-inspired amigurumi designs, this pattern lets you stitch up a lovable hedgehog bursting with personality! 🦔✨
Designed for customization, this pattern allows you to experiment with different shades of brown, embroidered details, or even tiny accessories like a miniature leaf or acorn for extra charm. Craft a classic hedgehog magnet with natural tones, create a pastel version for a dreamy aesthetic, or even stitch up a full set of woodland-inspired amigurumi for a delightful display! Whether gifted as a quirky keepsake, displayed as a charming accent, or made simply for the joy of crafting, this Amigurumi Hedgehog Fridge Magnet is a fun and creative project—perfect for bringing a touch of handmade forest magic to every stitch! 🧶💖
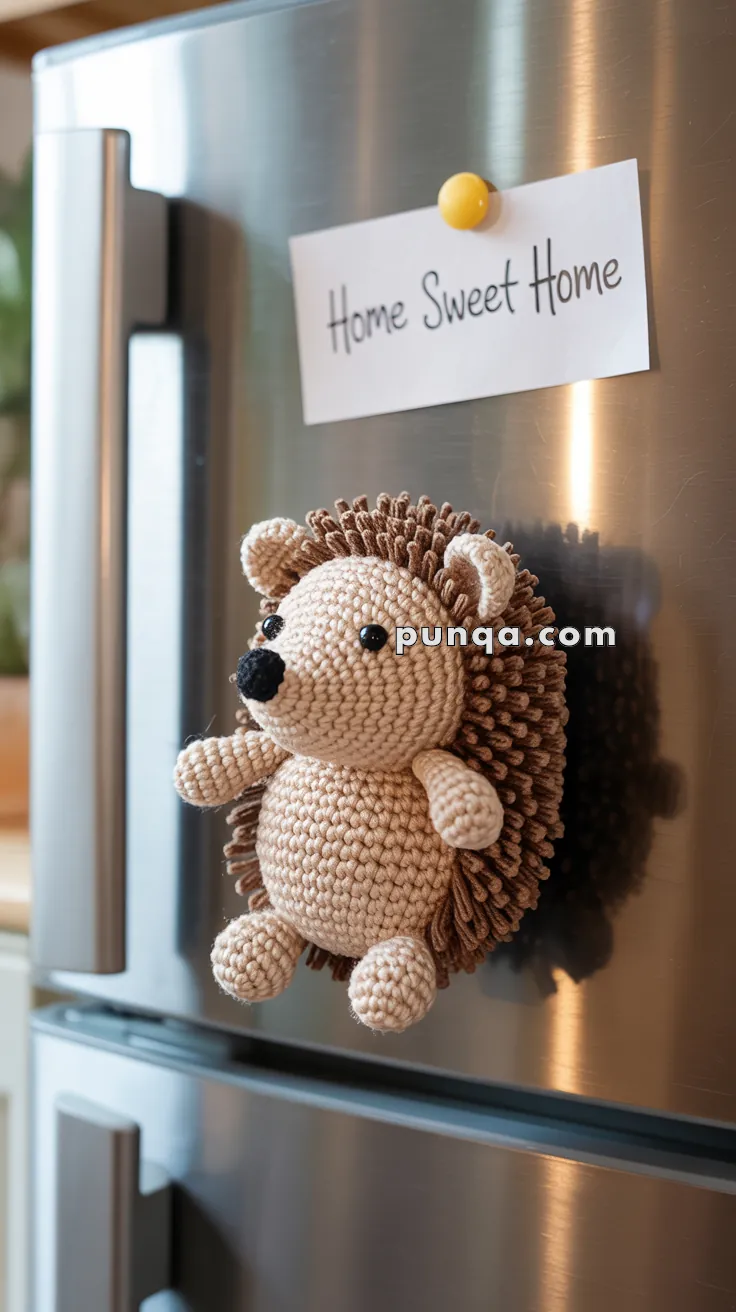
🦔 Amigurumi Hedgehog Fridge Magnet Crochet Pattern
Turn your fridge into a woodland wonder with this adorable amigurumi hedgehog magnet! Featuring a round belly, soft limbs, a snouty little face, and fuzzy faux-spine details, it’s a practical and playful project perfect for gifting or decorating.
✨ Skill Level
Intermediate – Involves shaping, faux-fur techniques, and basic assembly.
📏 Finished Size
Approx. 3–4 inches (7.5–10 cm) tall using DK or worsted weight yarn and a 2.5–3.5 mm hook.
🧶 Materials
- Yarn (DK or Worsted weight):
- Color A: Beige or Light Tan (body, face, limbs, ears)
- Color B: Brown (spines/back)
- Black yarn (nose/mouth embroidery)
- Crochet hook: 2.5–3.5 mm
- 6 mm safety eyes (or black beads)
- Small black pom-pom or safety nose
- Tapestry needle
- Stitch marker
- Polyfill stuffing
- Faux fur yarn or loop stitch technique (optional)
- Strong magnets (2–3 small disc magnets)
- Hot glue (for attaching magnets)
🧵 Abbreviations (US Terms)
- MR – Magic Ring
- sc – Single Crochet
- inc – Increase
- dec – Decrease
- sl st – Slip Stitch
- FO – Fasten Off
- BLO – Back Loop Only
🧸 Head & Body (Worked as one piece)
With Color A
- MR, 6 sc (6)
- inc x6 (12)
- (1 sc, inc) x6 (18)
- (2 sc, inc) x6 (24)
5–7. sc around (24) - (2 sc, dec) x6 (18) – Start stuffing
- (1 sc, dec) x6 (12)
- sc around (12)
- (1 sc, inc) x6 (18)
- (2 sc, inc) x6 (24)
- (3 sc, inc) x6 (30)
14–15. sc around (30) - (3 sc, dec) x6 (24)
- (2 sc, dec) x6 (18) – Stuff firmly
- (1 sc, dec) x6 (12)
- dec x6 (6), FO and weave tail
🐾 Arms & Legs (Make 4)
With Color A
- MR, 6 sc (6)
2–4. sc around (6)
Stuff lightly - dec x3 (3), FO and flatten slightly
👂 Ears (Make 2)
With Color A
- MR, 5 sc (5)
- inc x5 (10)
- sc around (10)
FO, leave tail to sew, fold edge to form curve
🐽 Nose
Use a small safety nose or:
- MR, 5 sc in black yarn
- FO, sew to tip of face
🌾 Back Spines (2 options)
Option 1: Loop Stitch Method
Switch to Color B in Back Loop Only in Rounds 13–18.
Work loop stitch (lp st) or brushed yarn technique to create faux spikes. Fluff with a pet brush if needed.
Option 2: Faux Fur Yarn Back Panel
Make a second oval in brown faux fur yarn:
- MR, 6 sc
- inc x6 (12)
- (1 sc, inc) x6 (18)
- (2 sc, inc) x6 (24)
- (3 sc, inc) x6 (30)
FO, sew to back of body
🧲 Magnet Attachment
- Insert small disc magnets inside back panel (if not too bulky) or
- Hot glue 1–2 strong magnets to the back after assembly
Ensure they’re flush and secure
✂️ Assembly
- Sew ears to sides of the head
- Attach arms and legs to front base of body
- Embroider mouth if desired
- Sew or glue spine panel to back
- Firmly glue magnet(s) to center of spine area
💡 Customization Ideas
- Add a tiny felt heart or letter held in its paws
- Use safety rattles and hang as nursery décor
- Attach to a keychain ring or zipper pull instead of a magnet
This fuzzy little hedgehog is sure to bring cozy woodland vibes to any corner of your home—especially your fridge! 🦔🧲