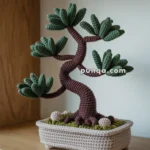
Oh, the joy of creating amigurumi! 🌿 When I first stumbled upon the art of crocheting tiny, adorable figures, I was instantly enchanted. There’s something incredibly satisfying about transforming a simple ball of yarn into delightful creations that can bring a smile to anyone’s face. Among all the charming possibilities, crafting an amigurumi fern stands out as a delightful challenge. These little crocheted plants can brighten up any room without the need for sunlight or water. Plus, they’re perfect for those of us who adore the beauty of greenery but lack the green thumb to match. The magic of amigurumi is not just in the finished piece but in every stitch along the way.
Creating a fern amigurumi pattern is like embarking on a miniature adventure! 🌿🧶 The process begins with gathering your materials: soft yarn in various shades of green, a trusty crochet hook, and, of course, a bit of patience. As I loop and stitch each piece, the fern begins to take shape in my hands, sprouting into a whimsical representation of nature. There’s a sense of accomplishment as each leaf unfurls, one stitch at a time. The best part? There’s room for creativity—no two ferns need to look exactly alike. Whether you’re a seasoned crocheter or just starting, creating these little green companions is a joyful journey full of creativity and love.
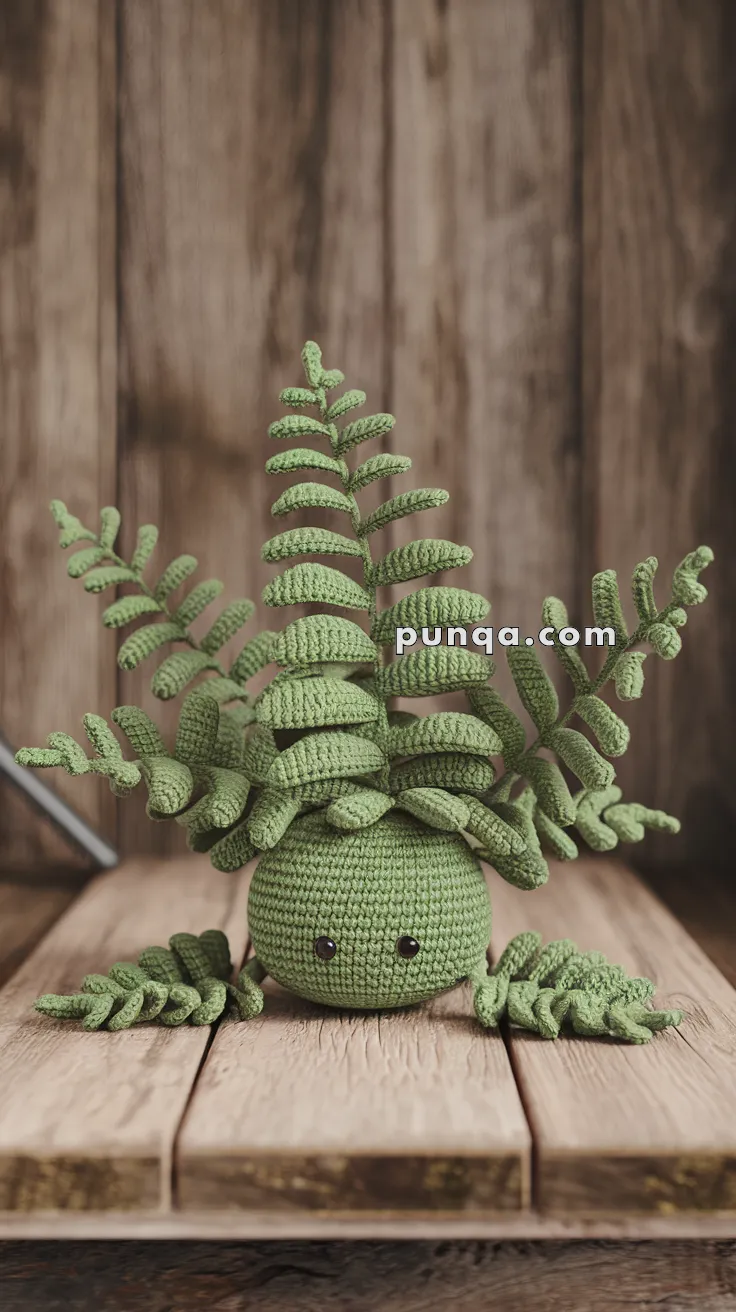
🌿 Amigurumi Fern – Free Crochet Pattern
Bring a little greenery to your crochet world with this whimsical fern plant creature! With big leafy fronds and a round, shy little face, it’s the perfect desk companion or forest guardian friend.
🧵 Skill Level: Intermediate
📏 Finished Size: ~7–9 inches tall (depending on frond length)
🧶 Materials
-
Worsted weight yarn in green (one shade or two for contrast)
-
2.5 mm–3.0 mm crochet hook
-
8–10 mm safety eyes
-
Polyester fiberfill stuffing
-
Stitch marker
-
Yarn needle
-
Optional: floral wire or pipe cleaners (to shape fronds)
✨ Abbreviations (US Terms)
-
MR – Magic Ring
-
sc – Single crochet
-
inc – Increase (2 sc in one st)
-
dec – Decrease (sc2tog)
-
ch – Chain
-
sl st – Slip stitch
-
st – Stitch
-
FO – Fasten off
🟢 Head / Body
Use green yarn:
-
MR, 6 sc
-
(inc) x6 = 12
-
(1 sc, inc) x6 = 18
-
(2 sc, inc) x6 = 24
-
(3 sc, inc) x6 = 30
-
(4 sc, inc) x6 = 36
-
(5 sc, inc) x6 = 42
8–16. sc in each st around -
(5 sc, dec) x6 = 36
-
(4 sc, dec) x6 = 30
-
(3 sc, dec) x6 = 24
Place safety eyes between Rnds 10–11, spaced ~7 stitches apart
Stuff firmly -
(2 sc, dec) x6 = 18
-
(1 sc, dec) x6 = 12
-
dec x6 = 6
FO and close with yarn needle
🌿 Fronds (Make 8–12, Varying Lengths)
Use green yarn. You can vary the leaf count to give a natural look.
Base of Frond:
-
Ch 21
-
Starting in 2nd ch from hook, sl st back down to form the stem
Leafy Bits (make along stem sides):
-
Along one side of stem:
-
(sc, ch 3, sl st in 2nd ch from hook, sl st in next ch, sc in same stem stitch) repeat down the stem to create “leaflets”
-
Adjust spacing depending on frond length
-
Optionally, mirror the leaflets on the other side of the stem
-
Make some fronds longer (ch 25 or 30) and some shorter (ch 15) for realism.
If desired, insert floral wire or pipe cleaner in the stem before closing the base to allow shaping.
🦶 Leafy Feet (Make 2–4)
Use green yarn:
-
MR, 6 sc
-
(inc) x6 = 12
-
(1 sc, inc) x6 = 18
-
sc around
-
Begin chaining from edge and create small “leaf toes”:
-
ch 6, sl st back down
-
Repeat 3–4 times around to form toes
Stuff lightly and sew to bottom front of body
-
🌿 Assembly
-
Sew all fronds to the top and back of the head, evenly spaced for a full canopy look
-
Sew leafy feet near the base
-
Secure all ends tightly, especially if kids will play with it
-
Optional: Add blush, freckles, or embroidery for personality
💡 Tips
-
Use different yarn textures (like velvet or boucle) to give variation in leaf textures
-
Want posable leaves? Add pipe cleaners inside frond stems before finishing
-
Stitch fronds downward for a sleepy, droopy fern; stitch upright for cheerful energy!
-
Add a pot base to turn it into a desk plant plush!