Celebrate the joy of spring with this Amigurumi Easter Flower Pot crochet pattern! 🌸✨ With its vibrant blooms, charming pot, and festive details, this design brings the essence of Easter to life in yarn form. Whether you’re crafting for seasonal décor, a heartfelt gift, or simply love floral-inspired amigurumi, this FREE pattern is a delightful addition to your collection.
Designed for intermediate crocheters, this pattern allows for customization in flower types, pot textures, and even tiny accessories like Easter eggs or a bunny peeking out! Choose soft pastels for a classic springtime look or experiment with bright, cheerful hues for a playful twist. Whether displayed as part of an Easter setup or gifted to a fellow crochet enthusiast, this amigurumi flower pot is sure to spread joy. Grab your hook, select your favorite yarn, and let’s bring this blooming beauty to life—one stitch at a time! 🧶✨
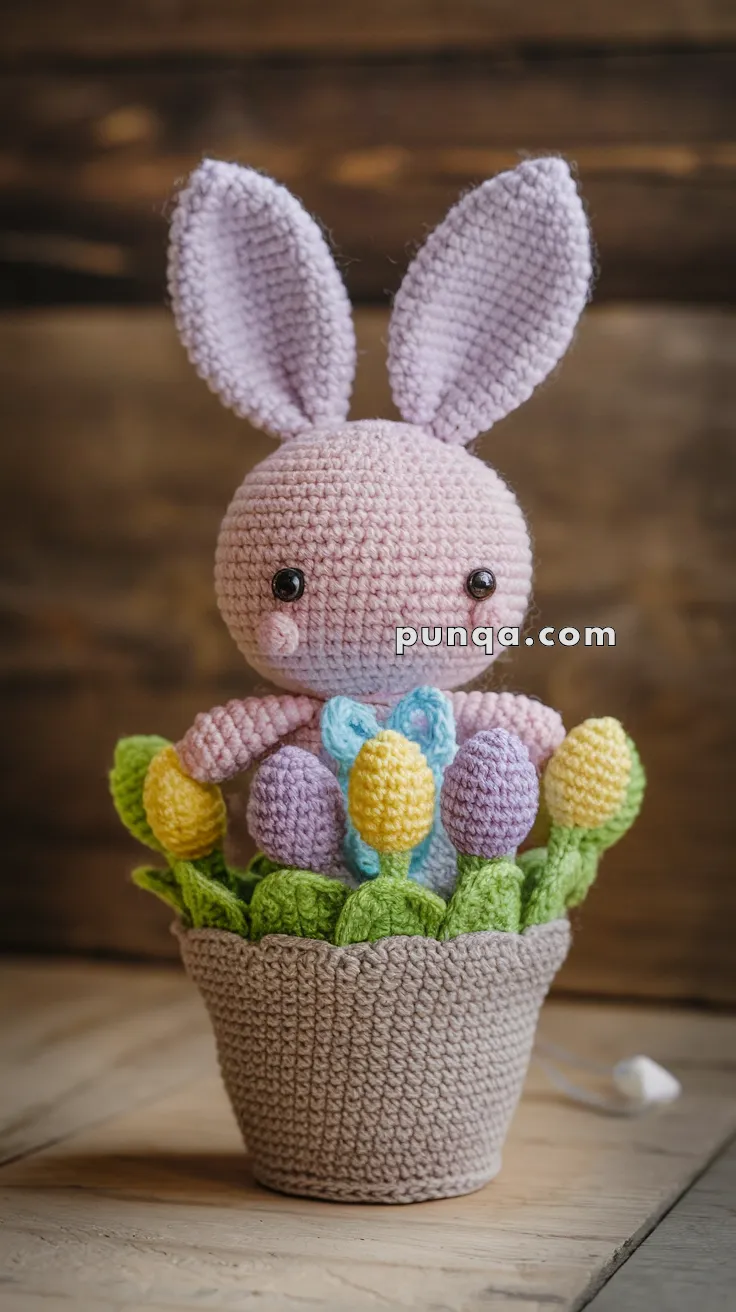
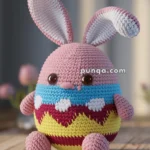
🌷 Amigurumi Easter Flower Pot with Bunny Crochet Pattern
Celebrate spring with this charming Amigurumi Easter Flower Pot! Featuring a pastel bunny peeking from blooming tulips, this piece is perfect for Easter baskets, baby gifts, or seasonal décor. 🐰🌸
✨ Skill Level
Intermediate
Includes shaping, color changes, floral elements, and structured pot assembly.
📏 Finished Size
Approx. 20–22 cm (8–9 inches) tall
Using DK or light worsted yarn with a 3.0–3.5 mm hook
🧶 Materials
Yarn (DK / light worsted):
-
Soft lavender or pale pink – bunny
-
Beige / taupe – flower pot
-
Pastel yellow, pastel lavender, pastel pink – tulips
-
Green – leaves
-
Light blue – bow
-
Blush pink – cheeks
Other supplies:
-
3.0–3.5 mm crochet hook
-
8–10 mm black safety eyes
-
Polyester fiberfill
-
Yarn needle
-
Stitch marker
-
Cardboard circle for pot base (optional for stability)
🧵 Abbreviations (US Terms)
-
MR – Magic Ring
-
sc – Single Crochet
-
inc – Increase
-
dec – Decrease
-
ch – Chain
-
sl st – Slip Stitch
-
FO – Fasten Off
🐰 Bunny Head
With bunny color yarn:
R1: MR 6 sc (6)
R2: inc ×6 (12)
R3: (1 sc, inc) ×6 (18)
R4: (2 sc, inc) ×6 (24)
R5: (3 sc, inc) ×6 (30)
R6: (4 sc, inc) ×6 (36)
R7–12: sc around (36)
Insert safety eyes between R9–10, spaced 7–8 stitches apart.
R13: (4 sc, dec) ×6 (30)
R14: (3 sc, dec) ×6 (24)
Begin stuffing.
R15: (2 sc, dec) ×6 (18)
R16: (1 sc, dec) ×6 (12)
R17: dec ×6 (6)
FO and close.
🌸 Nose & Cheeks
Nose (embroidered)
Using pink yarn, stitch a small triangle nose centered between eyes.
Add one short vertical stitch underneath.
Cheeks (Make 2)
With blush yarn:
MR, 6 sc, sl st to join
FO, sew one under each eye.
👂 Bunny Ears (Make 2)
Tall, upright ears like the photo.
R1: MR 6 sc (6)
R2: (1 sc, inc) ×3 (9)
R3: (2 sc, inc) ×3 (12)
R4–15: sc around (12)
R16: (2 sc, dec) ×3 (9)
R17–18: sc around (9)
Flatten slightly, do not stuff.
FO and leave long tail for sewing.
💪 Bunny Arms (Make 2)
R1: MR 6 sc (6)
R2: (1 sc, inc) ×3 (9)
R3–7: sc around (9)
Lightly stuff only the bottom half.
FO and leave long tail.
🎀 Bow
With blue yarn:
Ch 6
Row 1: sc in 2nd ch, sc across (5)
Rows 2–4: ch 1, turn, sc across (5)
Wrap yarn tightly around center to form bow shape.
Sew under bunny’s chin.
🌷 Tulips (Make 5)
Each tulip is chunky and upright.
Tulip Bud
With pastel color yarn:
R1: MR 6 sc (6)
R2: inc ×6 (12)
R3: (1 sc, inc) ×6 (18)
R4–7: sc around (18)
R8: (1 sc, dec) ×6 (12)
Stuff lightly.
R9: dec ×6 (6)
FO and close.
Stem
With green yarn:
Ch 10
Sc in 2nd ch and across (9)
FO and sew to tulip base.
Leaf (Make 1–2 per tulip)
Ch 10
Sc in 2nd ch, hdc, dc, tr, dc, hdc, sc, sl st
FO
Sew leaf beside stem.
🪴 Flower Pot
The pot is wide at the top and tapered at the base.
With beige yarn:
R1: MR 6 sc (6)
R2: inc ×6 (12)
R3: (1 sc, inc) ×6 (18)
R4: (2 sc, inc) ×6 (24)
R5: (3 sc, inc) ×6 (30)
R6: (4 sc, inc) ×6 (36)
R7: BLO sc around (36)
R8–13: sc around (36)
R14: (2 sc, inc) ×12 (48)
R15–16: sc around (48)
Insert cardboard base now if using.
Sl st around top edge for clean rim.
FO.
🧵 Assembly
-
Sew ears high on bunny head, slightly angled outward
-
Sew arms to sides of head so they rest on pot rim
-
Position bunny head inside pot opening and sew securely
-
Arrange tulips evenly around bunny
-
Attach leaves between flowers
-
Sew bow under chin
-
Add cheeks
✨ Final Details
-
Shape ears upright
-
Arrange flowers so bunny peeks between them
-
Adjust bow and cheeks for gentle expression
🌟 Final Touch
Your bunny-in-tulips flower pot is ready 🌷🐇💐! Perfect as a seasonal centerpiece, Easter basket surprise, or spring gift.