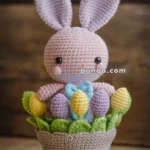
Hop into the joy of Easter with this Amigurumi Easter Bunny With Bowtie crochet pattern! Inspired by the playful charm of springtime, this adorable design captures the bunny’s floppy ears, sweet expression, and dapper bowtie in every stitch. Whether you’re crafting for holiday decorations, adding a whimsical touch to your collection, or simply enjoy making festive amigurumi designs, this pattern lets you stitch up a delightful bunny bursting with personality! Perfect for Easter baskets, seasonal displays, or as a heartfelt handmade gift, this crochet bunny brings a touch of springtime magic to every creation. 🐰✨
Designed for customization, this pattern allows you to experiment with different pastel shades, embroidered details, or even tiny accessories like a miniature carrot or Easter egg for extra charm. Craft a classic bunny with soft neutrals, create a vibrant version with bold hues, or even stitch up a full set of Easter-inspired amigurumi for a cheerful display! Whether gifted as a thoughtful keepsake, displayed as a festive accent, or made simply for the joy of crafting, this Amigurumi Easter Bunny With Bowtie is a fun and creative project—perfect for bringing a touch of handmade holiday magic to every stitch! 🧶💖✨
🐰 Amigurumi Easter Bunny With Bowtie – FREE Crochet Pattern
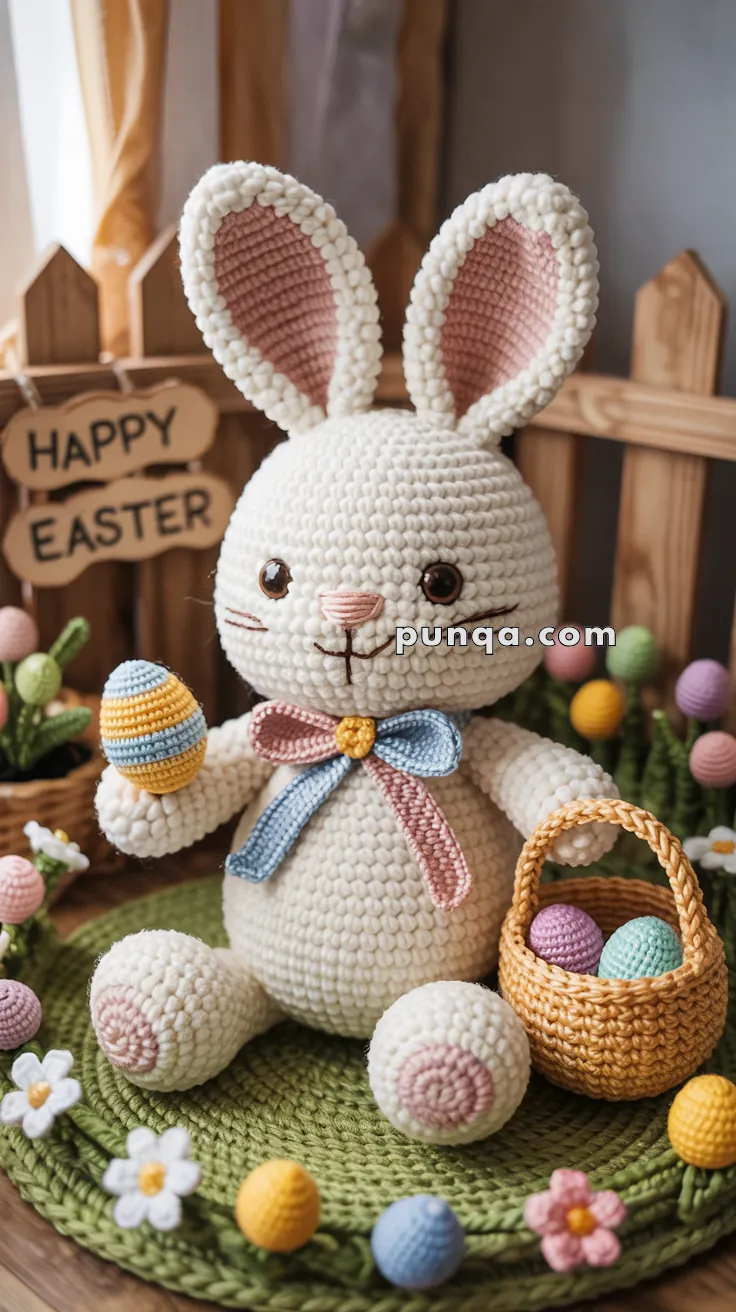
Create the ultimate springtime showstopper with this adorable amigurumi Easter Bunny scene! This charming bunny comes complete with a colorful bowtie, a basket of striped eggs, crochet daisies, and a textured green mat—all the cheerful details to celebrate Easter with handmade joy. 🌷🥚💕
✨ Skill Level
Intermediate – Requires shaping, color changes, small part assembly, and basic embroidery.
📏 Finished Size
Bunny approx. 10–12 in (25–30 cm) tall
Basket: 2.5 in (6 cm) wide
Eggs: 1–1.5 in (2.5–4 cm) each
Mat: 8 in (20 cm) in diameter
🧶 Materials
- DK or worsted weight cotton yarn in the following colors:
- White (main bunny body)
- Pink (ear, nose, paw accents)
- Blue, Yellow, Red (bowtie)
- Brown or Amber (basket)
- Pastel colors (eggs and flowers)
- Green (mat and flower stems)
- Crochet hook: 2.5–3.0 mm
- Safety eyes (8–10 mm)
- Embroidery floss or thin yarn for facial details
- Tapestry needle
- Stitch marker
- Polyfill stuffing
- Pipe cleaner (optional for ears)
🧵 Abbreviations (US Terms)
MR – Magic Ring
sc – Single Crochet
inc – Increase
dec – Decrease
sl st – Slip Stitch
ch – Chain
FO – Fasten Off
BLO – Back Loop Only
🐇 Bunny Head & Body (Worked in one piece)
Start with White yarn
Head
Round 1: MR, 6 sc (6)
Round 2: inc x6 (12)
Round 3: (1 sc, inc) x6 (18)
Round 4: (2 sc, inc) x6 (24)
Round 5: (3 sc, inc) x6 (30)
Round 6: (4 sc, inc) x6 (36)
Round 7–14: sc around (36)
Round 15: (4 sc, dec) x6 (30)
Round 16: (3 sc, dec) x6 (24)
Insert safety eyes between Rnds 9–10, approx. 8 sts apart
Embroider nose and smile with pink and brown yarn
Round 17: (2 sc, dec) x6 (18)
Round 18: (1 sc, dec) x6 (12)
Round 19: dec x6 (6)
Stuff and FO
Body
Round 1: MR, 6 sc (6)
Round 2: inc x6 (12)
Round 3: (1 sc, inc) x6 (18)
Round 4: (2 sc, inc) x6 (24)
Round 5: (3 sc, inc) x6 (30)
Round 6–14: sc around (30)
Round 15: (3 sc, dec) x6 (24)
Round 16: (2 sc, dec) x6 (18)
Stuff firmly
Round 17: (1 sc, dec) x6 (12)
FO and sew to head
🐾 Arms (Make 2)
White yarn
Round 1: MR, 6 sc (6)
Round 2: inc x6 (12)
Round 3–7: sc around (12)
Round 8: (2 sc, dec) x3 (9)
Round 9–12: sc around (9)
Stuff lightly
FO, leave a tail to sew to sides of body
🦶 Legs (Make 2)
White yarn
Round 1: MR, 6 sc (6)
Round 2: inc x6 (12)
Round 3: (1 sc, inc) x6 (18)
Round 4–6: sc around (18)
Round 7: (4 sc, dec) x3 (15)
Round 8: (3 sc, dec) x3 (12)
Round 9–12: sc around (12)
Stuff firmly
FO and sew to bottom of body
Optional Paw Pad (Pink yarn):
MR, 6 sc, sl st to join, FO and sew to foot center
👂 Ears (Make 2)
Outer Ear – White yarn
Round 1: MR, 6 sc (6)
Round 2: (1 sc, inc) x3 (9)
Round 3: (2 sc, inc) x3 (12)
Round 4: (3 sc, inc) x3 (15)
Round 5–12: sc around (15)
Flatten and FO
Inner Ear – Pink yarn
Repeat Rounds 1–10 of Outer Ear
Sew pink inside white ear piece
(Optionally insert pipe cleaner before attaching to head)
Sew ears slightly curved inward
🎀 Bowtie
With Blue yarn
Ch 20, sl st to form loop
Round 1–3: sc around (20)
FO and pinch center to shape
Wrap Yellow yarn tightly in the middle for center knot
Chain 8 with Pink yarn for ribbon tail
Attach both pieces to bunny’s neck
🧺 Basket
Amber or Brown yarn
Round 1: MR, 6 sc (6)
Round 2: inc x6 (12)
Round 3: (1 sc, inc) x6 (18)
Round 4: (2 sc, inc) x6 (24)
Round 5–7: BLO sc around (24)
Round 8: sc around (24)
FO
Handle:
Ch 16, sl st into opposite edge of basket
sc in each ch back across (15)
Sl st to join and FO
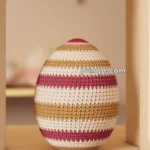
🥚 Mini Eggs (Make 5–7)
Various pastel colors
Round 1: MR, 6 sc (6)
Round 2: inc x6 (12)
Round 3: (1 sc, inc) x6 (18)
Round 4–5: sc around (18)
Round 6: (1 sc, dec) x6 (12)
Stuff
Round 7: dec x6 (6)
FO and close
Optional stripes: Change color after Round 2 or 3, and switch back after Round 4 for a banded look.
🌼 Flowers (Daisy – Make Several)
Petals – White
Ch 4, sl st in 2nd ch from hook, hdc, dc, sl st to base
Repeat 5 times to make 6 petals
FO
Center – Yellow
MR, 6 sc, join with sl st
Sew to center of petals
Leaves – Green
Ch 6, sl st, sc, hdc, dc, tr
FO and attach to flower base
🌿 Mat (Round Green Base)
Green yarn
Round 1: MR, 6 sc (6)
Round 2: inc x6 (12)
Round 3: (1 sc, inc) x6 (18)
Round 4: (2 sc, inc) x6 (24)
Continue increasing until desired size (~60–70 sts)
Switch to BLO for final 2 rounds for ribbed edge
FO and weave in ends
✂️ Final Assembly
- Attach arms, legs, ears, and tail to body
- Sew bowtie around neck
- Arrange eggs in basket and on mat
- Stitch down flowers and leaves on mat
- Place bunny and basket in center for a charming display
💡 Display Tip
Set your Easter Bunny on a windowsill, shelf, or as a centerpiece! Add felt letters or wooden signs like “HAPPY EASTER” for extra whimsy. 🐣💐
This joyful Easter Bunny scene is a heartwarming project that brings smiles to kids and adults alike. Perfect for seasonal decorating or as a handmade holiday gift. Happy hooking! 🧶🐰🌷