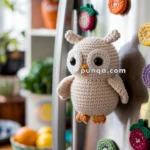
Oh, the joy of creating tiny treasures with yarn! 🧶 One of my favorite projects has been making amigurumi dinosaur fridge magnets. Imagine opening your fridge to see a parade of adorable, prehistoric pals greeting you. The charm of amigurumi lies in its ability to transform a simple ball of yarn into a whimsical creature. There’s something magical about watching as each stitch brings life to a tiny triceratops or a playful pterodactyl. These little dinos are not just fun to make but also serve as a delightful and quirky way to decorate your space. They always bring a smile to my face!
The process of crafting these mini delights is as enjoyable as the end result. To start, I gather my colorful yarn and a trusty crochet hook, ready to embark on this creative journey. The steps are simple and satisfying, as I chain and single crochet my way through the body and limbs of each dinosaur. Adding the details like eyes and tiny arms requires a bit of patience, but it’s worth it when I see their personalities come to life. Once the crochet work is done, a small magnet is sewn onto the back, and voilà—a cute little dinosaur ready to brighten up any fridge! 🦖 Crafting these magnets has become a joyful pastime that lets me unleash my creativity and share smiles with friends and family.
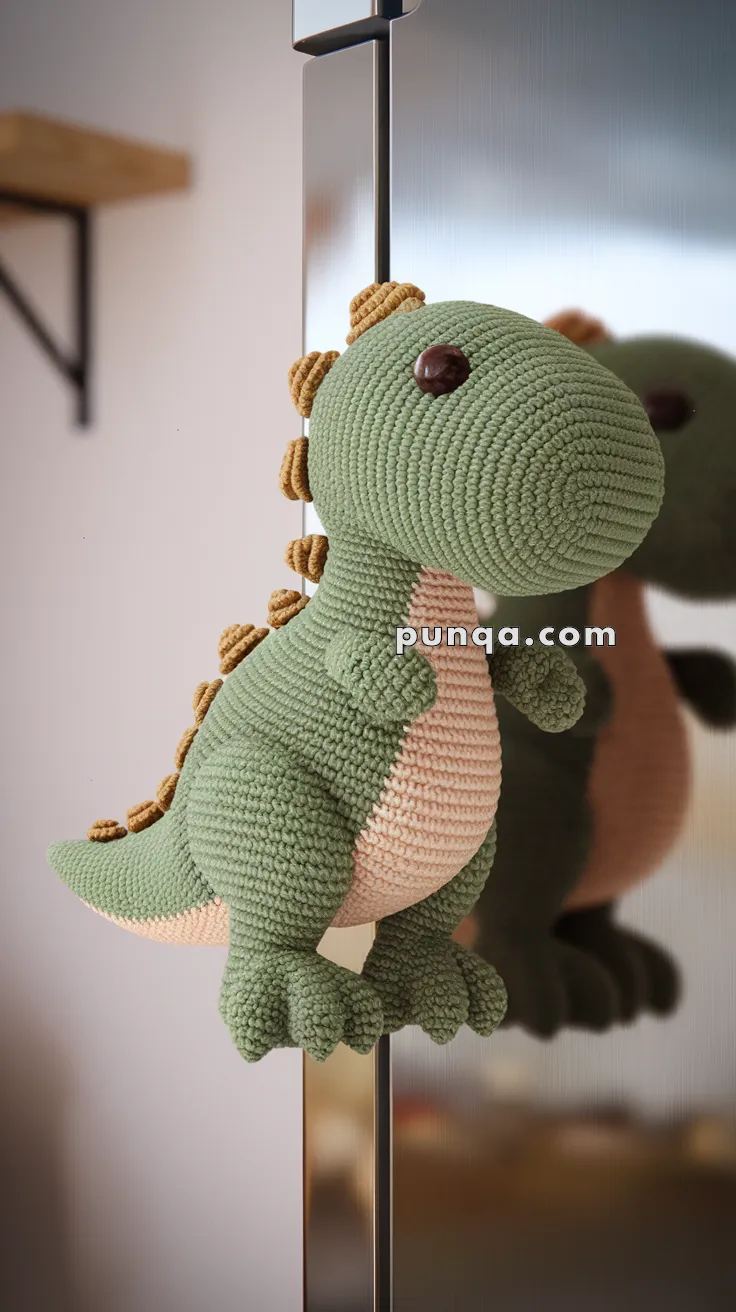
🦕 Amigurumi Dinosaur Fridge Magnet – Free Crochet Pattern
This pocket-sized dinosaur will stomp its way into your heart (and onto your fridge)! With a plump belly, cute claws, and fun magnetic feet, it’s the perfect mix of adorable and functional.
🧵 Skill Level: Intermediate
📐 Finished Size: ~5–6 inches tall
🧶 Materials
-
Cotton or worsted weight yarn in:
-
Olive Green (main body)
-
Light Peach (belly)
-
Tan (spines)
-
-
2.5 mm crochet hook
-
6 mm safety eyes or black embroidery thread
-
Yarn needle
-
Stitch marker
-
Fiberfill stuffing
-
2 small flat magnets (1 per foot)
-
Optional: hot glue for securing magnets
✨ Abbreviations (US Terms)
-
MR – Magic Ring
-
sc – Single Crochet
-
inc – Increase
-
dec – Decrease
-
ch – Chain
-
sl st – Slip Stitch
-
FO – Fasten Off
🦕 Head & Body (Worked as one piece – Green)
Start at the tip of the nose:
-
MR, 6 sc
-
(inc) x6 = 12
-
(1 sc, inc) x6 = 18
-
(2 sc, inc) x6 = 24
5–8. sc around -
(3 sc, inc) x6 = 30
10–15. sc around
Insert safety eyes between Rnds 10–11, ~8 sts apart -
(3 sc, dec) x6 = 24
-
(2 sc, dec) x6 = 18
Stuff firmly -
(1 sc, dec) x6 = 12
Switch to peach (belly):
19–23. sc around
24. (1 sc, inc) x6 = 18
25. (2 sc, inc) x6 = 24
26–30. sc around
Stuff body firmly
31. (2 sc, dec) x6 = 18
32. (1 sc, dec) x6 = 12
33. dec x6 = 6
FO and close
🦴 Legs (Make 2 – Green)
-
MR, 6 sc
-
(inc) x6 = 12
-
(1 sc, inc) x6 = 18
4–5. sc around
Insert magnet inside if using -
(1 sc, dec) x6 = 12
-
sc around
Stuff lightly and FO, leaving tail for sewing
Sew slightly forward on base of belly so the dinosaur stands
💪 Arms (Make 2 – Green)
-
MR, 5 sc
2–5. sc around
Stuff lightly
FO and sew to sides just under the head
🧷 Tail (Green)
-
MR, 4 sc
-
(1 sc, inc) x2 = 6
-
(2 sc, inc) x2 = 8
4–8. sc around
FO and sew to back of body
🌿 Back Spines (Make 6–7 – Tan)
Work small cones:
-
MR, 4 sc
-
(1 sc, inc) x2 = 6
-
sc around
FO and sew evenly spaced from top of head to tail
🪡 Assembly
-
Sew arms to the upper body
-
Attach feet underneath so dino balances upright (insert magnet if desired)
-
Sew spines down center back
-
Embroider nostrils or stitch a small smile for extra cuteness
💡 Final Touches & Tips
-
Add a strong magnet inside the feet or stitch to the bottom if using soft magnets
-
For safety around children, you can skip the magnets and stuff as normal
-
A tiny embroidered heart or initials on the belly makes it a perfect gift
-
Make a rainbow set with different yarn colors and name each dino!