Get ready to stitch up some holiday magic with the Amigurumi Christmas Reindeer Baby—a cuddly little cutie that’s sure to steal hearts and sleigh your festive décor! 🦌🎄 With its tiny antlers, rosy cheeks, and cozy winter outfit, this baby reindeer is the perfect blend of sweetness and seasonal charm. Whether nestled under the tree, tucked into a stocking, or perched on a holiday shelf, this crochet companion brings warmth and whimsy to every corner of your celebration.
Designed with love and full of personality, this pattern is ideal for customizing with festive colors, embroidered details, or even a mini scarf and boots to complete the look. It’s a joyful project for crocheters of all levels—quick to make, fun to personalize, and guaranteed to spark smiles. Whether you’re gifting it to a little one or adding it to your own handmade holiday collection, the Christmas Reindeer Baby is a merry must-stitch for the season! 🧶❤️✨
🦌 Amigurumi Christmas Reindeer Baby Crochet Pattern
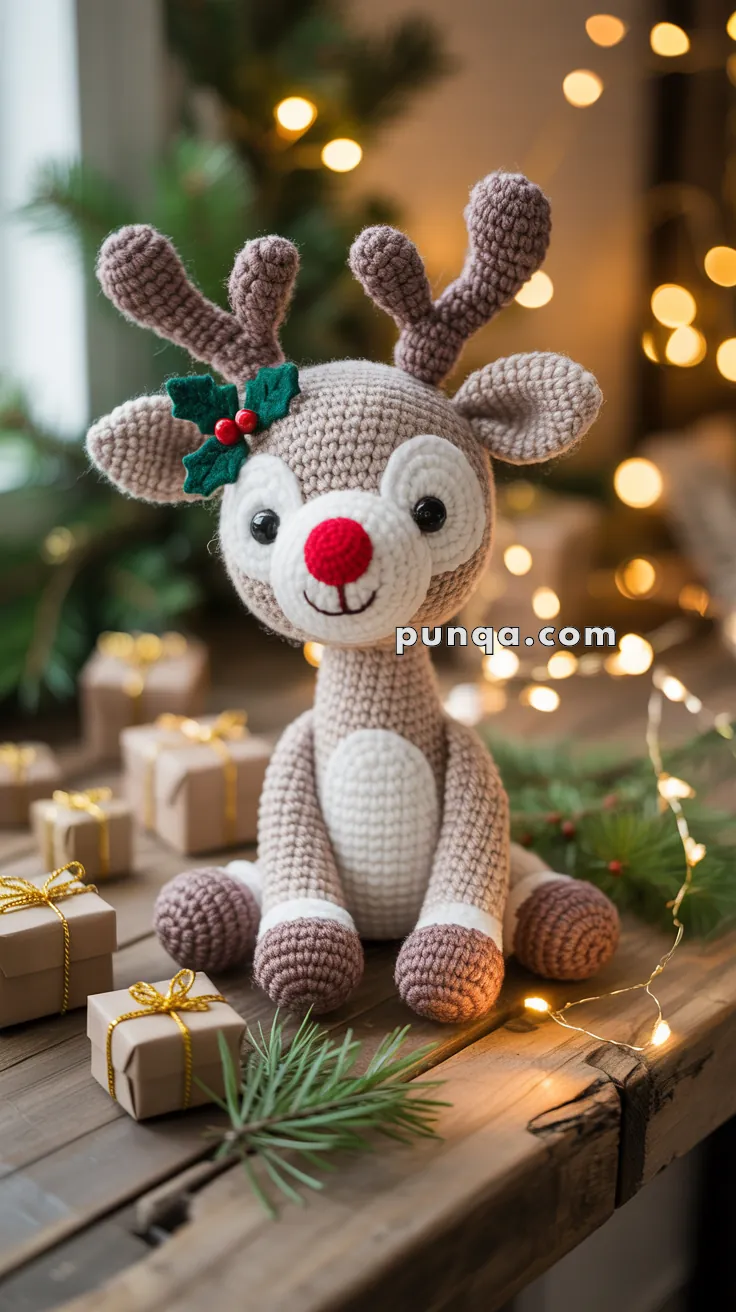
Bring holiday cheer to your home with this sweet little Amigurumi Christmas Reindeer Baby! With his soft brown body, bright red nose, cute smile, and festive holly decoration, this cuddly reindeer makes the perfect handmade gift or Christmas decoration. Whether you’re new to amigurumi or an experienced crocheter, this project will light up your holiday season.
✨ Skill Level
Intermediate – requires shaping, color changes, and sewing multiple parts together.
📏 Finished Size
Approx. 25–28 cm (10–11 in) tall, using worsted weight yarn and a 3.0 mm hook.
🧶 Materials
- Light brown yarn – main body and head
- White yarn – belly, muzzle, eye patches, and hooves trim
- Dark brown yarn – antlers & hooves
- Red yarn – nose
- Green yarn + small red yarn bits – holly leaves & berries
- 3.0 mm crochet hook
- 10 mm black safety eyes
- Polyester fiberfill stuffing
- Tapestry needle, stitch markers, scissors
🧵 Abbreviations (US Terms)
- MR – Magic Ring
- sc – Single Crochet
- inc – Increase (2 sc in 1 st)
- dec – Decrease (sc2tog)
- ch – Chain
- sl st – Slip Stitch
- FO – Fasten Off
Work in continuous rounds unless noted.
🦌 Head
With light brown yarn:
- MR, 6 sc (6)
- inc ×6 (12)
- (sc, inc) ×6 (18)
- (2 sc, inc) ×6 (24)
- (3 sc, inc) ×6 (30)
- (4 sc, inc) ×6 (36)
7–14. sc around (36) - (4 sc, dec) ×6 (30)
- (3 sc, dec) ×6 (24)
Insert safety eyes between rounds 8–9, about 7 sts apart. Add white patches behind eyes. - (2 sc, dec) ×6 (18)
- (sc, dec) ×6 (12)
- dec ×6 (6)
FO and close. Stuff firmly.
👂 Ears (Make 2)
Light brown yarn:
- MR, 6 sc (6)
- (sc, inc) ×3 (9)
- sc around (9)
- (2 sc, inc) ×3 (12)
5–7. sc around (12)
Flatten, FO with long tail.
🦌 Antlers (Make 2)
With dark brown yarn:
- MR, 6 sc (6)
2–8. sc around (6) → first branch
FO first piece. Make another small branch (5 rounds sc), then join together and continue 6–8 more rounds for full antler.
Stuff lightly, FO.
🐽 Nose
With red yarn:
- MR, 6 sc (6)
- inc ×6 (12)
3–4. sc around (12) - (sc, dec) ×4 (8)
Stuff lightly, FO. Sew centered to muzzle.
🐾 Body
With light brown yarn:
- MR, 6 sc (6)
- inc ×6 (12)
- (sc, inc) ×6 (18)
- (2 sc, inc) ×6 (24)
- (3 sc, inc) ×6 (30)
6–14. sc around (30) - (3 sc, dec) ×6 (24)
- (2 sc, dec) ×6 (18)
- sc around (18)
- (sc, dec) ×6 (12)
FO and stuff.
Add white oval belly patch: Crochet an oval (ch 7, sc around with inc at ends until 18–20 sts). Sew to front.
🐾 Arms (Make 2)
With dark brown yarn:
- MR, 6 sc (6)
- (sc, inc) ×3 (9)
3–4. sc around (9)
Switch to light brown:
5–12. sc around (9)
Stuff lightly, FO.
🐾 Legs (Make 2)
With dark brown yarn:
- MR, 6 sc (6)
- inc ×6 (12)
- (sc, inc) ×6 (18)
4–5. sc around (18)
Switch to light brown:
6–12. sc around (18)
Stuff firmly, FO.
🍃 Holly Leaf (Make 2–3)
With green yarn:
Ch 7, sc in 2nd ch, hdc, dc, dc, hdc, sc. Work up other side of chain: sc, hdc, dc, dc, hdc, sc.
FO.
Berries (Make 3):
With red yarn: MR, 6 sc, close tightly.
🪡 Assembly
- Sew head to body securely.
- Attach ears slightly angled outwards.
- Sew antlers above ears.
- Attach arms to body sides.
- Attach legs at base, with body leaning forward slightly for sitting pose.
- Sew red nose and embroider smile with black thread.
- Add holly leaves + berries decoration by ear.
- Weave in all ends neatly.
🎉 Finishing Touches
Your Amigurumi Christmas Reindeer Baby is now ready to light up your holiday décor! Place him under the tree, gift him to a loved one, or display him on your festive table with twinkling lights.