Bring the mystical charm of a Barn Owl to life with this Amigurumi Barn Owl crochet pattern! 🦉✨ With its heart-shaped face, soft feathers, and watchful gaze, this design captures the essence of this elegant nocturnal bird in yarn form. Whether you’re crafting for a nature-inspired décor piece, a heartfelt gift, or simply love owl-themed amigurumi, this pattern is a fantastic addition to your collection.
Designed for crocheters who enjoy shaping intricate details, this pattern allows for customization in feather textures, facial markings, and even tiny accessories like embroidered stars or a miniature tree branch to enhance its personality. Choose classic earthy tones for a realistic look or experiment with whimsical hues for a magical twist! Whether displayed as part of a woodland setup or gifted to a fellow crochet enthusiast, this amigurumi barn owl is sure to impress.
Grab your hook, select your favorite yarn, and let’s bring this majestic night flyer to life—one stitch at a time! 🧶✨
🦉 Amigurumi Barn Owl Crochet Pattern
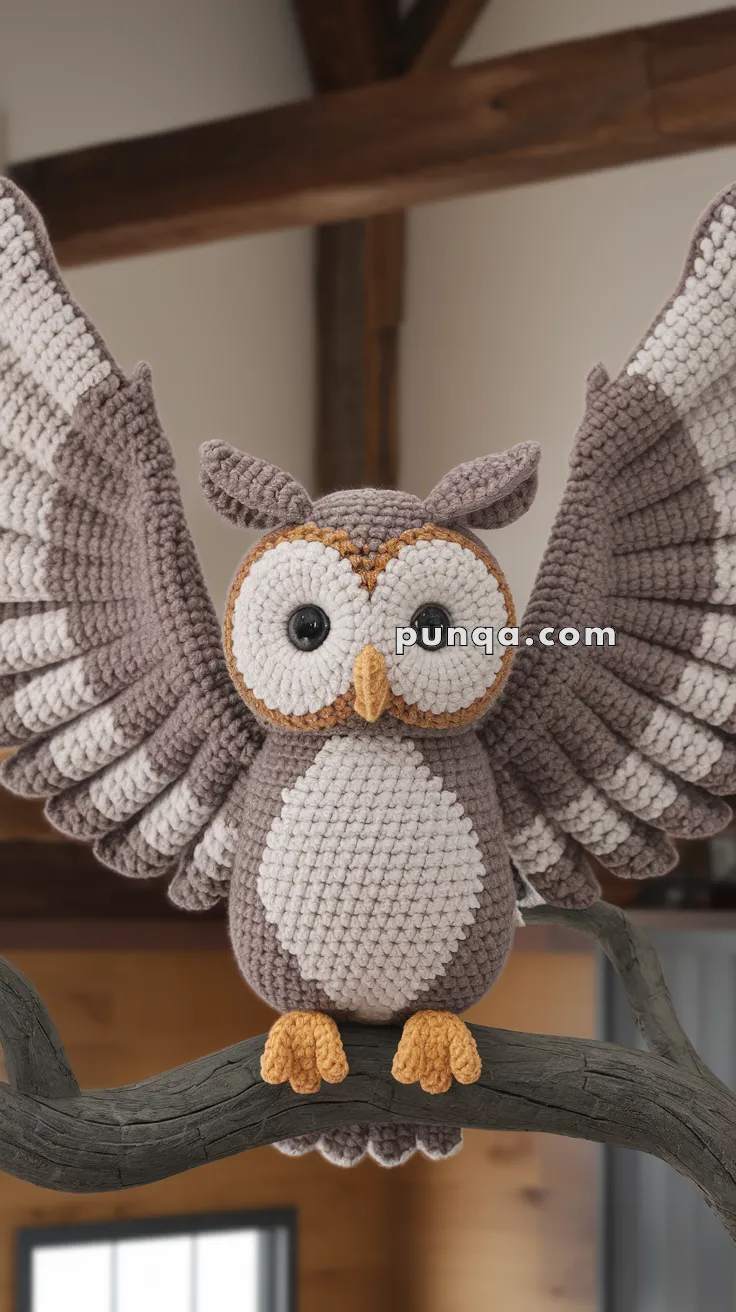
This barn owl amigurumi features a serene expression, iconic heart-shaped facial markings, softly barred wings held wide in a dramatic display, and a gently elongated body perched in balance. Thoughtfully shaped details and layered textures give this owl a graceful woodland presence, perfect for display on a shelf, branch, or nursery ledge.
✨ Skill Level
Intermediate to Advanced – This pattern is best suited for crocheters who are comfortable with shaping, color changes, layered textures, and precise assembly to achieve a detailed finished piece.
📏 Finished Size
-
Body height: approx. 24–26 cm (9.5–10.5 in)
-
Wingspan: approx. 38–42 cm (15–16.5 in)
🧶 Materials
Yarn (Worsted / Category 4 recommended)
-
Warm grey / taupe – main body & wings
-
Light cream – face discs, belly, wing stripes
-
Golden ochre – facial border, beak, feet
Notions
-
3.0–3.5 mm crochet hook
-
12–15 mm safety eyes
-
Polyester fiberfill
-
Tapestry needle
-
Stitch markers
Optional (for wings)
-
Thin aluminum craft wire (1–1.5 mm)
-
Floral tape or masking tape
🧵 Abbreviations (US Terms)
MR – magic ring
sc – single crochet
inc – increase
dec – decrease
ch – chain
sl st – slip stitch
BLO – back loop only
FO – fasten off
🧠 Head
With warm grey:
R1: MR, 6 sc (6)
R2: inc ×6 (12)
R3: (sc, inc) ×6 (18)
R4: (2 sc, inc) ×6 (24)
R5: (3 sc, inc) ×6 (30)
R6: (4 sc, inc) ×6 (36)
R7–12: sc around (36)
Insert safety eyes between R8–9, spaced wide.
R13: (4 sc, dec) ×6 (30)
R14: (3 sc, dec) ×6 (24)
R15: (2 sc, dec) ×6 (18) – stuff firmly
R16: (sc, dec) ×6 (12)
R17: dec ×6 (6)
FO and close.
👀 Face Discs with Border (Make 2)
With light cream:
R1: MR, 6 sc
R2: inc ×6 (12)
R3: (sc, inc) ×6 (18)
R4: (2 sc, inc) ×6 (24)
Border Round (critical detail)
Switch to golden ochre
R5: sc evenly around (24)
FO, flatten gently.
Sew both discs to the head so they touch at the center, forming the classic barn owl facial mask.
🪶 Beak
With golden ochre:
R1: MR, 4 sc
R2–3: sc around (4)
FO. Stuff lightly and sew between face discs, pointing downward.
🪶 Ear Tufts (Make 2)
With warm grey:
R1: MR, 6 sc
R2: (1 sc, inc) ×3 (9)
R3: sc around (9)
Flatten slightly and FO.
Attach high on the head, angled outward.
🦉 Body (Elongated Oval Shape)
With warm grey:
R1: MR, 6 sc
R2: inc ×6 (12)
R3: (sc, inc) ×6 (18)
R4: (2 sc, inc) ×6 (24)
R5: (3 sc, inc) ×6 (30)
R6: (4 sc, inc) ×6 (36)
R7–19: sc around (36)
(extended section creates the elongated barn owl silhouette)
R20: (4 sc, dec) ×6 (30)
R21: (3 sc, dec) ×6 (24)
R22: (2 sc, dec) ×6 (18)
R23: (sc, dec) ×6 (12)
R24: dec ×6 (6)
FO and close.
🤍 Belly Patch
With light cream:
Ch 7
Round 1: 5 sc, 3 sc in last ch, turn, 5 sc, inc (16)
Round 2: (sc, inc) ×6, 4 sc (22)
FO and sew centered on front of body.
🪽 Wings (Make 2)
Wing Base with Color Bands
With warm grey:
R1: MR, 6 sc
R2: inc ×6 (12)
R3: (sc, inc) ×6 (18)
Begin striping
R4–5: sc around – warm grey
R6–7: sc around – light cream
R8–9: sc around – warm grey
R10–11: sc around – light cream
R12–13: sc around – warm grey
FO. Do not stuff. Flatten into a wide fan shape.
Feather Layers (Worked Along Long Edge)
Attach yarn at one end of the wing.
Feather Row 1 (inner):
(sl st, hdc, 2 dc, hdc, sl st) in each stitch
Feather Row 2:
(sl st, dc, 3 dc, dc, sl st) in each stitch
Feather Row 3:
(sl st, hdc, dc, 2 dc, dc, hdc, sl st) in each stitch
Optional Feather Row 4 for extra fullness:
(sl st, dc, 4 dc, dc, sl st)
FO.
Wing Support (Recommended)
Shape a thin wire to match the wing’s top curve.
Tape wire ends.
Slip wire inside the top edge of the wing before attaching.
Stitch closed around wire for permanent spread.
🪽 Wing Attachment
Attach wings very high on the back, between Rounds 6–8 from the top of the body, angled slightly upward and outward to match the photo’s display pose.
🦶 Feet (Make 2)
With golden ochre:
R1: MR, 6 sc
R2: inc ×6 (12)
R3: sc around (12)
Toes:
(ch 4, sc back, sl st in next st) ×3
Stuff lightly and sew close together at front base.
🪶 Tail Feathers (Back Bottom Detail)
With warm grey:
Attach yarn at lower back of body.
Work into 4–5 stitches:
(sl st, hdc, 2 dc, hdc, sl st) in each stitch
FO.
This creates the small scalloped tail feathers visible beneath the body.
🪡 Final Assembly
-
Attach head to body securely
-
Position wings high and wide
-
Center belly patch
-
Shape wings gently by hand
🌟 Final Touch
With its heart-shaped facial mask, softly barred wings, dramatic feather layering, and poised stance, this barn owl amigurumi embodies quiet elegance and woodland charm. Designed as a statement display piece, it brings warmth, balance, and character wherever it perches.