Dive into cuteness with this Amigurumi Axolotl crochet pattern! With its wide smile, frilly gills, and squishy little body, this charming amphibian is ready to swim into your heart. Whether you’re a fan of these fascinating creatures or just love crafting quirky characters, this pattern is a fun way to bring a splash of underwater whimsy to your yarn stash. Perfect for gifting, decorating, or adding to your amigurumi collection, this axolotl is sure to be a conversation starter wherever it goes. 🧶💖🌊
Designed for playful detail and personality, this pattern invites you to mix soft pastel yarns, expressive features, and fun extras like tiny fins or a blushing face. Customize your axolotl with bold colors, glittery accents, or even a mini bow for extra flair. Whether perched on a shelf, tucked into a gift box, or swimming through your craft corner, this Axolotl Amigurumi is a joyful and satisfying project—perfect for stitching up a little handmade magic, one loop at a time! ✨🦎🎨
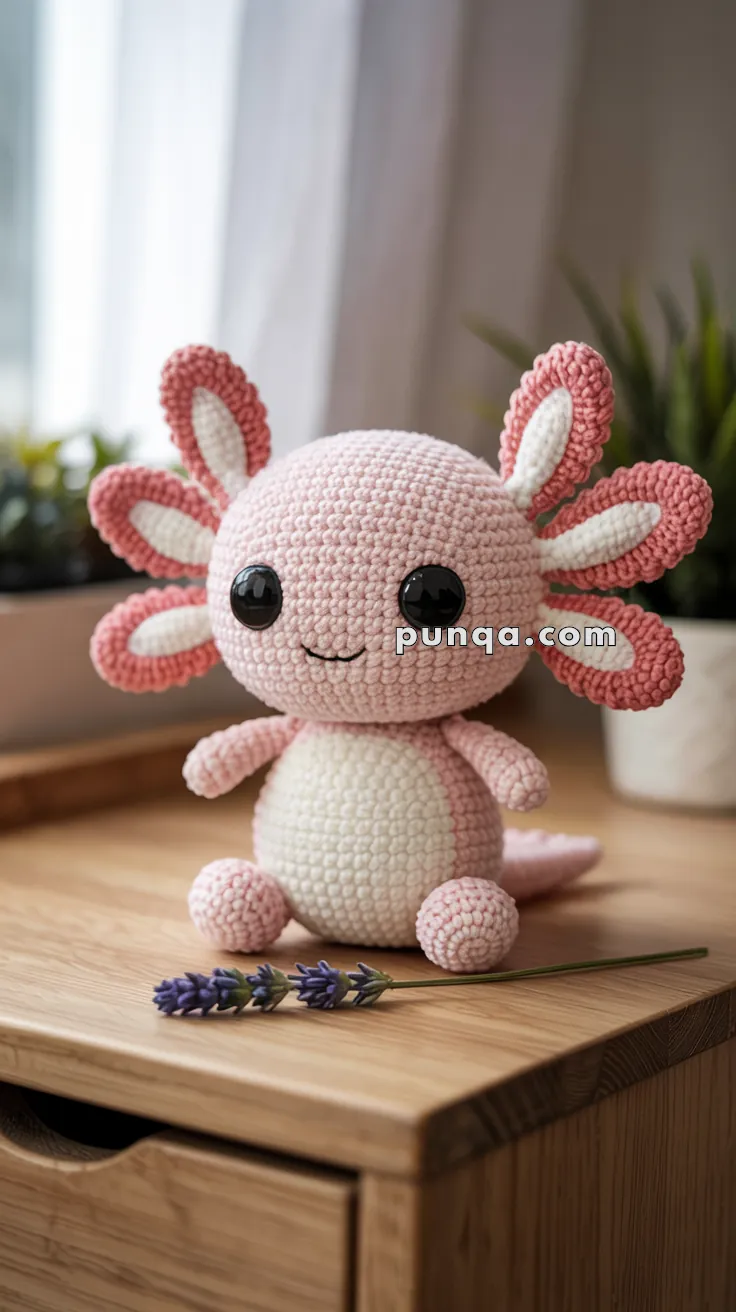
🌊 Amigurumi Axolotl Crochet Pattern
Bring the magic of the deep to your craft room with this charming pink axolotl! With big sparkling eyes, frilly gills, and a soft color gradient belly, it’s perfect as a cuddly plush, a gift, or a desk companion. Plus, we’ll walk you through how to do clean color changes and shape those frilly tails and gills just right!
✨ Skill Level
Intermediate – Requires basic shaping, color changes, and attaching pieces neatly.
📏 Finished Size
Approx. 7–9 inches (18–23 cm) tall using DK weight yarn and a 2.5–3.0 mm hook.
🧶 Materials
- DK weight yarn in:
- Color A: Soft Pink (Main Body)
- Color B: Off-white or Cream (Belly & Gill Inserts)
- 2.5–3 mm crochet hook
- 12 mm safety eyes
- Tapestry needle
- Stitch marker
- Scissors
- Polyester fiberfill stuffing
🧵 Abbreviations (US Terms)
MR – Magic Ring
sc – Single Crochet
inc – Increase
dec – Decrease
sl st – Slip Stitch
ch – Chain
FO – Fasten Off
BLO – Back Loop Only
FLO – Front Loop Only
🪸 Body (Work in continuous rounds)
With Color A (pink):
MR, 6 sc (6)
inc x6 (12)
(1 sc, inc) x6 (18)
(2 sc, inc) x6 (24)
(3 sc, inc) x6 (30)
(4 sc, inc) x6 (36)
(5 sc, inc) x6 (42)
Rounds 8–18: sc around (42)
Color change begins for the belly:
Start working belly section in Color B (cream):
Tip: Use the jogless stripe method to keep your color changes tidy. On the last sc of the round before the color change, do the final yarn-over with the new color.
Rounds 19–24:
Alternate 1 stitch Color B, 1 stitch Color A across belly width (about 8–10 sts in Color B).
Rest of round in Color A. Maintain this layout for even color alignment.
(You can mark your belly center with stitch markers.)
Round 25–30:
sc around in Color A only. (42)
Start decreasing:
(5 sc, dec) x6 (36)
(4 sc, dec) x6 (30)
(3 sc, dec) x6 (24)
(2 sc, dec) x6 (18) – Stuff firmly.
(1 sc, dec) x6 (12)
dec x6 (6)
FO, close hole, weave in end.
🦴 Belly Panel (Optional – for sewn overlay look)
Using Color B:
MR, 6 sc
inc x6 (12)
(1 sc, inc) x6 (18)
(2 sc, inc) x6 (24)
Rounds 5–9: sc around (24)
FO and sew onto front center of body if you want layered effect instead of integrated color change.
🦑 Head Fronds (Make 6)
Use Color A for outer, Color B for inner insert.
Outer Frond (Make 6 in Color A)
Ch 16
sc in 2nd ch from hook, sc across (15)
Turn, sc back down (15), FO.
Inner Insert (Make 6 in Color B)
Ch 10
sc in 2nd ch from hook, sc across (9)
Turn, sc back (9), FO.
Sew inner strip inside outer strip and pinch together at base. Attach 3 to each side of head symmetrically.
🐾 Arms (Make 2)
With Color A:
MR, 6 sc
(1 sc, inc) x3 (9)
Rounds 3–7: sc around (9)
FO, lightly stuff, sew to sides of body.
🐾 Legs (Make 2)
With Color A:
MR, 6 sc
inc x6 (12)
Rounds 3–4: sc around (12)
(2 sc, dec) x3 (9)
Rounds 6–8: sc around (9)
FO, stuff, sew near base of body.
🌀 Tail Fin
With Color A:
Ch 13
Starting from 2nd ch: sc, hdc, hdc, dc x6, hdc, sc
FO and sew to back bottom of body.
Optional:
To give a slight curl, you can lightly dampen and pin the tail into a wavy shape until dry.
👀 Face & Finishing
- Attach 12 mm safety eyes evenly spaced
- Use black embroidery thread to stitch a smile
- Add a tiny bit of blush on cheeks with soft pink yarn or fabric pastel
✨ Final Touches
Take a moment to arrange the gill fronds symmetrically and adjust the tail. Weave in all loose yarn ends. Your smiling axolotl is now ready to charm!
💡 Customization Ideas
- Use sparkle yarn for a magical aquatic creature
- Make rainbow gills for a fun pop of color
- Add a tiny bow or hat to dress it up
🫧 This little axolotl is sure to be a favorite – from its chubby tail to the frilly gills, it’s full of personality and squishy joy. Perfect for gifting, cuddling, or just smiling at on your desk!