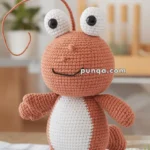
Welcome to the playful and adventurous world of amigurumi! 🐊✨ Today, I’m excited to share my free crochet pattern for an Alligator—a bold and quirky companion perfect for wildlife-themed collections, swamp-inspired décor, or anyone who enjoys crafting unique plush creatures! 🌿 Whether you love stitching up expressive animals, enjoy making textured and detailed designs, or simply want to add a charming alligator to your handmade lineup, this pattern will guide you through creating a beautifully sculpted plush friend with a long snout, ridged back, and adorable little legs! 💚
This design embraces dynamic shaping, earthy greens, and fun details to bring a touch of swamp magic to your crochet creations! 🧶🏞️ I’ve carefully outlined each step to ensure your Amigurumi Alligator turns out just right—ready to lounge in your collection or become a treasured handmade gift! 🎁 So grab your hooks, pick out deep greens, soft yellows, and rich browns, and let’s stitch up a delightful alligator friend! ✨
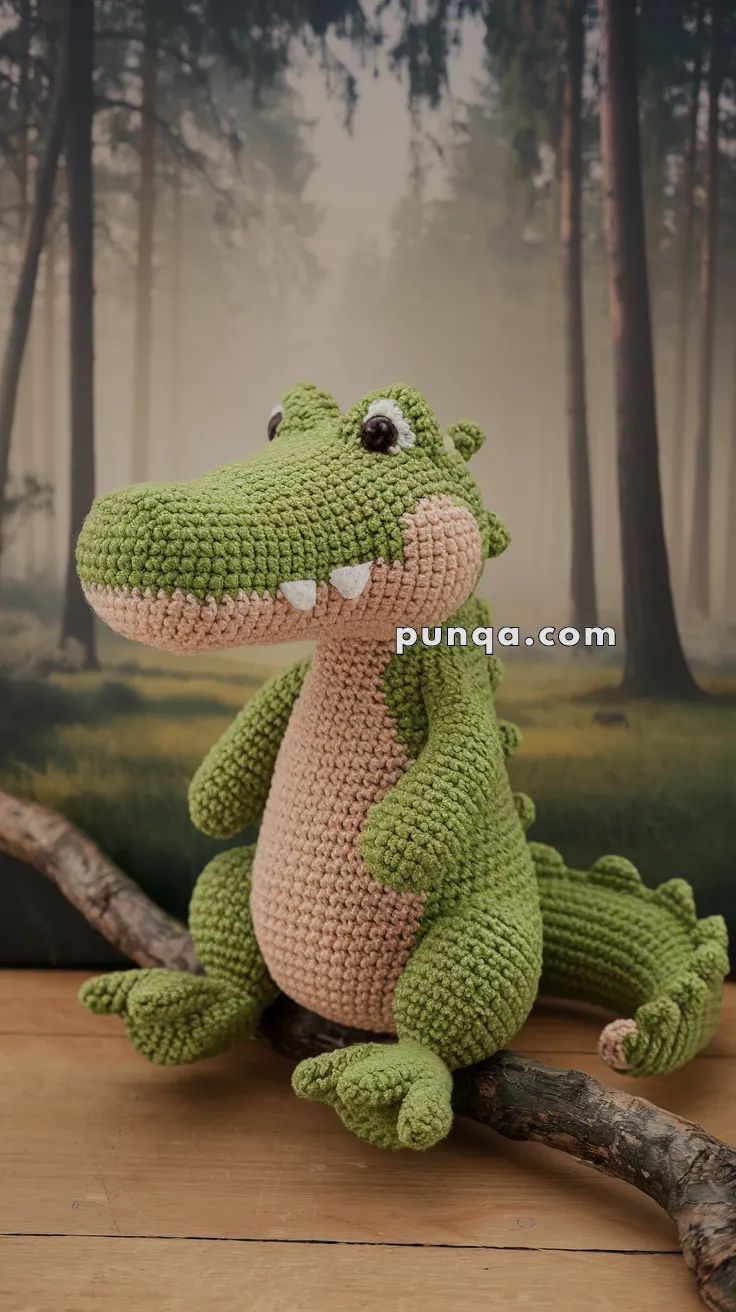
🐊 Amigurumi Alligator Crochet Pattern
This charming alligator features a long snout, expressive eyes, and a full belly stripe for extra realism. With its plush texture, curved claws, and friendly grin, this alligator makes a fun jungle-themed companion or playful woodland buddy.
✨ Skill Level
Intermediate – Involves shaping, sculpted snout, extended color changes, and assembly for natural posing.
📏 Finished Size
Approx. 12–13 inches (30–33 cm) long when made with chenille or velvet-type yarn (e.g., Himalaya Dolphin Baby) and a 4.0 mm hook.
Using standard worsted weight and a 3.5 mm hook will yield about 10–11 inches.
🧶 Materials
-
Green chenille or worsted yarn – 100 g (main body, limbs, tail, spikes)
-
Light peach or beige – 40 g (belly, mouth area)
-
White – small amount (teeth)
-
Black and white embroidery thread or 10–12 mm safety eyes
-
Crochet hook – 4.0 mm (or 3.5 mm for smaller size)
-
Fiberfill stuffing
-
Yarn needle, stitch markers, scissors
🧵 Abbreviations (US Terms)
MR – Magic Ring
sc – Single Crochet
inc – Increase (2 sc in one st)
dec – Decrease (sc 2 tog)
sl st – Slip Stitch
ch – Chain
BLO – Back Loop Only
FO – Fasten Off
🐊 Head & Snout
With green yarn:
-
MR 6 sc
-
inc ×6 (12)
-
(sc, inc) ×6 (18)
-
(2 sc, inc) ×6 (24)
5–10. sc around (24) -
(3 sc, inc) ×6 (30)
-
(4 sc, inc) ×6 (36)
13–25. sc around (36) -
(4 sc, dec) ×6 (30)
-
(3 sc, dec) ×6 (24)
-
(2 sc, dec) ×6 (18)
-
(sc, dec) ×6 (12)
-
Dec ×6 (6)
FO, stuff firmly and shape into a rounded cylinder.
🦷 Teeth
With white yarn:
Ch 2, sc in 2nd ch from hook, FO leaving long tail.
Make 2 and sew underneath the snout, spaced evenly about 1 inch apart so they’re clearly visible from the front.
👁 Eyes
With green yarn:
-
MR 6 sc
-
inc ×6 (12)
3–4. sc around (12)
Insert safety eyes or embroider pupils.
Stuff lightly.
Sew on top of head close together (about 2–3 stitches apart) and slightly forward.
Add a small white highlight with embroidery thread.
🧍 Body
With light peach yarn:
-
MR 6 sc
-
inc ×6 (12)
-
(sc, inc) ×6 (18)
-
(2 sc, inc) ×6 (24)
-
(3 sc, inc) ×6 (30)
-
(4 sc, inc) ×6 (36)
7–12. sc around (36)
Switch to green:
13–22. sc around (36) -
(4 sc, dec) ×6 (30)
-
(3 sc, dec) ×6 (24)
-
(2 sc, dec) ×6 (18)
FO and stuff well.
Sew to base of head so the belly stripe aligns smoothly with the underside of the snout.
(Optional: Crochet a separate peach oval panel and sew it on the front for a more defined belly.)
🐾 Arms (Make 2)
With green yarn:
-
MR 6 sc
-
inc ×6 (12)
3–10. sc around (12)
FO and stuff lightly.
✋ Claws (3 per Arm)
Ch 4, sl st in 2nd ch from hook, sc in next 2, FO.
Make 3 and sew to paw tips evenly spaced.
Attach arms to the upper body at an angle pointing slightly forward and outward.
🦵 Legs (Make 2)
With green yarn:
-
MR 6 sc
-
inc ×6 (12)
-
(sc, inc) ×6 (18)
4–8. sc around (18) -
(1 sc, dec) ×6 (12)
10–12. sc around (12)
FO and stuff.
Add 3 toe claws as for arms.
Attach legs to lower sides of body angled outward for a natural splayed sitting pose.
🐊 Tail
With green yarn:
-
MR 6 sc
-
(2 sc, inc) ×2 (8)
3–5. sc around (8) -
(3 sc, inc) ×2 (10)
7–11. sc around (10) -
(4 sc, inc) ×2 (12)
13–17. sc around (12)
FO, stuff lightly and curve as you sew it to the back of the body.
🪭 Spikes
With green yarn:
Ch 3, sl st in 2nd ch from hook, sc in next, FO.
Make 7–9.
Sew 2–3 small spikes behind the eyes on the back of the head, and the rest evenly along the spine to the tail tip.
✂️ Finishing Touches
-
Embroider nostrils on the snout tip using dark green or black thread.
-
Slightly pinch the sides of the snout to enhance cylindrical shape.
-
Position the head slightly tilted up for a friendly look.
-
Brush lightly with a soft toothbrush if using chenille yarn to restore fluffiness.
💡 Customization Ideas
-
Add a bow tie, bandana, or small vest.
-
Use variegated greens for a mottled reptile look.
-
For a baby alligator version, stop decreases earlier for a rounder body.
✅ Final Result
Your finished alligator will have:
-
A long, forward-extending snout with visible fangs
-
A full peach belly stripe from chin to tail
-
Outward-splayed legs for a relaxed seated posture
-
Head and tail spikes for extra character
-
Plush, huggable texture when made with velvet or chenille yarn
This adorable reptile is full of charm, personality, and detail — the perfect handmade friend for kids and grown-up collectors alike. 🐊💚