Welcome to the rugged and adventurous world of amigurumi! 🤠✨ Today, I’m excited to share my free crochet pattern for a Cowboy—a bold and charismatic figure perfect for Western-themed collections, playful storytelling, or anyone who loves crafting iconic frontier characters! 🌵 Whether you enjoy stitching up classic Americana designs, creating expressive and detailed figures, or simply want to add a charming cowboy to your handmade lineup, this pattern will guide you through crafting a beautifully sculpted plush companion with a signature hat, boots, and a touch of Wild West flair! 🏇
This design embraces strong shapes, earthy tones, and fun detailing to bring a touch of frontier spirit to your crochet projects! 🧶🌄 I’ve carefully outlined each step to ensure your Amigurumi Cowboy turns out just right—ready to ride into your collection or become a treasured handmade gift! 🎁 So grab your hooks, pick out rustic browns, deep blues, and warm reds, and let’s stitch up a fearless cowboy friend! ✨
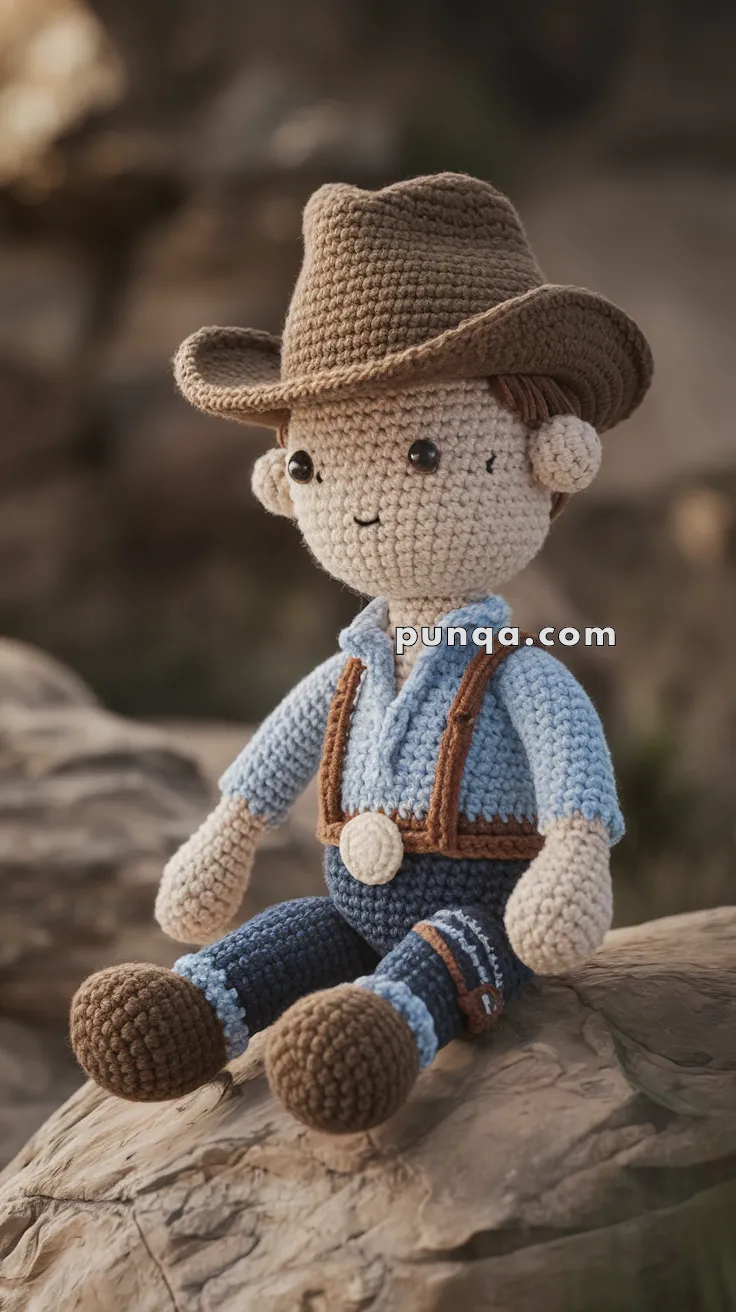
🤠 Amigurumi Cowboy Crochet Pattern
Yeehaw! Saddle up for a fun and adventurous crochet project with this adorable amigurumi cowboy! Complete with a classic wide-brim hat, button-up shirt, suspenders, boots, and a sheriff-style belt buckle, this little western hero is ready to ride the range—or sit proudly on your shelf. Perfect for Wild West lovers, doll collectors, and imaginative play.
✨ Skill Level
Intermediate – Involves shaping, color changes, and multiple sewn-on accessories.
📏 Finished Size
Approx. 10–12 inches (25–30 cm) tall using DK or worsted-weight yarn and a 2.75–3.5 mm hook.
🧶 Materials
-
Yarn (DK or worsted weight):
-
Beige (Skin)
-
Brown (Hat, boots, suspenders)
-
Light blue (Shirt)
-
Denim blue or navy (Pants)
-
Dark brown or black (Hair)
-
White or light beige (Belt buckle)
-
-
Crochet hook: 2.75–3.5 mm
-
10 mm safety eyes
-
Polyfill stuffing
-
Tapestry needle
-
Stitch markers
-
Embroidery thread (black) for mouth and brows
🧵 Abbreviations (US Terms)
-
MR – Magic Ring
-
sc – Single Crochet
-
inc – Increase
-
dec – Decrease
-
ch – Chain
-
sl st – Slip Stitch
-
BLO – Back Loop Only
-
FO – Fasten Off
🧔 Head
With beige (skin):
-
MR, 6 sc
-
inc x6 (12)
-
(1 sc, inc) x6 (18)
-
(2 sc, inc) x6 (24)
-
(3 sc, inc) x6 (30)
-
(4 sc, inc) x6 (36)
7–14. sc around (36) -
(4 sc, dec) x6 (30)
-
(3 sc, dec) x6 (24)
-
(2 sc, dec) x6 (18)
-
(1 sc, dec) x6 (12)
FO, stuff firmly.
Insert safety eyes between rounds 9–10, about 7 stitches apart. Embroider brows and a small smile.
💇 Hair (Optional)
With brown or black yarn:
Cut short strands, latch hook around the back of head, or use surface slip stitch to outline short side-swept hair. Keep under the hat line.
🤠 Hat
With brown:
-
MR, 6 sc
-
inc x6 (12)
-
(1 sc, inc) x6 (18)
-
(2 sc, inc) x6 (24)
-
(3 sc, inc) x6 (30)
-
(4 sc, inc) x6 (36)
-
sc around (36)
-
BLO sc around (36)
9–11. sc around (36) -
(5 sc, inc) x6 (42) – brim begins
-
(6 sc, inc) x6 (48)
-
sl st around loosely
FO and shape brim with your fingers. Attach to head.
🧍♂️ Body & Shirt
Start with beige for neck:
-
MR, 6 sc
-
inc x6 (12)
-
(1 sc, inc) x6 (18)
4–5. sc around (18) – neck
Switch to light blue (shirt):
-
inc x6 (24)
-
(3 sc, inc) x6 (30)
8–15. sc around (30)
FO, stuff.
👖 Pants & Legs (Make 2)
With dark denim blue:
-
MR, 6 sc
-
inc x6 (12)
3–15. sc around (12)
FO first leg. Do not FO second leg.
Join Legs:
Ch 3, attach to first leg with sl st, then continue sc around both legs and the chain (30)
Work 8 more rounds of sc for pants
Switch to light blue for waistline
1–2 rounds sc
FO and sew to body.
👢 Boots (Make 2)
With dark brown:
-
MR, 6 sc
-
inc x6 (12)
-
(1 sc, inc) x6 (18)
4–6. sc around (18)
FO and stuff lightly. Sew to bottom of legs.
💪 Arms (Make 2)
With beige:
-
MR, 6 sc
-
inc x6 (12)
3–5. sc around (12)
Switch to light blue (shirt):
6–12. sc around (12)
FO. Do not stuff. Flatten and sew to body sides.
🪙 Belt & Suspenders
With brown:
-
Belt:
Ch 30, sl st to back of pants
Stitch small white/cream circle as buckle in front -
Suspenders (make 2):
Ch 18, sl st to front and back of body
Make sure they cross cleanly on shoulders
✂️ Finishing Touches
-
Position hat snugly, sew if desired
-
Shape the cowboy’s brim outward for flair
-
Add buttons or embroidery on shirt
-
Embroider patch or belt loop details
💡 Customization Ideas
-
Add a mini crochet lasso or cactus buddy
-
Make a bandana from red felt or yarn
-
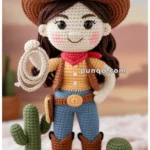
Turn into a cowgirl version by changing hat and clothes color
This brave little cowboy is ready to ride into the sunset—or your yarn collection! A fun project for toy lovers, Western fans, and anyone who loves handmade charm. 🧶🌵