Hit a home run in your crochet game with this Amigurumi Derek Jeter pattern! Inspired by one of baseball’s most legendary players, this free pattern lets you craft your own mini captain—perfect for sports fans and crafters alike. Whether you’re honoring Jeter’s iconic career or just adding a sporty touch to your handmade collection, this tiny tribute is packed with personality. With signature details like his cap and jersey, this amigurumi is ready to bring a bit of baseball magic to your stitches.
Designed for fun and creativity, this pattern gives you plenty of room to customize your mini Jeter. Stick with classic Yankees colors or add a personal twist to make him uniquely yours! Whether displayed as a keepsake, gifted to a baseball enthusiast, or simply enjoyed as part of your crochet lineup, this project is sure to be a grand slam. So grab your hook, round up your yarn, and let’s create a champion—one stitch at a time! ⚾✨
⚾ Amigurumi Derek-Inspired Baseball Doll Crochet Pattern
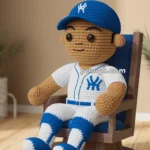
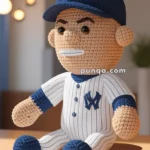
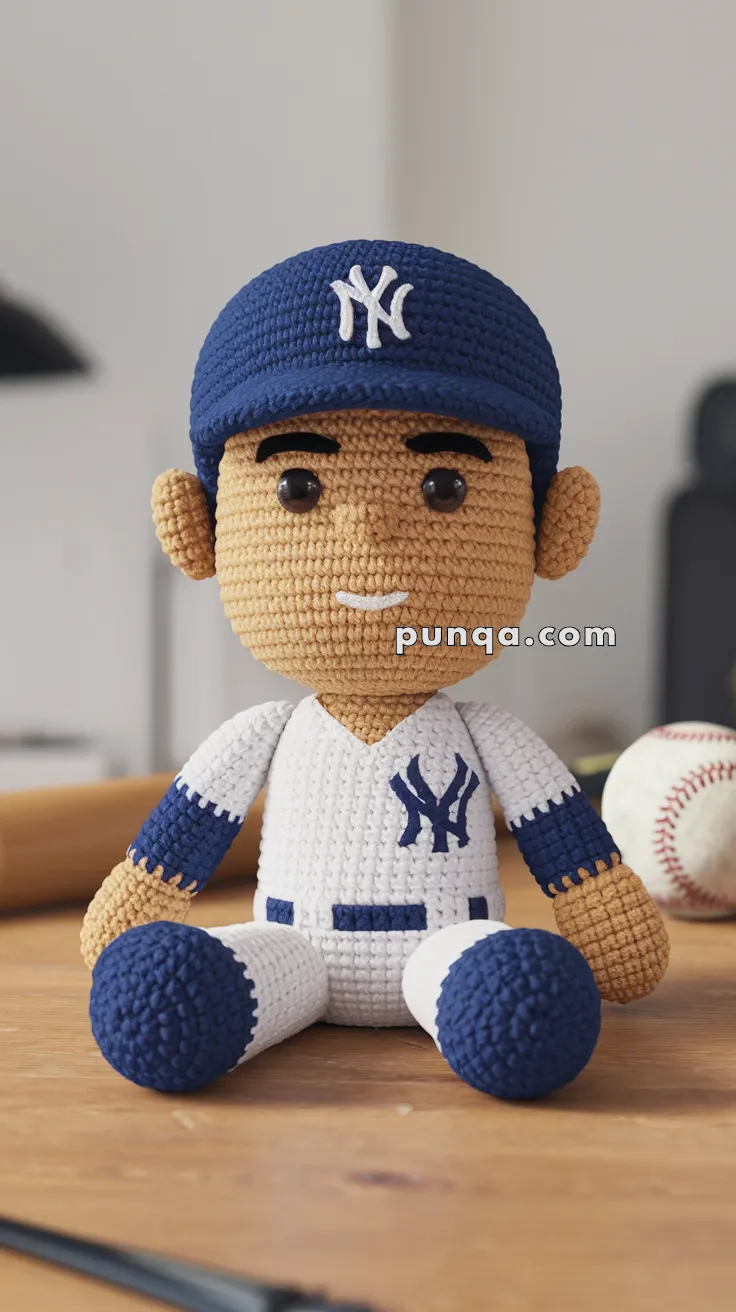
Celebrate legendary plays and Yankee pride with this adorable amigurumi baseball player doll inspired by Derek Jeter! Dressed in a signature white and navy pinstripe uniform, complete with NY emblem, this doll is perfect for sports fans, collectors, or as a heartfelt handmade gift.
✨ Skill Level
Intermediate – Includes color changes, embroidery, and hat sculpting.
📏 Finished Size
Approx. 10–12 inches (25–30 cm) tall using DK or worsted weight yarn and a 2.5–3.5 mm crochet hook.
🧶 Materials
-
Yarn (DK or Worsted weight):
-
Skin tone (light tan or beige)
-
Navy blue (hat, shoes, sleeves, belt)
-
White (uniform body)
-
Black or dark brown (eyebrows, mouth embroidery)
-
-
Other Supplies:
-
8–10 mm safety eyes
-
Crochet hook: 2.5–3.5 mm
-
Polyfill stuffing
-
Tapestry needle
-
Stitch marker
-
Embroidery floss (white & navy for logo and belt)
-
🧵 Abbreviations (US Terms)
MR – Magic Ring
sc – Single Crochet
inc – Increase
dec – Decrease
sl st – Slip Stitch
ch – Chain
FO – Fasten Off
🧑 Head
Use Skin Tone:
-
MR, 6 sc
-
inc x6 (12)
-
(1 sc, inc) x6 (18)
-
(2 sc, inc) x6 (24)
-
(3 sc, inc) x6 (30)
6–12. sc around (30)
Insert safety eyes between Rounds 9–10, about 7 stitches apart -
(3 sc, dec) x6 (24)
-
(2 sc, dec) x6 (18)
Stuff head firmly -
(1 sc, dec) x6 (12)
-
dec x6 (6), FO and close
👂 Ears (Make 2)
-
MR, 4 sc
-
sc around (4)
Flatten and sew onto sides of head, aligned with eyes
🧢 Cap
Use Navy Blue:
-
MR, 6 sc
-
inc x6 (12)
-
(1 sc, inc) x6 (18)
-
(2 sc, inc) x6 (24)
-
(3 sc, inc) x6 (30)
6–9. sc around (30) -
ch 7, sc in 2nd ch, sc across to form brim
Sew brim to bottom front of cap
Optional: Embroider white “NY” letters with chain stitch or surface embroidery
Sew cap to top of head
🧥 Body (Uniform)
Start with White:
-
MR, 6 sc
-
inc x6 (12)
-
(1 sc, inc) x6 (18)
-
(2 sc, inc) x6 (24)
5–12. sc around (24) -
sc in 6, dec x6, sc in 6 (18)
-
sc around (18)
-
(1 sc, dec) x6 (12), FO and stuff
Belt + Details:
-
Embroider 2 small horizontal navy rectangles for belt loops
-
Use surface sl st for NY logo on the left chest
-
Add small buttons with blue embroidery down center front
✋ Arms (Make 2)
Start with Skin Tone:
-
MR, 5 sc
2–4. sc around
Switch to Navy (wristband): -
sc around
Switch to White:
6–10. sc around
FO, lightly stuff and sew to sides of body
🦵 Legs (Make 2)
Start with Navy Blue (Shoes):
-
MR, 6 sc
-
inc x6 (12)
3–4. sc around
Switch to White (Pants):
5–9. sc around
FO and stuff
Sew legs to base of torso
🖌 Facial Features
-
Embroider thick black eyebrows above the eyes
-
Add a small curve for the mouth in white or light gray yarn
-
Optional: slight indent for cheekbones by tightening the stitch area gently with needle/yarn from back of head
✂️ Final Assembly
-
Attach head to torso securely
-
Position and sew arms slightly angled forward
-
Sew legs evenly spaced beneath torso
-
Stitch cap in place
-
Embroider final NY logo, belt, and details
💡 Customization Ideas
-
Make alternate jersey versions (home vs away colors)
-
Add a small crochet bat or glove
-
Embroider player number on back of jersey
This little slugger is ready to hit a home run in your heart! Whether you’re a longtime fan or just love sporty projects, this amigurumi is a classic catch! ⚾🧶