🌈 Amigurumi Rainbow Pillow Crochet Pattern
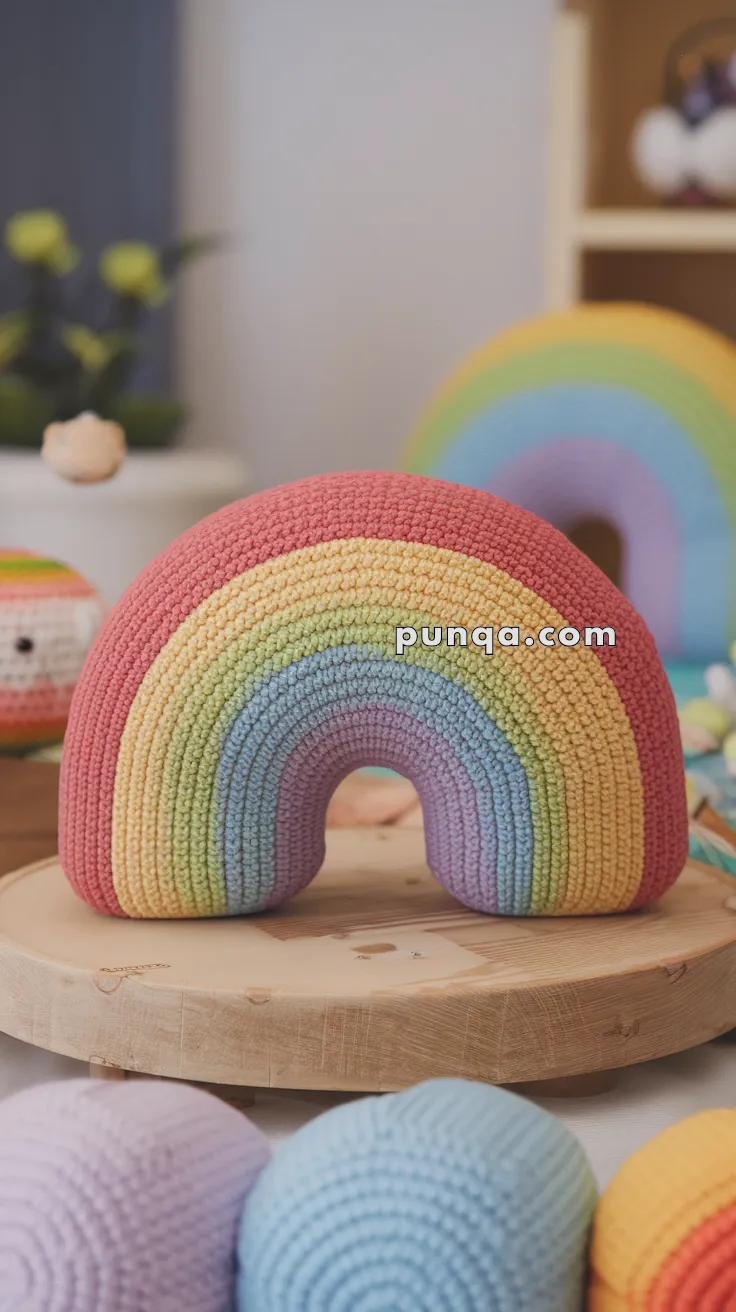
Bring a burst of cheerful color into your space with this cuddly amigurumi rainbow pillow! Perfect for nurseries, playrooms, or gifting, this plush and colorful arch is sure to brighten anyone’s day. With its smooth gradient of pastel hues and soft stuffed structure, it’s a joyful project that’s as delightful to make as it is to display.
✨ Skill Level
Beginner to Intermediate – Simple shaping and frequent color changes required.
📏 Finished Size
Approx. 6–8 inches (15–20 cm) tall and 10 inches (25 cm) wide when using DK or worsted weight yarn and a 3.0–3.5 mm hook.
🧶 Materials
Yarn (DK or Worsted weight):
-
Color A – Soft Purple (bottom arch)
-
Color B – Sky Blue
-
Color C – Pastel Green
-
Color D – Light Yellow
-
Color E – Pale Orange
-
Color F – Coral Pink (top arch)
-
Crochet hook: 3.0–3.5 mm
-
Tapestry needle
-
Stitch marker
-
Polyfill stuffing
-
Scissors
-
Optional: Cardboard insert for stability (inside base)
🧵 Abbreviations (US Terms)
MR – Magic Ring
sc – Single Crochet
inc – Increase (2 sc in next st)
dec – Decrease (sc 2 together)
ch – Chain
sl st – Slip Stitch
FO – Fasten Off
🌈 Rainbow Arch Halves (Make 2)
Work flat in rows. Each color band is crocheted directly on top of the previous one. Start from the inside arch with Color A.
With Color A (Soft Purple):
Row 1: ch 11, sc in 2nd ch from hook and across (10)
Row 2: ch 1, turn, inc, 8 sc, inc (12)
Row 3: ch 1, turn, inc, 10 sc, inc (14)
Row 4: ch 1, turn, inc, 12 sc, inc (16)
FO, join Color B.
With Color B (Sky Blue):
Row 5: ch 1, turn, inc, 14 sc, inc (18)
Row 6: ch 1, turn, inc, 16 sc, inc (20)
Row 7: ch 1, turn, inc, 18 sc, inc (22)
FO, join Color C.
With Color C (Pastel Green):
Repeat the pattern of increasing at both ends:
Row 8: ch 1, turn, inc, 20 sc, inc (24)
Row 9: ch 1, turn, inc, 22 sc, inc (26)
Row 10: ch 1, turn, inc, 24 sc, inc (28)
FO, join Color D.
With Color D (Light Yellow):
Row 11: ch 1, turn, inc, 26 sc, inc (30)
Row 12: ch 1, turn, inc, 28 sc, inc (32)
Row 13: ch 1, turn, inc, 30 sc, inc (34)
FO, join Color E.
With Color E (Pale Orange):
Row 14: ch 1, turn, inc, 32 sc, inc (36)
Row 15: ch 1, turn, inc, 34 sc, inc (38)
Row 16: ch 1, turn, inc, 36 sc, inc (40)
FO, join Color F.
With Color F (Coral Pink):
Row 17: ch 1, turn, inc, 38 sc, inc (42)
Row 18: ch 1, turn, inc, 40 sc, inc (44)
Row 19: ch 1, turn, inc, 42 sc, inc (46)
FO, weave in ends.
✂️ Assembly
-
Place both rainbow panels wrong sides together.
-
With Color F, sc around the arch, inserting hook through both panels to join.
-
Start from the outer edge of one foot, work up and over the top arch, and down to the opposite foot, leaving the bottom unworked.
-
Stuff firmly through the open base.
-
Continue to sc the bottom edge closed. FO and weave in the ends.
-
Optional: Insert a trimmed piece of cardboard between panels before closing for extra structure.
💡 Customization Ideas
-
Use bold, bright rainbow shades for a classic rainbow
-
Add a smiling face with safety eyes and embroidery
-
Increase the number of rows for a larger pillow
-
Stitch two rainbows back-to-back for a 3D effect
This sweet and squishy rainbow pillow is perfect for gifting, snuggling, or simply bringing a pop of happiness to any room! 🌦️💖