Bring a touch of tropical beauty to your crochet collection with this Amigurumi Anthurium pattern! Inspired by the elegant and vibrant anthurium flower, this crochet creation captures its signature heart-shaped petals and striking spadix in every stitch. With its bold colors and graceful design, this amigurumi anthurium is perfect for adding a botanical accent to your handmade projects. Whether you’re crafting for plant lovers, decorating a cozy space, or simply enjoy making floral-inspired amigurumi designs, this pattern lets you stitch up a stunning bloom bursting with charm! 🌺✨
Designed for customization, this pattern allows you to experiment with different shades of red, pink, or even pastel hues for a unique twist. Add embroidered details, tiny leaves, or even stitch up a full bouquet of crochet flowers for a breathtaking display! Whether gifted as a cherished keepsake, displayed as a stylish accent, or made simply for the joy of crafting, this Amigurumi Anthurium is a fun and creative project—perfect for bringing a touch of handmade botanical elegance to every stitch! 🧶💖
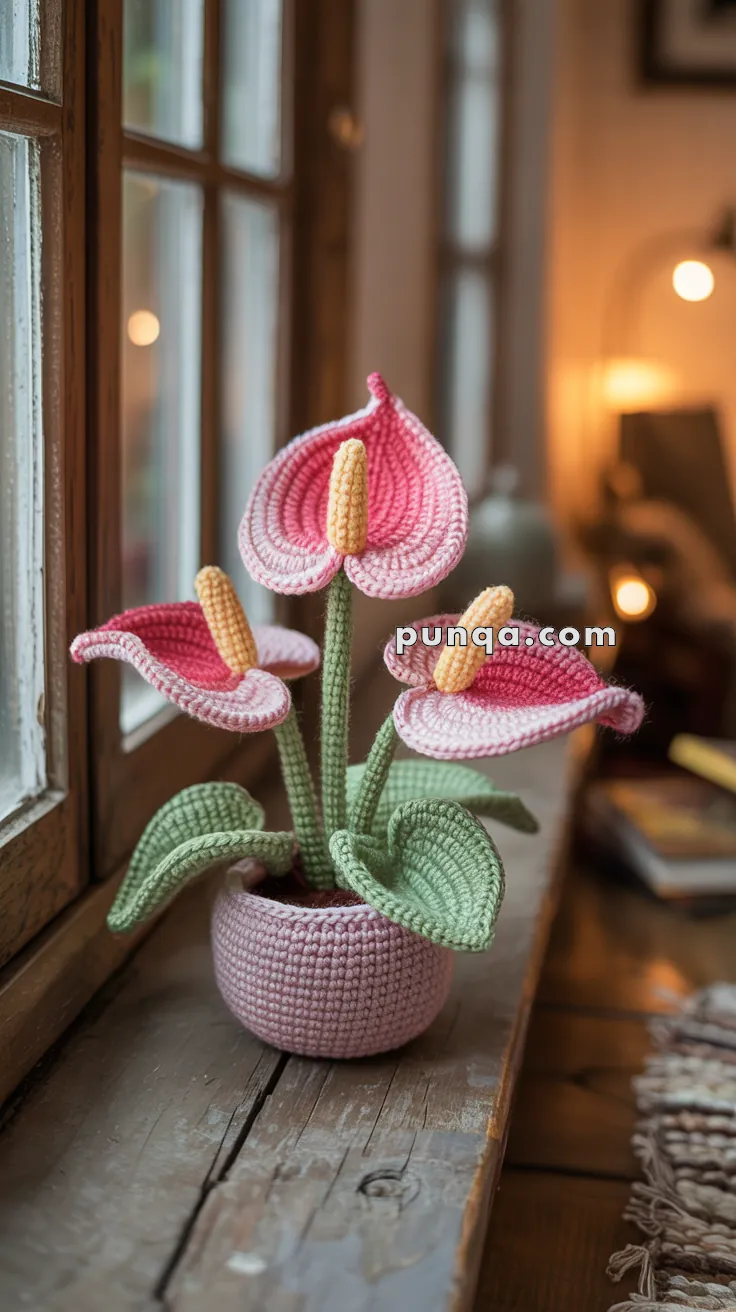
🌸 Amigurumi Potted Anthurium Crochet Pattern
Bring botanical beauty indoors with this potted amigurumi anthurium! Soft pink spathes, bright yellow spadices, and curving green leaves are nestled in a cute crochet pot—perfect for decorating windowsills, desks, or gifting to a plant lover. No watering required! 🪴💗
✨ Skill Level
Intermediate – Involves shaping, color transitions, and simple wiring for structure.
📏 Finished Size
Approx. 8–10 inches (20–25 cm) tall using DK yarn and a 2.5–3.0 mm hook.
🧶 Materials
Yarn (DK weight):
- Color A: Pale to Deep Pink (Spathes – flowers)
- Color B: Yellow (Spadix – flower center)
- Color C: Green (Stems & Leaves)
- Color D: Lilac or Pink (Pot)
- Color E: Brown (Soil)
- Crochet hook: 2.5–3.0 mm
- Pipe cleaners or floral wire (for structure)
- Polyfill stuffing
- Tapestry needle
- Stitch marker
- Hot glue (optional)
🧵 Abbreviations (US Terms)
MR – Magic Ring
sc – Single Crochet
inc – Increase
dec – Decrease
ch – Chain
sl st – Slip Stitch
st(s) – Stitch(es)
FO – Fasten Off
🌼 Spadix (Yellow Center – Make 4)
With Color B
Round 1: MR, 6 sc (6)
Round 2: (1 sc, inc) x3 (9)
Rounds 3–10: sc around (9)
Stuff very lightly.
Round 11: (1 sc, dec) x3 (6)
FO, leave long tail for sewing.
💗 Spathe (Heart-Shaped Petal – Make 4)
With Color A (gradient optional for ombré effect)
MR, 6 sc
Round 2: inc x6 (12)
Round 3: (1 sc, inc) x6 (18)
Round 4: (2 sc, inc) x6 (24)
Round 5: (3 sc, inc) x6 (30)
Round 6: (4 sc, inc) x6 (36)
Round 7: (5 sc, inc) x6 (42)
Now shape into heart top with short rows:
Row 8: sc in next 20 sts, turn
Row 9: dec, sc 16, dec (18)
Row 10: dec, sc 14, dec (16)
Row 11: dec, sc 12, dec (14)
Row 12: dec, sc 10, dec (12)
FO.
Repeat for second heart bump from the skipped stitches on Round 7.
Finishing:
Surface slip stitch around the edge for clean shaping.
Attach spadix by sewing it at center base.
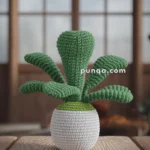
🍃 Leaves (Make 3–4)
With Color C
MR, 6 sc
Round 2: inc x6 (12)
Round 3: (1 sc, inc) x6 (18)
Round 4: (2 sc, inc) x6 (24)
Round 5: (3 sc, inc) x6 (30)
Continue increasing until ~60–66 sts.
Shape tip:
Switch to working in rows:
- Row 1: sc 30, turn
- Row 2: dec, sc 26, dec (28)
- Row 3: dec, sc 24, dec (26)
Continue decreasing in same fashion to form a pointed leaf.
Optional: Add veins with surface slip stitch.
🌿 Stems (Make 6–8)
With Color C
Ch 30–45 depending on height
Row 1: sc in 2nd ch from hook and across
Row 2: sc across
FO and wrap around wire. Sew or sl st closed.
🪴 Pot (With Color D)
Base (worked in rounds):
MR, 6 sc
Round 2: inc x6 (12)
Round 3: (1 sc, inc) x6 (18)
Round 4: (2 sc, inc) x6 (24)
Round 5: (3 sc, inc) x6 (30)
Round 6: (4 sc, inc) x6 (36)
Round 7: (5 sc, inc) x6 (42)
Round 8: BLO sc around (42)
Rounds 9–20: sc around (42)
Top edge (optional):
Work 2 more rounds in sl st for a firm pot edge.
🪵 Soil Top (With Color E)
Same as pot base, stop at Round 6 or 7.
Sew it into the pot, leaving a small gap to insert stems.
🌼 Assembly
- Insert stems into flowers and leaves; secure with glue or stitch.
- Arrange inside pot; stitch or glue to soil for stability.
- Curve leaves and spathes outward for a natural display.
✂️ Finishing Touches
- Shape petals and leaves with your hands.
- Add blush or embroidery for realism.
- Optional: crochet a small bee or butterfly for added charm.
💡 Customization Ideas
- Use variegated pinks or red yarn for tropical flair
- Make mini versions in small pots for gifts
- Display in a hanging basket or macrame holder
Let this delightful crochet anthurium brighten your space with everlasting bloom! 🌺🪴