Oh, the joys of crafting! 🌟 As the holiday season approaches, I find myself drawn to the whimsical world of amigurumi, especially when it comes to creating delightful little treasures like Christmas cupcakes with icing. There’s something incredibly satisfying about transforming simple yarn into a festive, adorable piece of art that captures the spirit of the season. Amigurumi, the Japanese art of crocheting small, stuffed yarn creatures, is not only a creative outlet but also a way to spread joy and cheer. It’s like bringing a little bit of magic to life, one stitch at a time.
Now, let’s talk about the process. Diving into amigurumi is like embarking on a mini adventure. It all begins with choosing the right yarn colors that evoke the quintessential Christmas vibe—think reds, greens, and whites with a touch of sparkle. Then, it’s all about crafting the cupcake base, usually starting from a magic circle and working your way up with single crochet stitches. The icing, oh the icing! That’s where creativity really gets to shine. Adding little embellishments like beads or miniature pom-poms as sprinkles can be so much fun. The entire process is a delightful mix of precision and creativity, and before you know it, you’ve got a charming little cupcake that’s ready to spread holiday cheer. 🎄
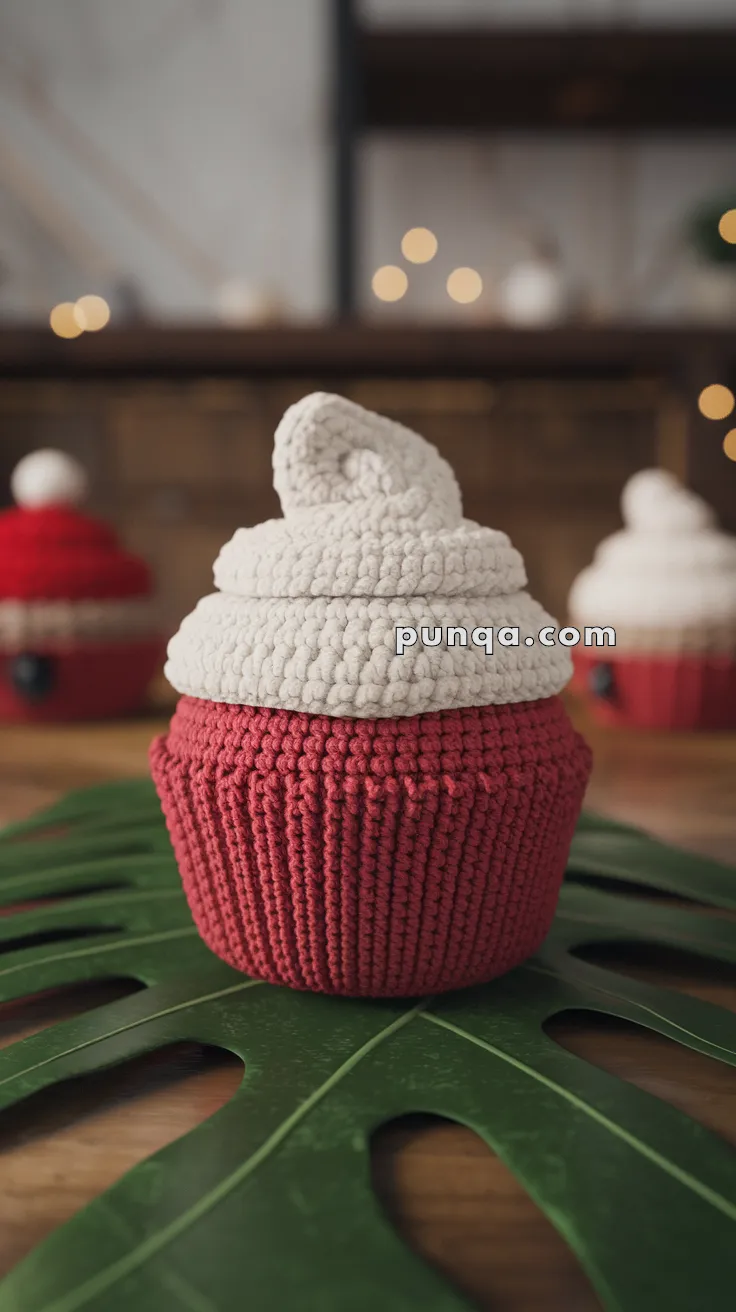
Amigurumi Christmas Cupcake With Icing Pattern
Skill Level: Intermediate
Finished Size: Approximately 6 inches tall
Materials
– Worsted weight yarn in red and white
– Size G (4.0 mm) crochet hook
– Polyester fiberfill stuffing
– Tapestry needle
– Stitch marker
– Scissors
Abbreviations (US Terminology)
– ch: chain
– sc: single crochet
– inc: increase (2 sc in same stitch)
– dec: decrease (sc 2 stitches together)
– sl st: slip stitch
– st(s): stitch(es)
– rnd: round
Pattern Instructions
Cupcake Base (Red)
1. **Rnd 1:** Make a magic ring, 6 sc in ring. (6 sts)
2. **Rnd 2:** Inc in each st around. (12 sts)
3. **Rnd 3:** [Sc 1, inc] around. (18 sts)
4. **Rnd 4:** [Sc 2, inc] around. (24 sts)
5. **Rnd 5:** [Sc 3, inc] around. (30 sts)
6. **Rnd 6:** [Sc 4, inc] around. (36 sts)
7. **Rnds 7-12:** Sc in each st around. (36 sts)
8. **Rnd 13:** [Sc 4, dec] around. (30 sts)
9. **Rnd 14:** [Sc 3, dec] around. (24 sts)
10. **Rnd 15:** [Sc 2, dec] around. (18 sts)
11. **Rnd 16:** [Sc 1, dec] around. (12 sts)
12. **Rnd 17:** Dec around. (6 sts)
13. Fasten off, leaving a tail for sewing.
Icing (White)
1. **Rnd 1:** Make a magic ring, 6 sc in ring. (6 sts)
2. **Rnd 2:** Inc in each st around. (12 sts)
3. **Rnd 3:** [Sc 1, inc] around. (18 sts)
4. **Rnd 4:** [Sc 2, inc] around. (24 sts)
5. **Rnd 5:** [Sc 3, inc] around. (30 sts)
6. **Rnd 6:** [Sc 4, inc] around. (36 sts)
7. **Rnds 7-15:** Sc in each st around. (36 sts)
8. Begin to curl the icing as you work. Fasten off, leaving a tail for sewing.
Assembly
1. Stuff the cupcake base firmly with fiberfill.
2. Sew the top of the cupcake base closed.
3. Position the icing on top of the cupcake base, curling it slightly for a swirl effect.
4. Sew the icing securely onto the cupcake base.
Finishing Touches
– Weave in any loose ends with the tapestry needle.
– Add any decorative embellishments if desired, like a small pom-pom or bead on top.
Tips:
– Use a stitch marker to keep track of your rounds! 🧶
– Don’t forget to give your cupcake a little squish—it’s irresistibly cute and cuddly! 🎄🧁
🎉 Your handmade crochet creation for Amigurumi Christmas Cupcake With Icing Pattern is complete! Enjoy your one-of-a-kind amigurumi masterpiece and experiment with various yarn colors for a personal touch! 🧶✨