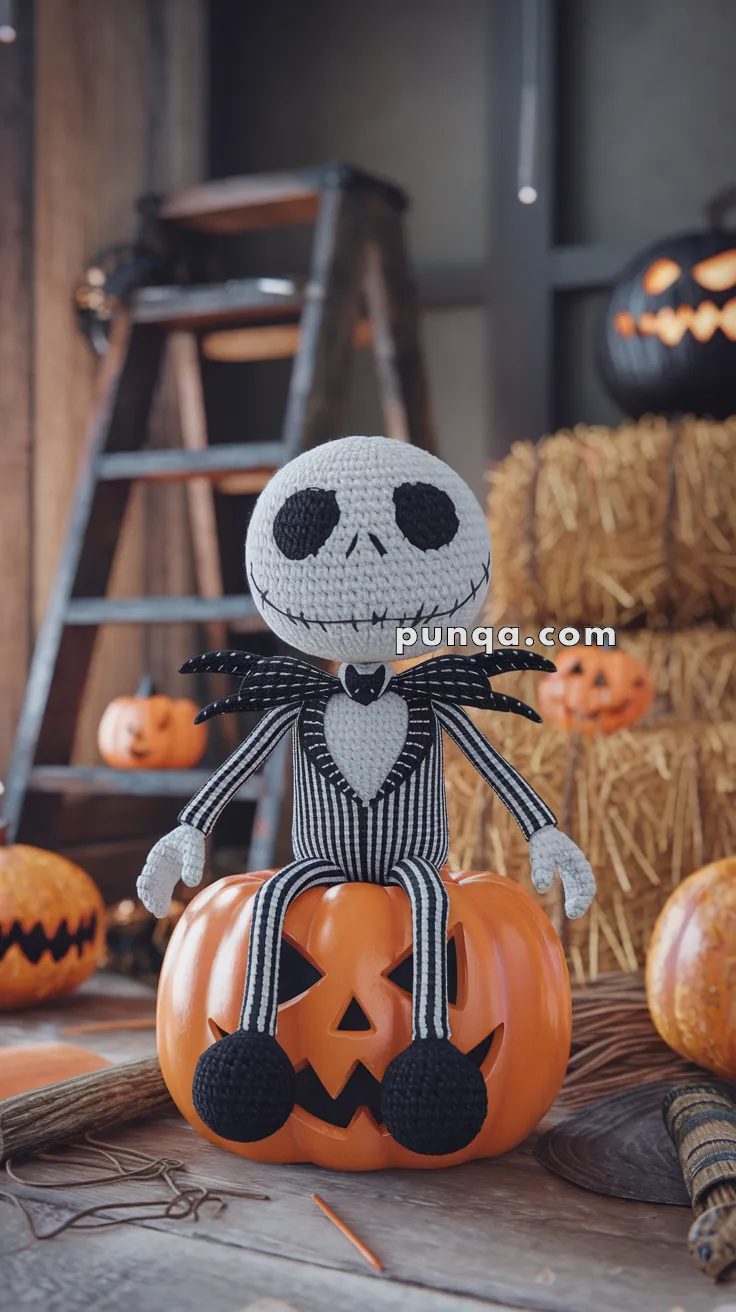
Step into the world of spooky charm with this Amigurumi Jack Skellington crochet pattern! 🎃✨ With his signature pinstripe suit, skeletal grin, and mischievous personality, this design brings The Nightmare Before Christmas’s Pumpkin King to life in yarn form. Whether you’re crafting for Halloween décor, a Tim Burton fan, or simply love character-inspired amigurumi, this FREE pattern is a fantastic addition to your collection.
Designed for intermediate crocheters, this pattern allows for customization in facial details, outfit embellishments, and even tiny accessories to enhance Jack’s eerie elegance. Choose classic black and white for an authentic look or experiment with bold hues for a unique twist! Whether displayed as part of a spooky setup or gifted to a fellow crochet enthusiast, this amigurumi Jack Skellington is sure to impress. Grab your hook, select your favorite yarn, and let’s bring this iconic skeleton to life—one stitch at a time! 🦴✨🧶
🎃 Jack Skellington Amigurumi Crochet Pattern
Step into Halloween Town with this spooky and stylish Jack Skellington amigurumi! With his oversized skull, skeletal limbs, pinstripe suit, and iconic bat bow tie, this project is a must-make for fans of The Nightmare Before Christmas.
✨ Skill Level
Intermediate – includes shaping, embroidery, and detailed assembly.
📏 Finished Size
Approx. 13–15 inches (33–38 cm) tall using worsted weight yarn and a 3.0 mm hook.
🧶 Materials
-
Worsted weight yarn:
-
White (head, hands, arms, shirt front)
-
Black (body, legs, shoes, bow tie, stripes)
-
-
Embroidery thread or yarn: Black (eyes, smile, pinstripes)
-
Crochet hook: 3.0 mm
-
Fiberfill stuffing
-
Yarn needle
-
Stitch markers
-
Optional: felt for bow tie wings
🧵 Abbreviations (US Terms)
-
MR – Magic Ring
-
sc – Single Crochet
-
inc – Increase (2 sc in same stitch)
-
dec – Decrease (sc 2 together)
-
sl st – Slip Stitch
-
ch – Chain
-
FO – Fasten Off
-
BLO – Back Loop Only
☠️ Head (White)
-
MR, 6 sc (6)
-
inc x6 (12)
-
(1 sc, inc) x6 (18)
-
(2 sc, inc) x6 (24)
-
(3 sc, inc) x6 (30)
-
(4 sc, inc) x6 (36)
-
(5 sc, inc) x6 (42)
-
(6 sc, inc) x6 (48)
9–20. sc around (48) -
(6 sc, dec) x6 (42)
-
(5 sc, dec) x6 (36)
-
(4 sc, dec) x6 (30)
-
(3 sc, dec) x6 (24)
-
(2 sc, dec) x6 (18)
-
(1 sc, dec) x6 (12)
-
dec x6 (6), FO and close.
Stuff firmly.
Face Embroidery:
-
Eyes: Large oval patches, filling 1/3 of the face, stitched in black yarn.
-
Nose: Two vertical stitches between the eyes.
-
Mouth: Curved embroidered smile with long vertical stitches across.
🧍 Body (Black)
-
MR, 6 sc (6)
-
inc x6 (12)
-
(1 sc, inc) x6 (18)
-
(2 sc, inc) x6 (24)
5–22. sc around (24) -
(2 sc, dec) x6 (18)
24–26. sc around (18) -
(1 sc, dec) x6 (12), FO.
Stuff firmly, keep narrow and tall.
Add white surface slip stitches or embroidery for pinstripes running vertically.
🦵 Legs (Make 2 – Black)
-
MR, 6 sc (6)
-
inc x6 (12)
3–6. sc around (12) -
(2 sc, dec) x3 (9)
8–40. sc around (9), FO.
Stuff lightly.
👞 Shoes (Make 2 – Black)
-
MR, 6 sc (6)
-
inc x6 (12)
-
(1 sc, inc) x6 (18)
4–8. sc around (18) -
(1 sc, dec) x6 (12)
-
dec x6 (6), FO.
Stuff firmly and sew to bottom of legs.
💪 Arms (Make 2 – White)
-
MR, 6 sc (6)
-
(1 sc, inc) x3 (9)
3–28. sc around (9), FO.
Do not overstuff – leave thin and flexible.
✋ Hands (White)
-
MR, 6 sc (6)
-
sc around (6)
-
(1 sc, inc) x3 (9)
4–5. sc around (9), FO.
Fingers: Attach yarn, ch 6, sl st back → 1 finger. Make 4 fingers + 1 thumb.
👔 Shirt Triangle (White)
Ch 7
Row 1: sc in 2nd ch and across (6)
Row 2: dec, sc 2, dec (4)
Row 3: sc across (4)
Row 4: dec, dec (2)
Row 5: sc2tog (1), FO.
Sew to front of body.
🦇 Bat Bow Tie (Black)
-
Ch 12, sc 2 rows → center band.
-
For wings: ch 6, sl st back, add small points by (ch 2, sl st). Repeat other side.
-
Sew under head.
🧵 Assembly
-
Sew head onto body.
-
Attach arms to shoulders.
-
Attach long thin legs to base of body.
-
Sew shoes at the bottom of each leg.
-
Attach white chest triangle and bat bow tie.
-
Add suit pinstripes using embroidery thread or surface crochet lines.
🎃 Finishing Touches
-
Optional: Stiffen bow tie wings with fabric glue or felt.
-
Position legs so he can sit on a pumpkin or shelf.
-
Add more facial embroidery for extra spooky detail.
Your Jack Skellington amigurumi is now complete – tall, spooky, and perfectly dressed for Halloween! 🖤👻