✨ Skill Level
Intermediate – includes shaping, proportional assembly, and limb positioning.
📏 Finished Size
Approx. 21–23 cm (8.5–9 in) tall
🧶 Materials & Yarn Amount
- Gray-brown: 120 g (head, legs, antennae)
- Yellow-green: 90 g (body)
- Burgundy-brown: 45 g (wing covers)
- White: 15 g (eye rings)
- Black: 5 g (facial details & dots)
You’ll also need:
- 16 mm safety eyes
- Polyester stuffing
- Yarn needle
- Stitch marker
🔤 Abbreviations
MR – magic ring
sc – single crochet
inc – increase
dec – invisible decrease
FO – fasten off
🧠 Head (Large Rounded Shape)
With gray-brown:
R1: MR 6
R2: inc ×6 (12)
R3: (sc, inc) ×6 (18)
R4: (2 sc, inc) ×6 (24)
R5: (3 sc, inc) ×6 (30)
R6: (4 sc, inc) ×6 (36)
R7: (5 sc, inc) ×6 (42)
R8: (6 sc, inc) ×6 (48)
R9: (7 sc, inc) ×6 (54)
R10–16: sc around (54)
Insert eyes between R13–14, spaced widely.
R17: (7 sc, dec) ×6 (48)
R18: (6 sc, dec) ×6 (42)
R19: (5 sc, dec) ×6 (36)
R20: (4 sc, dec) ×6 (30)
Stuff firmly to maintain a smooth sphere.
R21: (3 sc, dec) ×6 (24)
R22: (2 sc, dec) ×6 (18)
R23: (sc, dec) ×6 (12)
R24: dec ×6 (6)
FO and close.
👀 Eye Rings (Bold & Raised)
With white:
R1: MR 6
R2: inc ×6 (12)
R3: (sc, inc) ×6 (18)
R4: sc around (18)
FO and sew around eyes for a wide, expressive look.
🙂 Face Detail
Embroider a small, soft curved smile centered below the eyes.
🐞 Body (Compact Oval Form)
With yellow-green:
R1: MR 6
R2: inc ×6 (12)
R3: (sc, inc) ×6 (18)
R4: (2 sc, inc) ×6 (24)
R5: (3 sc, inc) ×6 (30)
R6: (4 sc, inc) ×6 (36)
R7: (5 sc, inc) ×6 (42)
R8–12: sc around (42)
Gentle taper
R13: (5 sc, dec) ×6 (36)
R14: (4 sc, dec) ×6 (30)
R15: (3 sc, dec) ×6 (24)
Stuff firmly to keep a rounded belly.
R16: (2 sc, dec) ×6 (18)
R17: (sc, dec) ×6 (12)
R18: dec ×6 (6)
FO.
⚫ Belly Dots (Make 2)
With black:
MR 8
sl st to close
FO and flatten slightly.
Sew symmetrically on the upper belly.
🐚 Wing Covers (Layered Side Panels)
With burgundy-brown:
R1: MR 6
R2: inc ×6 (12)
R3: (sc, inc) ×6 (18)
R4: (2 sc, inc) ×6 (24)
R5: (3 sc, inc) ×6 (30)
R6–8: sc around (30)
FO.
Flatten lightly and attach along upper back and down sides.
Allow edges to curve slightly outward for dimension.
🦵 Back Legs (Rounded Base)
With gray-brown:
R1: MR 6
R2: inc ×6 (12)
R3: (sc, inc) ×6 (18)
R4–5: sc around (18)
R6: (4 sc, dec) ×3 (15)
R7: (3 sc, dec) ×3 (12)
R8–10: sc around (12)
Stuff firmly at base.
FO.
Attach low and spaced apart to support the body.
🦵 Front Legs (Tapered & Angled)
With gray-brown:
R1: MR 6
R2: (sc, inc) ×3 (9)
R3: (2 sc, inc) ×3 (12)
R4–6: sc around (12)
R7: (2 sc, dec) ×3 (9)
R8–10: sc around (9)
Light stuffing in lower half only.
FO.
Attach slightly higher than back legs and angle forward so they rest gently against the body.
🐜 Antennae (Curved with Bulb Tips)
With gray-brown:
R1: MR 6
R2–9: sc around (6)
R10: inc ×6 (12)
R11–13: sc around (12)
Lightly stuff only the rounded tip.
FO.
Leave stem soft for shaping.
🪡 Assembly
- Sew head to body with a slight forward tilt
- Attach wing covers along upper back and sides
- Attach back legs low for stability
- Attach front legs angled forward
- Sew antennae evenly spaced on top of head
🌟 Final Shaping
- Gently flatten the base so the beetle sits evenly
- Curve antennae outward and slightly forward
- Adjust front legs so they rest naturally
- Allow wing edges to lift slightly for softness
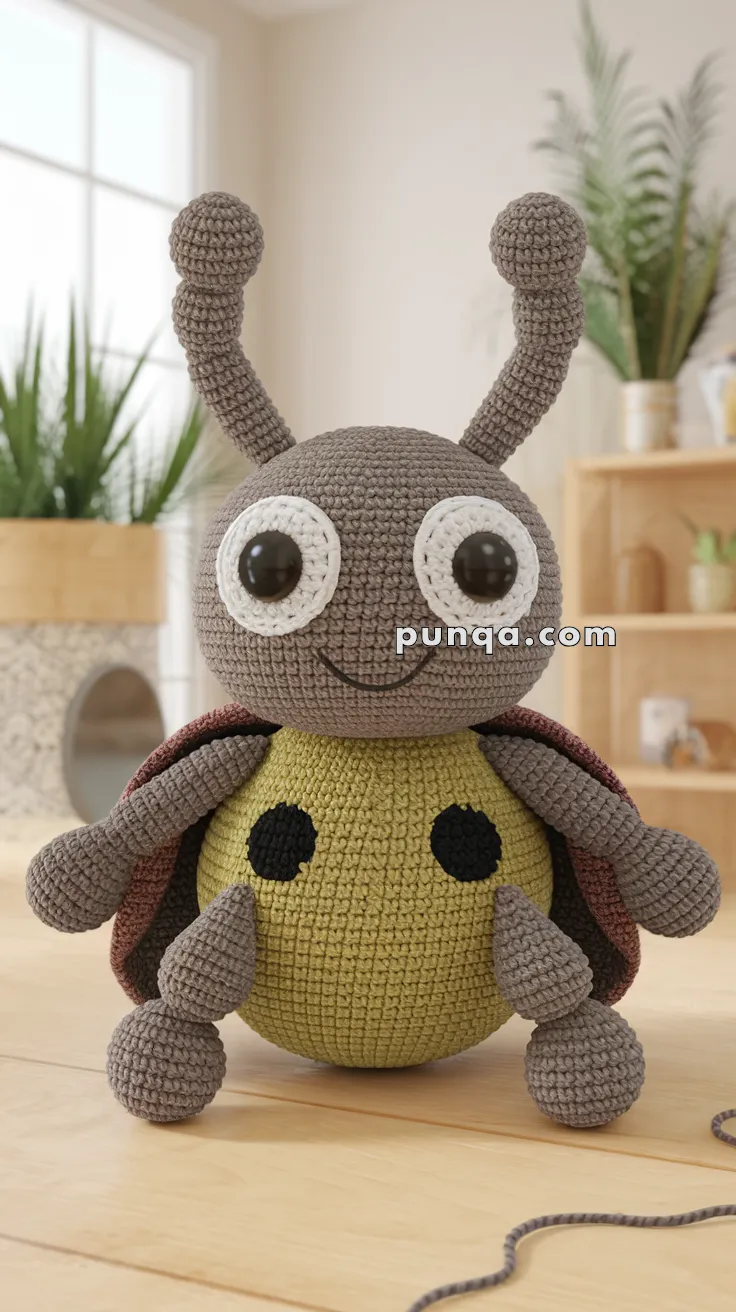
💛 Final Thoughts
This crochet beetle features a playful oversized head, a compact rounded body, and carefully shaped limbs that create a warm and balanced look 🐞✨ The curved antennae, layered wings, and expressive eyes bring personality and charm to every angle.
Take your time with placement and shaping—the small adjustments are what make this little companion feel alive.
Happy crocheting 🧶