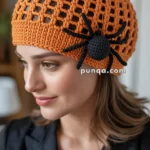
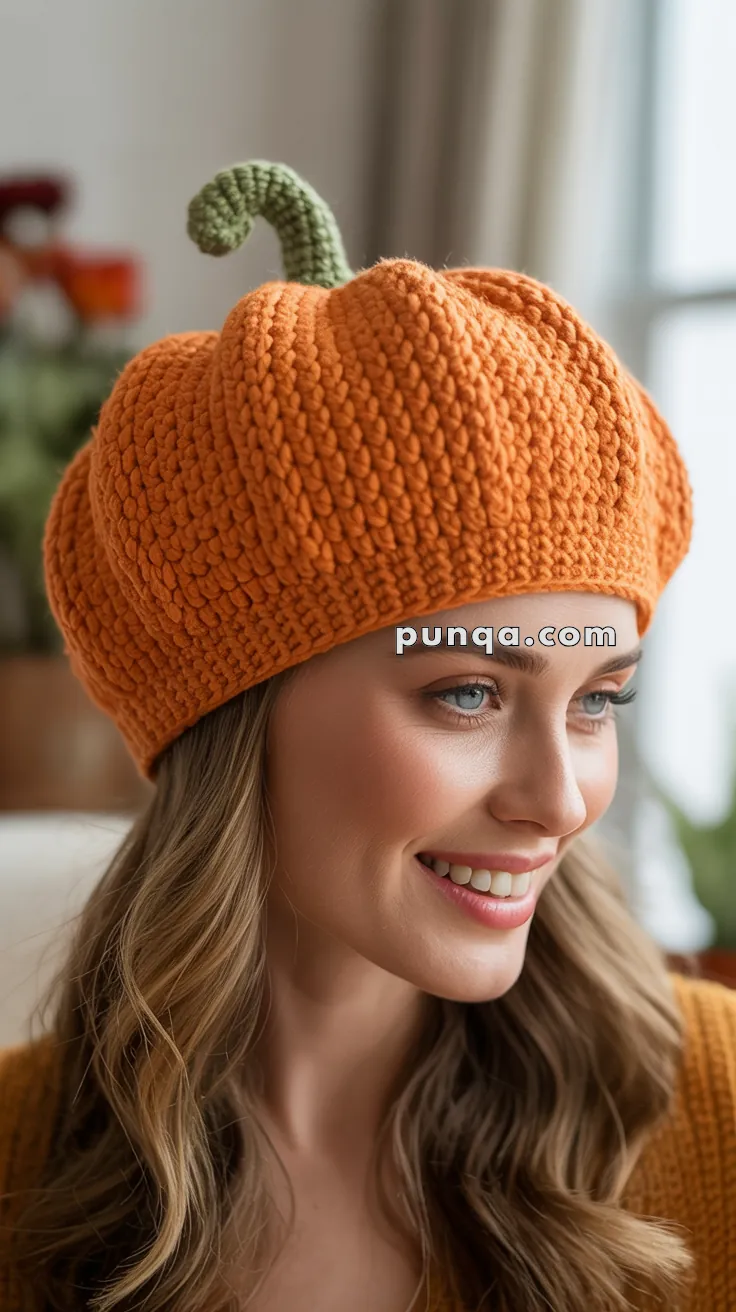
Celebrate the cozy charm of autumn with the Cozy Pumpkin Beret, a playful crochet accessory that’s as stylish as it is whimsical! 🎃🧶 With its classic orange hue and a charming curly stem perched on top, this beret is a delightful nod to everyone’s favorite fall fruit. Whether you’re heading to a pumpkin patch, sipping cider at a fall festival, or simply want to sprinkle some seasonal magic into your everyday outfit, this hat is sure to turn heads and warm hearts.
Perfect for crocheters who love wearable art with a touch of humor, this pattern invites you to play with texture, color, and festive flair. Pair it with a chunky scarf, cozy sweater, or even a matching pumpkin-themed bag for the ultimate autumn ensemble. The Cozy Pumpkin Beret is a fun and fashionable way to stitch up fall vibes—one loop at a time! 🍂🧵
Cozy Pumpkin Beret Crochet Pattern
Perfect for fall fashion and Halloween fun!
There’s something absolutely magical about autumn accessories, and this adorable pumpkin beret captures that cozy fall feeling perfectly. With its classic orange hue and charming curly stem, this beret is both stylish and whimsical. Whether you’re heading to a pumpkin patch, attending a fall festival, or just want to add some seasonal flair to your wardrobe, this pattern will become your go-to autumn accessory.
Skill Level: Intermediate
Finished Size: Fits 21-23″ head circumference
Time to Complete: 6-8 hours
What You’ll Need
Materials:
- Worsted Weight Yarn (4):
- Orange: 200-250 yards (main color)
- Green: 30-40 yards (stem and leaves)
- Hook: Size H/8 (5.0mm)
- Notions:
- Tapestry needle
- Stitch markers
- Scissors
Gauge:
14 sc = 4″ (10cm) in single crochet
Sizing:
This pattern fits most adult heads (21-23″ circumference)
Stitches Used:
- Chain (ch)
- Single crochet (sc)
- Half double crochet (hdc)
- Double crochet (dc)
- Slip stitch (sl st)
- Single crochet decrease (sc2tog)
- Working in back loops only (BLO)
Pattern Instructions
Crown (Top of Beret)
Round 1: With orange yarn, make a magic ring, ch 1, 8 sc in ring, pull tight. Join with sl st to first sc. (8 sts)
Round 2: Ch 1, 2 sc in each st around. Join. (16 sts)
Round 3: Ch 1, sc in next st, 2 sc in next st, repeat around. Join. (24 sts)
Round 4: Ch 1, sc in next 2 sts, 2 sc in next st, repeat around. Join. (32 sts)
Round 5: Ch 1, sc in next 3 sts, 2 sc in next st, repeat around. Join. (40 sts)
Round 6: Ch 1, sc in next 4 sts, 2 sc in next st, repeat around. Join. (48 sts)
Round 7: Ch 1, sc in next 5 sts, 2 sc in next st, repeat around. Join. (56 sts)
Round 8: Ch 1, sc in next 6 sts, 2 sc in next st, repeat around. Join. (64 sts)
Round 9: Ch 1, sc in next 7 sts, 2 sc in next st, repeat around. Join. (72 sts)
Round 10: Ch 1, sc in next 8 sts, 2 sc in next st, repeat around. Join. (80 sts)
Round 11: Ch 1, sc in next 9 sts, 2 sc in next st, repeat around. Join. (88 sts)
Body of Beret
Rounds 12-20: Ch 1, sc in each st around. Join. (88 sts)
This creates the full, rounded shape of the beret.
Crown Shaping (Decrease Section)
Round 21: Ch 1, sc in next 9 sts, sc2tog, repeat around. Join. (80 sts)
Round 22: Ch 1, sc in next 8 sts, sc2tog, repeat around. Join. (72 sts)
Round 23: Ch 1, sc in next 7 sts, sc2tog, repeat around. Join. (64 sts)
Round 24: Ch 1, sc in next 6 sts, sc2tog, repeat around. Join. (56 sts)
Band (Headband Section)
Rounds 25-30: Ch 1, working in BLO, sc in each st around. Join. (56 sts)
Working in back loops only creates a nice ridge and makes the band less stretchy for a snug fit.
Fasten off and weave in ends.
Pumpkin Stem
Foundation: With green yarn, ch 15.
Row 1: Starting in 2nd ch from hook, sc in each ch across. Turn. (14 sts)
Rows 2-4: Ch 1, sc in each st across. Turn.
Row 5: Ch 1, sc2tog, sc in next 10 sts, sc2tog. Turn. (12 sts)
Rows 6-7: Ch 1, sc in each st across. Turn.
Row 8: Ch 1, sc2tog, sc in next 8 sts, sc2tog. Turn. (10 sts)
Rows 9-10: Ch 1, sc in each st across. Turn.
Fold the piece in half lengthwise and sc the long edges together to create a tube.
Curly Stem Top
Foundation: With green yarn, ch 25.
Row 1: Starting in 2nd ch from hook, 3 sc in each ch across.
This creates the natural curl you see in the photo.
Fasten off, leaving a long tail for sewing.
Small Leaf (Make 2)
Foundation: With green yarn, ch 8.
Row 1: Starting in 2nd ch from hook, sl st, sc, hdc, dc, hdc, sc, sl st.
Row 2: Working along other side of foundation chain, sl st, sc, hdc, dc, hdc, sc, sl st.
Fasten off, leaving tail for sewing.
Assembly
- Attach the stem: Sew the straight stem piece to the center top of the beret, positioning it where the magic ring was created.
- Add the curly top: Sew one end of the curly piece to the top of the straight stem. Allow it to curl naturally.
- Attach leaves: Sew the small leaves around the base of the stem at slight angles for a natural look.
- Final touches: Weave in all ends securely.
Styling Tips
- Wear it slightly tilted to one side for that classic beret look
- Pair with cozy sweaters and autumn scarves
- Perfect for fall photoshoots and seasonal events
- Try it with both casual and dressy autumn outfits
Variations
- Mini pumpkin version: Make it in baby/toddler sizes for little ones
- Color variations: Try burgundy, cream, or even purple for unique pumpkins
- Embellishments: Add small embroidered details or tiny buttons
Care Instructions
Hand wash in cool water with mild detergent. Lay flat to dry, reshaping the beret while damp to maintain its rounded form.
This charming pumpkin beret brings together the best of fall fashion and crochet creativity. The combination of classic techniques creates a piece that’s both wearable and whimsical. Happy crocheting, and enjoy your handmade autumn accessory!
Did you make this pattern? I’d love to see your finished beret! Share your photos and any modifications you made.