Get into the spooky spirit with the Amigurumi Halloween Bat, a fang-tastically cute crochet companion that’s perfect for haunting your hooks this season! 🦇🎃 With its tiny wings, pointy ears, and playful expression, this little bat is more sweet than scary—ideal for Halloween décor, trick-or-treat gifts, or adding a touch of gothic charm to your amigurumi collection. Whether it’s hanging upside down or perched on a pumpkin, it’s sure to bring smiles (not screams!).
Perfect for crocheters who love festive flair and quirky characters, this pattern invites you to experiment with moody hues, add embroidered fangs or sleepy eyes, and even accessorize with mini capes or candy buckets. Make one or a whole colony to decorate your space with handmade magic. The Amigurumi Halloween Bat is a delightful way to stitch up spooky fun—one loop at a time! 🧶🕸️
🦇 Amigurumi Halloween Bat Crochet Pattern
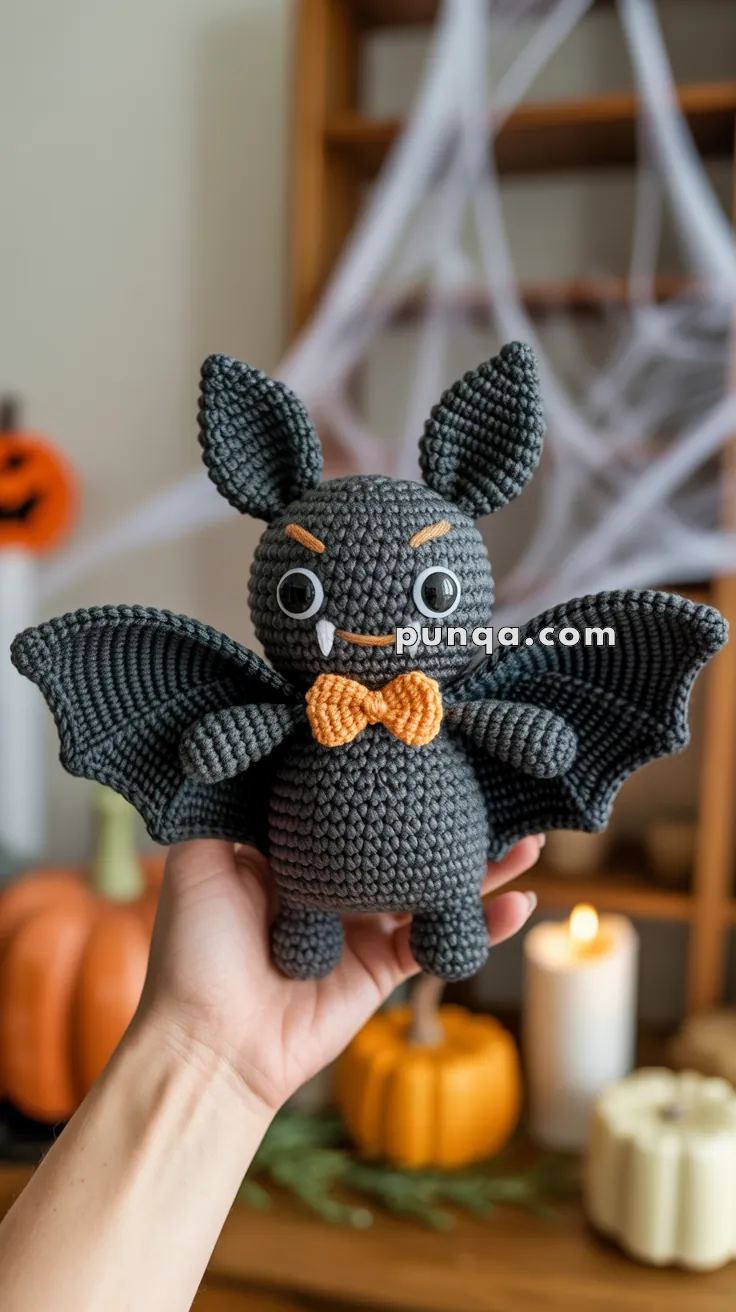
Get ready to add some spooky-cute charm to your handmade collection! This Halloween bat is soft, huggable, and just the right balance of spooky and sweet. With big expressive eyes, wide ribbed wings, a cheeky smile with fangs, and a festive orange bow tie, it makes a perfect seasonal decoration or gift.
✨ Skill Level
Intermediate – great for crocheters comfortable with working in the round, simple shaping, and sewing parts together.
📏 Finished Size
Approximately 7–8 inches (18–20 cm) tall when made with worsted weight yarn and a 3.0–3.5 mm hook.
🧶 Materials Needed
- Worsted weight yarn in:
- Dark grey (body, ears, wings, arms, legs)
- Orange (bow tie, eyebrows)
- White (fangs)
- Light grey (eye whites, smile)
- 3.0–3.5 mm crochet hook
- 10–12 mm safety eyes
- Fiberfill stuffing
- Tapestry needle & stitch markers
- Scissors
- Optional: thin floral wire to shape wings
🧵 Abbreviations (US Terms)
- MR – Magic Ring
- sc – Single Crochet
- inc – Increase (2 sc in the same stitch)
- dec – Decrease (sc2tog)
- sl st – Slip Stitch
- ch – Chain
- BLO – Back Loop Only
- FO – Fasten Off
🪡 Pattern Instructions
Head & Body (worked as one piece)
- MR 6
- inc x6 (12)
- (1 sc, inc) x6 (18)
- (2 sc, inc) x6 (24)
- (3 sc, inc) x6 (30)
6–12. sc around (30)
👉 Insert safety eyes between rounds 8–9, spaced about 8 stitches apart, placing them over light grey crochet circles (see Eye Whites below). - (3 sc, dec) x6 (24)
- (2 sc, dec) x6 (18)
- (1 sc, dec) x6 (12) – stuff head firmly.
- sc around (12)
- (1 sc, inc) x6 (18)
- (2 sc, inc) x6 (24)
19–23. sc around (24) - (2 sc, dec) x6 (18)
- (1 sc, dec) x6 (12)
- dec x6 (6)
FO, close, weave in. Stuff body firmly.
Eye Whites (make 2, light grey)
- MR 6, inc x6 (12), sl st, FO.
Place a safety eye through the center of each and attach to the head.
Ears (make 2, dark grey)
- MR 4 (4)
- (1 sc, inc) x2 (6)
- (2 sc, inc) x2 (8)
- (3 sc, inc) x2 (10)
- (4 sc, inc) x2 (12)
6–9. sc around (12) - Flatten and sl st across the top to close. FO, leaving a tail.
Sew to the top sides of the head, angled slightly outward.
Arms (make 2, dark grey)
- MR 6 (6)
2–7. sc around (6)
FO, stuff lightly, and sew to the body sides.
Legs (make 2, dark grey)
- MR 6 (6)
- inc x6 (12)
3–6. sc around (12) - (1 sc, dec) x4 (8), FO.
Stuff lightly and sew at the base of the body.
Ribbed Wings (make 2, dark grey)
Hook: 3.0–3.5 mm
Optional: thin floral wire (~25–30 cm per wing)
- Base chain
Ch 27. - Rows (worked in BLO throughout for ribbing)
- Row 1: sc in 2nd ch from hook and across (26). Ch 1, turn.
- Row 2: sc 24, inc in next, sc in last (27). Ch 1, turn.
- Row 3: sc 25, inc, sc (28). Ch 1, turn.
- Row 4: sc 26, inc, sc (29). Ch 1, turn.
- Rows 5–9: sc evenly (29).
👉 This shaping makes the wing flare outward slightly instead of staying straight.
- Insert wire (optional but recommended)
- Cut a length of thin floral wire the same length as the top edge.
- Place it along the top edge and crochet sl st across the edge to encase it.
- Twist ends of wire flat and tuck them into the fabric so they don’t poke.
- Scalloped edging (bottom side of wing)
Work into the unused loops of foundation chain:
(sl st, sc, hdc, dc, hdc, sc, sl st) across 6 sts → repeat 3–4 times to form scallops. - Finish
FO, leave long tail. Shape with hands or lightly steam block so ribs lie flat. - Attachment
Sew the top corners of each wing to the back of the arms and upper body. When wire is used, gently bend to give wings a wide, open look like in the photo.
Bow Tie (orange)
- Ch 10
2–5. sc across (9) - In FLO, sl st across (gives texture)
FO. Wrap yarn tightly around the center several times and knot to form a bow.
Sew at the neck.
Face Details
- Smile: with light grey yarn, embroider a short curve between the fangs.
- Fangs: embroider two small white triangles under the smile.
- Eyebrows: stitch two angled orange slashes above the eyes for expression.
🎃 Assembly
- Sew ears to the top of the head.
- Attach arms to the body and secure wings behind arms.
- Sew legs to the base.
- Add bow tie to the front.
- Embroider smile, fangs, and eyebrows.
✨ Finishing Touches
- Lightly steam-block the wings to shape them.
- Add blush to cheeks for extra cuteness.
- Display your bat with pumpkins and candles for the ultimate Halloween setup.
🌟 You’re Done!
Your little Halloween bat is complete! With its ribbed wings, cheeky smile, and festive bow tie, it’s ready to take center stage in your seasonal decorations. Whether perched on a shelf or given as a gift, this bat is sure to bring a smile to anyone’s face.